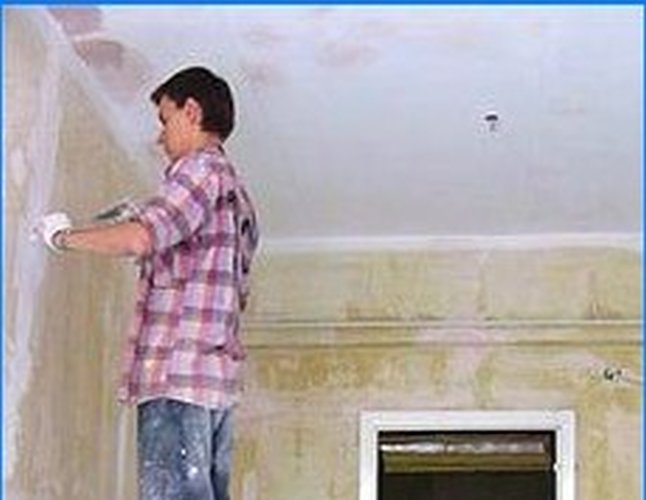
The selection of materials for interior work is significantly different from the choice for facade work. On the facade, above all, weather resistance is important. Indoors, lightfastness and water resistance are not so important (except for bathrooms and toilets), but mechanical strength, good sanding properties and, most importantly, environmental friendliness are important, especially when it comes to living quarters.

Let’s start with the selection of the putty. Now quite widely used oil-glue putties based on drying oil. They are cheap and easy to use. In all other respects, solid shortcomings: environmental insecurity, fragility, poor mechanical strength and poor compatibility with all other materials except for oil paints and varnish. So oil and glue putties are a bad choice of material, especially on the facade..
A wide range of dry fillers based on cement or gypsum has now appeared on the market. This option is significantly better than with oil-glue putties, but it also has its drawbacks.
Firstly, these putties are a semi-finished product, they need to be poured into some container, mixed very thoroughly by adding water, which can be very difficult to do without special equipment.
Secondly, dry putties have a limited life after dilution with water. If you have finished the repair, and the putty remains, then this is thrown away money.
These arguments, not so significant at first glance, seriously undermine the dry mix market in developed countries..
All these disadvantages are not inherent in finished materials based on aqueous dispersions. Here you can not be afraid for your health – the binder in the putty is an environmentally friendly aqueous polymer dispersion. If your material is well sealed in a jar or in a plastic bag, you can interrupt the repair for several days at any time without worrying that you will return to a piece of stone instead of putty.
Of course, it is best to use acrylic fillers, they are the most waterproof and durable. But for interior work, cheaper ones based on PVA are also quite suitable, in any case, if there are no floods in your house.
The facade requires specialized acrylic filler. It is better not to save money here, otherwise after the autumn rains your facade may have big problems. But before you putty, you need to make sure of the quality of the wall surface. If it is dusty or crumbling, then you need to clean off the dangerous fragments and then cover with a strengthening soil. Previously, PVA glue diluted with water was used for this and this is not a mistake, but now there are more advanced specialized acrylic materials: penetrating, strengthening and antiseptic soils.
How to properly disassemble the putty at a store counter or in a wholesale warehouse?
First, you must understand that you need not one material, but a whole system, i.e. primer, putty, finishing putty and paint.
Secondly, it is better to buy all this in one place and from one manufacturer, otherwise there is a chance to buy incompatible materials, and in the case of buying a low-quality product it will be easier to file a complaint.
Thirdly, read the instructions carefully to avoid misuse of the material. Pay attention to the type of putty: low-shrinkage, medium-shrinkage, coarse, fine, finishing, for what materials, waterproof or non-water resistant and commensurate with your tasks.
Be sure to check whether the number of the hygiene certificate, TU or GOST number is indicated on the label in accordance with which the product is manufactured. Ask the seller to get acquainted with a copy of the certificate, perhaps it has restrictions on use that are not indicated on the label.
Fourthly, You should carefully consult with the seller, and even better by phone with the manufacturer, especially when it comes to non-standard and complex work.
At the same time, you will test the manufacturer’s level. Small firms usually have a narrow assortment, and they do not like to give their coordinates..
A serious factory always has its exact coordinates or its representative in this region. Perhaps the manufacturer has more perfect material for your task, which the seller does not have at the moment.
Fifth, don’t buy material with “phenomenal” versatility. A good universal material will always lose to a good specialized material in each specific case, and you will pay a significantly higher price for unnecessary properties.
Of course, this information will not replace professional skills and knowledge in the construction business, but we do not set such a task, but only want you to work with good materials.

Can someone please provide a step-by-step guide on how to effectively putty the walls? I am in the process of renovating my home and want to ensure that the walls are properly prepared. Any tips or tricks would be greatly appreciated. Thank you!
Certainly! Here is a step-by-step guide on how to effectively putty the walls:
1. Start by cleaning the walls thoroughly to remove any dust, dirt, or debris. This will ensure that the putty adheres properly.
2. Use a putty knife to apply a thin layer of putty to any cracks, holes, or imperfections in the walls. Be sure to smooth out the putty as you go to create a seamless finish.
3. Allow the putty to dry completely according to the manufacturer’s instructions. This may take several hours or even overnight.
4. Once the putty is dry, sand down any rough edges or excess putty to create a smooth surface.
5. Wipe down the walls with a damp cloth to remove any dust from sanding.
6. For larger imperfections, you may need to apply a second coat of putty and repeat the process until the desired result is achieved.
7. Once the walls are smooth and free of imperfections, you can then proceed to prime and paint them to complete the renovation.
Remember to take your time and pay attention to detail to ensure a professional-looking finish. Good luck with your home renovation project!