Recommendation points
- Tongue plates and their area of application
- Site preparation
- Damper pad device
- Installation of the first row
- Erection of partitions and adjoining to load-bearing walls
- The device of doorways
- Angles and intersections of partitions
- Top row bookmark
- Interior finishing options
With a major overhaul, redevelopment of an apartment is a common thing, it remains only to decide on the material and technology for building new walls and partitions. We suggest paying attention to tongue-and-groove gypsum boards – a practical, affordable and versatile material in use..
Tongue plates and their area of application
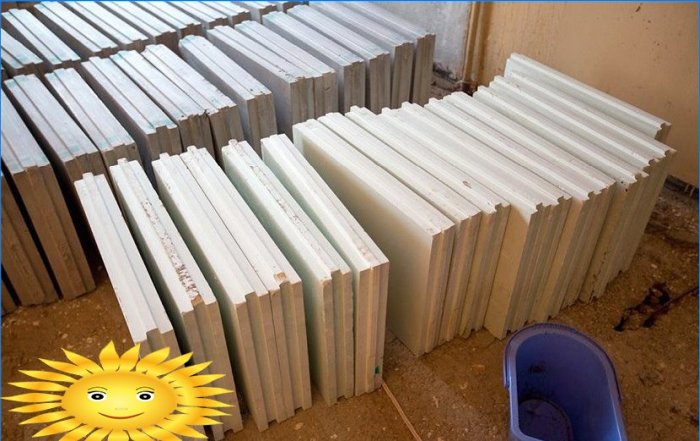
Tongue slabs (PGP) are rectangular blocks of gypsum fiber with a thickness of 80 or 100 mm. The size of the slabs is standard – height 500 mm, width 667 mm. To strengthen the connection between the plates, their edge is made in the form of grooves and ridges. The technology allows you to erect up to 4 m2 partitions per hour.
Standard slabs are used in rooms with a normal humidity regime; moisture-resistant GWP is used for bathrooms and baths. The slab can be either solid or hollow with horizontal through holes 40 mm in diameter. A hollow slab differs not only in reduced lightness and thermal conductivity, when laying slabs of the same row, the alignment of holes along the cross section is guaranteed by at least 90%, which allows the cavities to be used as technical channels for laying electrical wiring or pipes.
Site preparation
GWPs are universal in application and can be installed in almost any building conditions. Due to their low weight, they do not require a foundation and can be installed directly on the screed and even on a solid wooden floor.
The only requirement for the place of erection of the partition is that the base should not have a horizontal height difference of more than 2 mm per 1 meter. If the floor in the room does not meet these requirements, then produce a leveling screed 20-25 cm wide.
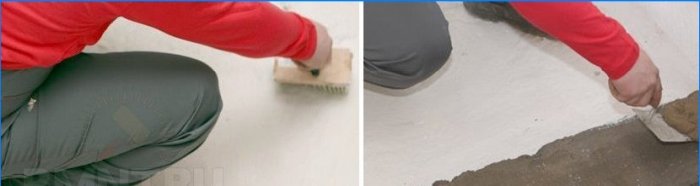
The surface of both the screed and the floor must be coated several times with a deep penetrating primer, then dried and cleaned. It is optimal to mount the GWP even before plastering the bearing walls, so the finishing coating will turn out to be more solid.
Damper pad device
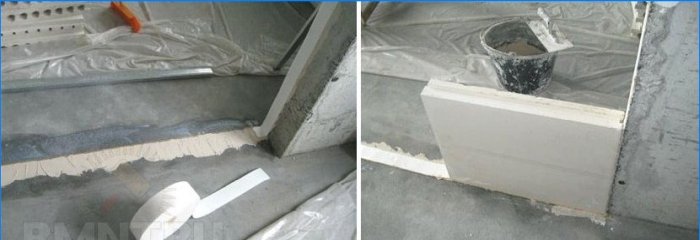
To compensate for the temperature expansion and settlement of the building, a tape of elastic material is laid in the places where partitions adjoin the floor and walls. It can be rubber, cork or silicone tape..
The base is covered with a thin layer of GWP glue and the tape is applied. It takes 6-8 hours for solidification, after which you can start the construction of the partition.
Installation of the first row
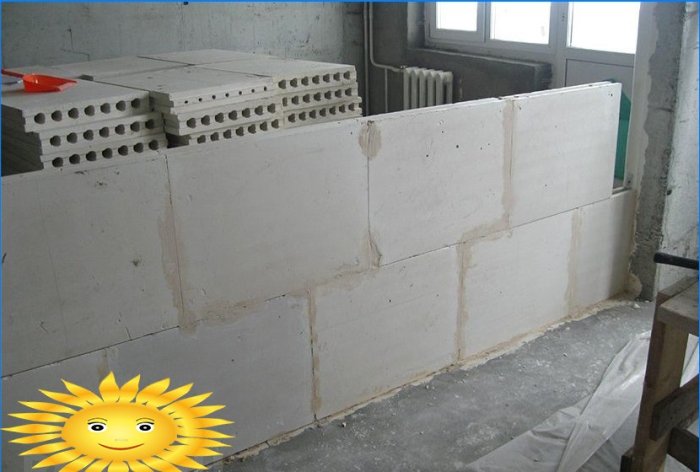
Installation of GWP is carried out strictly in rows, starting from the bottom. The first row is basic and must be correctly oriented in space, vertically and horizontally. The most common mistake during installation is the “waviness” of the partition, which occurs due to a slight displacement in the grooves. To eliminate this phenomenon, when laying each slab, you need to use a rule-rail and check the general plane of the partition along it.
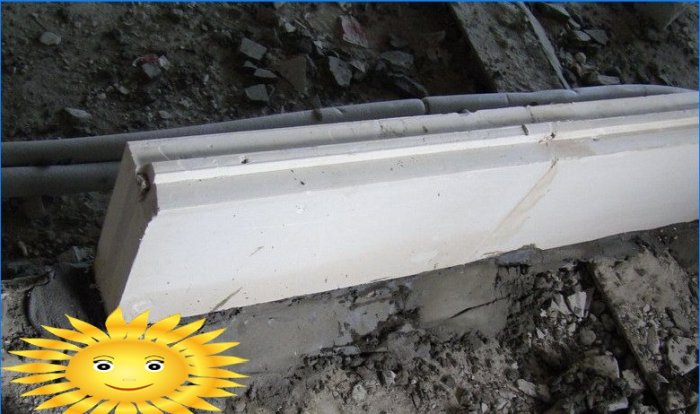
The first row should be laid from the corner. The place where the slab touches the floor and the wall is covered with GWP glue, then the block is installed with the ridge upward and its position is leveled. It is convenient to use a rubber mallet to move the plates. It is imperative to fix the first block to the wall and floor using L-shaped plates, the role of which is successfully performed by direct suspensions. To use them, you need to cut off the toothed comb from the edges and bring the thickness of the plate to the width of the comb. The plates are first attached to the base using quick-attach dowels with a length of 80 mm, then to the plate with black self-tapping screws at least 60 mm long.
Subsequently, the slabs are attached through one: on the one side to the floor, on the other – to the previous slab with a preliminary coating of the joint with a thin layer of glue and strong pressure. To control the placement of the slabs in the project, it is convenient to use lacing or a laser level. It will also not be superfluous to mark the partition on the floor and walls with an indication of the places for doorways.
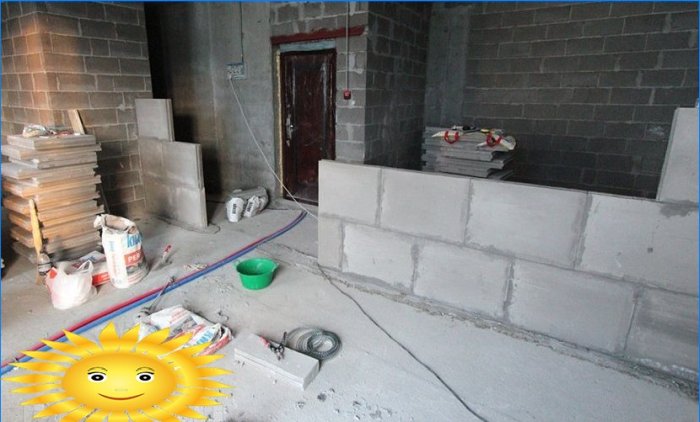
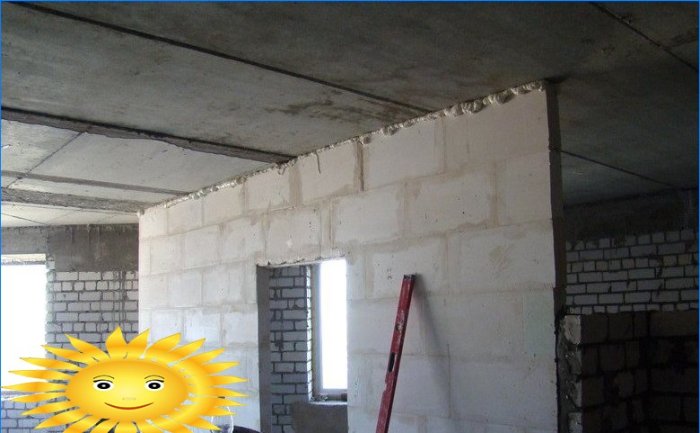
Erection of partitions and adjoining to load-bearing walls
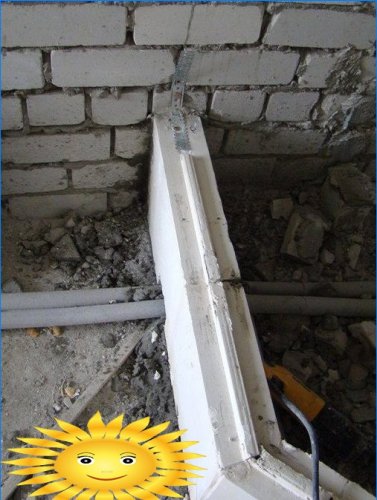
The second and subsequent rows are laid with a joint offset of at least 150 mm. The slab is located strictly in the plane of the partition due to the tongue-and-groove connection. It is enough to control the horizontal level of the unit and the side roll. The outermost slabs are attached to the load-bearing walls with L-shaped plates or reinforcement bars 8 mm thick.
To offset the joints and remove the edge of the partition, trimming of the additional elements to the exact size is required. It is best to use a regular wood hacksaw with a thick blade and set teeth. If the partition does not adjoin another wall, its end can be made perfectly flat by increasing the thickness of the glue in the vertical joint from 2 to 6-8 mm.
The device of doorways
Vertical edges of openings do not need additional reinforcement. To lay the slabs above the opening with its width less than 90 cm, it is necessary to build a supporting U-shaped bar, which can be removed after the glue has dried.
Openings with a width of 90 cm and more require laying on top of a row of slabs of a supporting crossbar – 40 mm boards or a 70 mm reinforced CD profile. To reach one level, it is recommended to cut the slabs laid on top of the crossbeam. The jumper is laid in the partition at least 50 cm on each side.
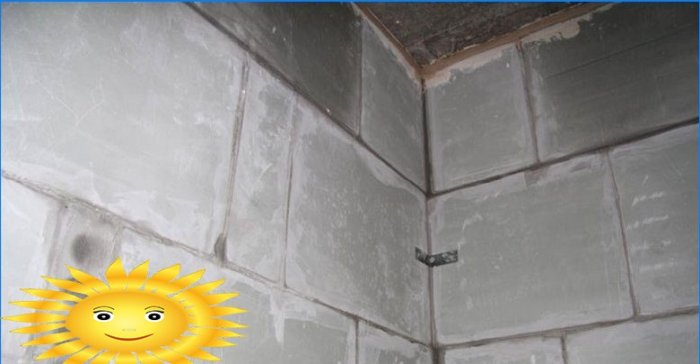
Angles and intersections of partitions
At the corners and junctions of partitions, it is necessary to strengthen the masonry. For this, the slabs are shifted through a row, alternately overlapping the joints. In the places of re-laying, it is necessary to remove the ridges, they are cut with a hacksaw into sections of 4-5 cm and chipped with a chisel.
The bond can be additionally reinforced with straight hangers or welded T-shaped elements made of smooth reinforcement. In any case, additional trimming of the ridge to the required distance is required.
Top row bookmark
When laying the top row, the largest amount of waste is generated due to trimming to the desired height. They can be glued together and laid in voids, since this row of partitions does not experience a strong functional load.
In the voids of the top row, electrical wiring is usually laid, so it is important to prevent glue from getting into the holes. To facilitate cable routing, you can additionally drill holes or make transverse holes with a diameter of 45 mm.
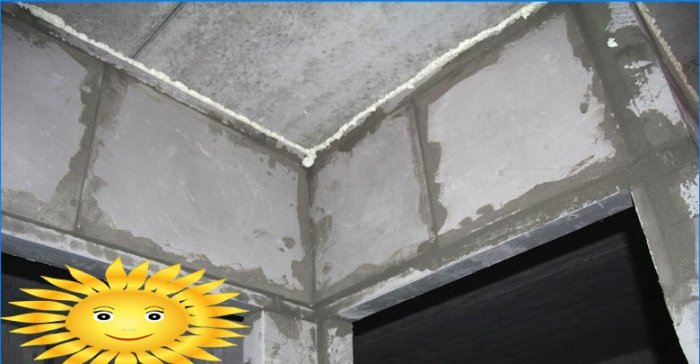
When laying the top row, it is necessary to maintain a gap from the ceiling of at least 15 mm to compensate for the deflection of the ceiling during settlement. The top row also needs to be fastened to the ceiling of every second slab. Upon completion of installation, the remaining space is blown out with polyurethane foam.
Interior finishing options
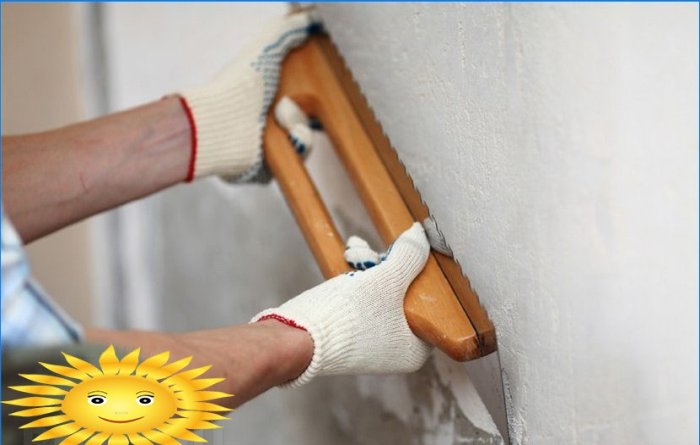
With correct installation of the GWP, the surface curvature is no more than 4–5 mm per meter of plane. This is an acceptable indicator for wallpapering walls. The outer corners of the partitions must be protected with a perforated corner profile set on the starter filler. The inner corners are also putty, reinforcing them with a serpentine. The joints between the plates are cleaned with an abrasive mesh for 80 grit, then the entire surface is covered twice with a primer with high adhesion.
Alignment of walls from GWP can be carried out with any finishing putty, but it will be necessary to strengthen the coating with fiberglass mesh. Often, the filling of partitions is used only to hide the seams, as a rule, the layer does not exceed 2–4 mm. Tiles can be laid directly on the surface of the GWP with preliminary priming.
Is gypsum tongue-and-groove partition installation a DIY project or should I hire a professional?
Gypsum tongue-and-groove partition installation can be a DIY project for those with adequate knowledge, skills, and tools. However, it is highly recommended to hire a professional, especially if you lack experience in this type of work. Professionals possess expertise in handling gypsum materials, ensuring precise measurements, and providing a seamless finish. They can also identify potential issues and resolve them efficiently, saving time and money. Hiring a professional guarantees a properly installed partition with a polished appearance, making it a safer and more practical choice.