Recommendation points
- Description of technology
- Appointment, pros and cons
- Equipment used
- Foundation preparation
- Semi-dry screed device
- Care and preparation for laying the coating
In cases where the subfloor requires leveling, or it is planned to lay communications on the floor, the screed remains almost the only technical solution. In this review, we will reveal the concept of a semi-dry screed, point out its advantages and disadvantages, and describe the device process.
Description of technology
The concept of a semi-dry screed is poorly known to people who first encountered repair or construction. The standard cement-sand screed is known to many, dry screed coated with sheet materials has also been heard recently, which is why the expression “semi-dry screed” evokes the presentation of some kind of intermediate option, which is not entirely fair.
To understand what is at stake, you should first familiarize yourself with how the hardening of solutions on a cement binder occurs and what phenomena accompany this process. In short, cement mortar requires an abundance of water for a long time to cure. In this case, the established ratio of cement and water must be strictly observed during the preparation process, otherwise the mixture will irreversibly lose its qualities.
Semi-dry screed is a standard cement-sand mortar, but the water-cement ratio is lower. On the one hand, this is a clear violation of technology, however, there is a specific nuance: if there is not enough water in the mixture, it will simply lose ease of handling during delivery and leveling, while strength gain will continue to occur throughout the entire subsequent service life, provided that that the screed will not be completely dry. Of course, no one will wait for several months until the cement slurry hardens in conditions of atmospheric humidity, therefore, primary strength is ensured by high-quality compaction, the addition of reinforcing fibers and plasticizers.
As a first approximation, the technology for performing a dry screed looks like pouring a composition on a prepared base that resembles wet sand in consistency. This mixture is easily compacted and leveled, after which it hardens rather quickly and can take up the through load. The key feature is that the mixture is prepared and delivered to the site in a mechanized way, which allows you to arrange up to several hundred square meters of floor in one day by the efforts of just one team..
Appointment, pros and cons
The question involuntarily arises: why are all these tricks needed, if the technology of “wet” cement screed has long been developed? The fact is that the classic screed has an important flaw: it shrinks, which is why reinforcement is required with a layer of more than 80 mm in order to exclude the formation of cracks. In addition, when pouring a classic screed in a multi-storey building, there is always a risk that the cement milk will flow through the ceiling even in the presence of a hydro-barrier: the slightest gap is enough and an impressive pit will form on the surface.
Due to the reduced water-cement ratio, the semi-dry screed practically does not shrink, its reinforcement is required only when a floating type roughing is installed. Also, a semi-dry screed is attractive for its manufacturability: filling the floor in an apartment by a machine method takes place within one day (and sometimes several hours), eliminating the need to arrange a place for preparing cement mortar and lifting it to the floor. After 12-18 hours, the screed can take on pedestrian traffic, and after two days finishing work can be continued.
But with all its advantages, a semi-dry screed is limited in use, primarily due to the relatively high cost. In fact, this is a rather controversial question, which is more expensive: a semi-dry or a classic cement screed? In the first case, the whole complex of work is paid for together with the material used, plus the contractor gives a quality guarantee. A conventional cement screed is cheaper in terms of materials, but when it is installed, the effect on the final quality of the human factor and the qualifications of workers is too great. Sometimes, due to these circumstances, the difference in price may seem insignificant..
In addition, a semi-dry screed requires careful maintenance and treatment before laying the floor covering at the first time after pouring. There are also difficulties with pouring a semi-dry screed on wooden floors: in addition to sufficient bearing capacity, it is necessary to ensure that the floor is protected from steam and at the same time remains limitedly ventilated. Usually, for these purposes, it is sufficient to be protected by a superdiffusion membrane along the lower plane, which is quite difficult to accomplish in apartment buildings..
Equipment used
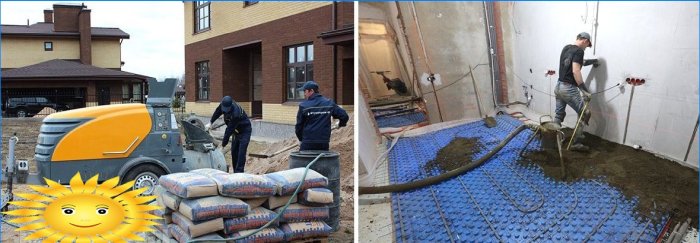
In the most common version of pouring a semi-dry screed, the process looks like this: prepared sand, cement and other materials are delivered under the entrance or to a private house, as well as a low-speed mixer and a pneumatic pump. One or two people prepare the solution in small portions and feed it into place through a hose (up to a height of 60 meters), the rest of the team is engaged in distributing and leveling the mixture, and after a short time smooths the surface with a trowel. The method is very technological, but inaccessible to a common man in the street due to the lack of specialized equipment.
But you can arrange a semi-dry screed with your own hands, of course, at your own peril and risk, but you can. This will require a building capacity of 100-140 liters, a manual low-speed mixer with a capacity of about 1.5 kW, as well as a lot of time and patience. To achieve a high-quality leveling of the screed, you will need a laser axis builder, a rule with a length of 2 m and increased thickness and knowledge of the basic principles of floor leveling. If you want to ensure a high quality of the screed surface, you will have to rent a trowel, in the circles of builders referred to as a “helicopter”.
Foundation preparation
By the beginning of work, the base of the floor must be rid of the remnants of building mixtures and chipped fragments; all gaps, crevices and gaps must be filled with ordinary cement mortar. The result should be a homogeneous surface: not perfectly flat and smooth, but without significant local irregularities..
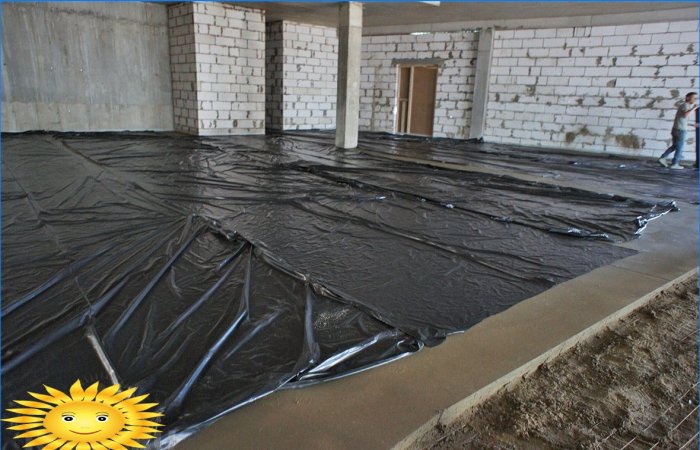
Before installing a dry screed, waterproofing is required, but not in order to exclude the flow of cement laitance, but to protect the screed from moisture absorption from the base. For this purpose, some brigades use fused roll waterproofing, which is clearly unnecessary: this should only be done in bathrooms and other wet areas. In the usual case, a polyethylene film is enough, but its density should be at least 100-120 g / m2. Before laying the film in the room, you need to carry out a general cleaning. The film is laid with an overlap on the walls to a height of 5–7 cm above the level of the finished floor; neat folds form in the corners.
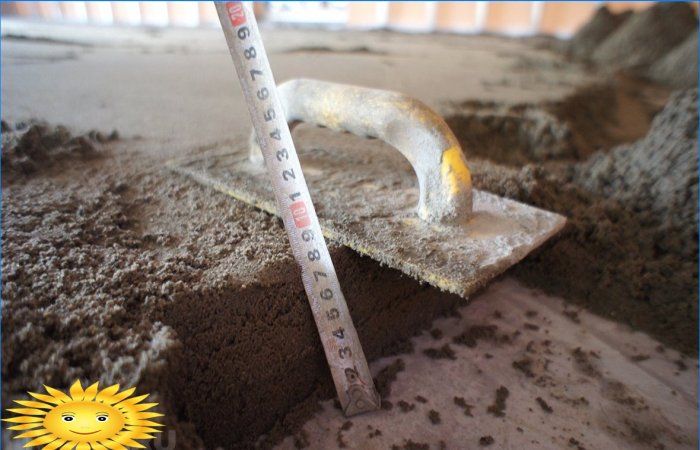
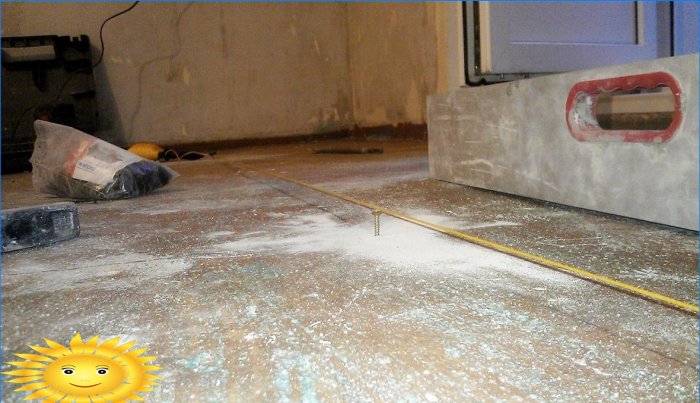
The next stage is preparation for alignment. The floor area is conventionally divided into strips 20-30 cm wide less than the rule used. Along the boundaries of these strips, you need to tighten the self-tapping screws in steps of 2–2.5 m, if the floor is concrete, use plastic plugs. The caps of the self-tapping screws are set by screwing in a common plane, which is located 40 mm below the planned surface of the screed; a laser level is used for control. The puncture points of the film can be coated with sealant or mastic, but this is not necessary.
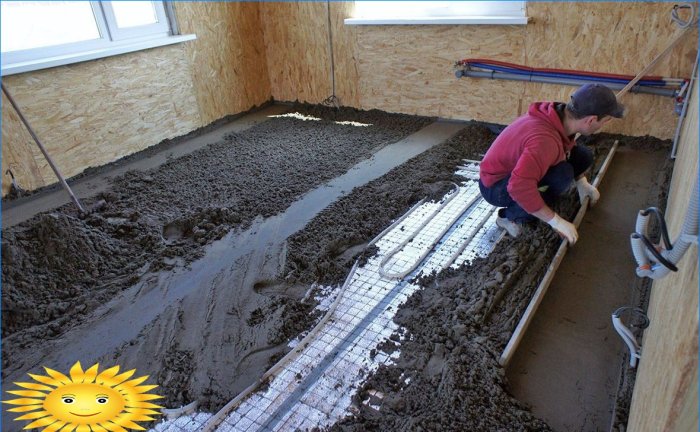
If a floor heating system is arranged in the screed, expanded polystyrene plates are laid on the film. In floors on the ground, you can use high density PSB, over the floors – only EPS of grade 40 or higher, or PUR boards. It is not necessary to pre-align with insulation, it has sufficient flexibility to press against the base under the weight of the screed. If the floor is very uneven, it is sufficient to lay the slabs in 2 or 3 layers. After laying the insulation, it is necessary to once again check the correctness of the installation of self-tapping beacons, in parallel calculating the floor drop and the required volume of the solution. Then it remains only to lay a tape of foamed polyethylene with a thickness of 6-10 mm at the walls and you can start pouring.
Semi-dry screed device
The process begins with the preparation of the solution. You need to buy only quarry sand and sift it, ideally – order washed. The binder is 400D0 Portland cement, always fresh. You will also need polypropylene fiber at the rate of 500-800 grams per m3 mortar, the modifier is a retarder, and when installing a warm floor – a universal plasticizer for concrete. The consumption rates of additives are determined by the instructions for use..
The proportions of the solution are as follows: for a bag of cement, 12 buckets of dry sand and 13-15 liters of water. There are two ways to prepare the solution:
- Mix dry ingredients and then add water gradually, stirring constantly.
- Prepare cement milk with liquid additives and moisten the mixture with it until the desired consistency is formed.
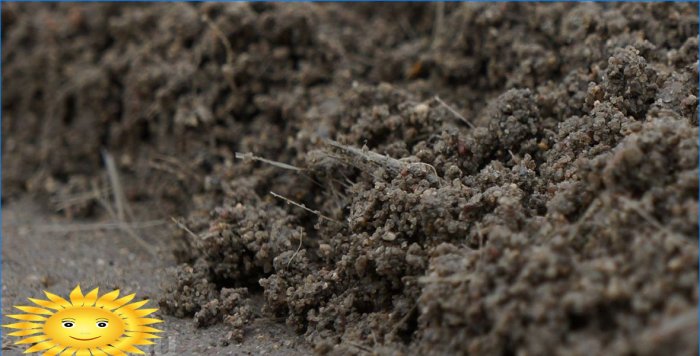
The solution for dry screed should be easily squeezed in the hand to form a dense lump, while moisture should not appear on the surface. If such a lump is dropped on the floor, it will crumble without the formation of drips. First, the mixture is kneaded in a trough with a shovel, the corners and the bottom must be cleaned. After that, it is necessary to beat the solution at low speed with a mixer, then clean the bottom again and mix again, adding a liquid component if necessary. The total preparation time for a 150 kg portion takes about 10-12 minutes.
The resulting composition is first poured and pre-compacted along the line of installation of beacons. The formed mounds of mortar must be trampled down with a trowel at the level of the caps of the self-tapping screws, controlling the general plane of each line with the rule. This process is called lapping beacons. After that, guides are installed on the beacons – two PN-40 profiles nested into each other, which should rest both on the embankment and on the screws themselves.
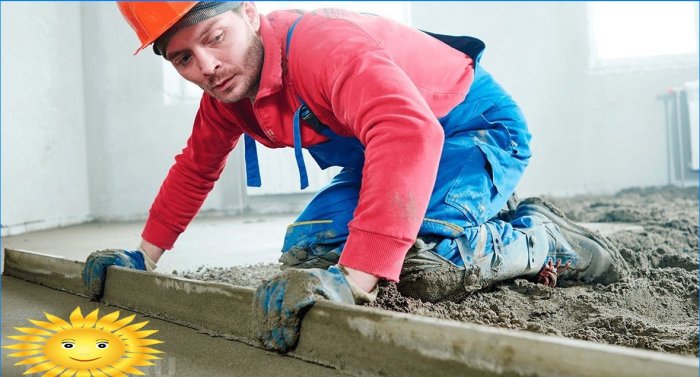
When the lighthouses are prepared, the entire space between them is covered with a solution, simultaneously compaction with their feet. You need to pour in excess, so that later the surface can be stretched along the guides with the rule. When one section is filled and leveled, the guides are carefully pulled out, installed on the next beacons and continue to level the floor..
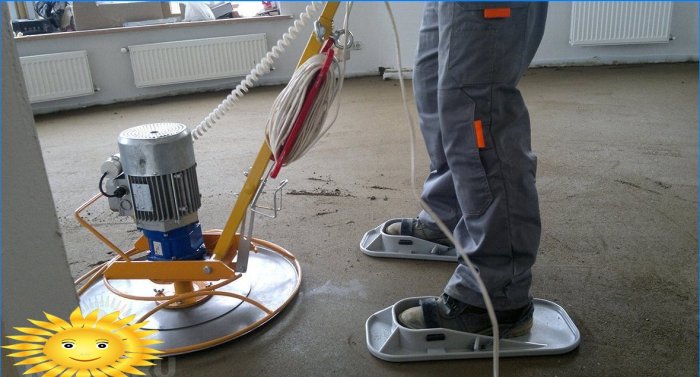
The best option is to pour the semi-dry screed separately in each room, installing a separator in the form of a foamed polyethylene tape in each doorway. After the entire floor area has been covered, the screed is left for 8-10 hours for preliminary hardening, after which the grooves are filled from the guides, with an effort squeezing the same solution, but a slightly more liquid consistency, removing the excess with a spatula flush with the surface. After 1–2 hours, the screed will draw out the bulk of the moisture from the grout and it will be possible to machine grout the surface. It is better to move along the screed at this stage in special shoe pads in the manner of snowshoes, usually these are included with the car.
Care and preparation for laying the coating
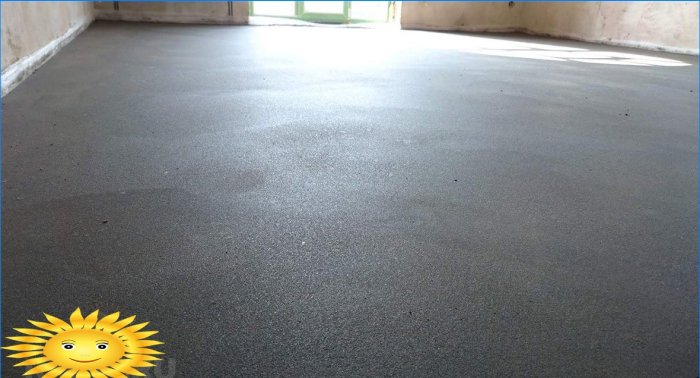
As a result of leveling with a semi-dry screed, a surface is formed with a curvature rate of no more than 1 mm / m and a general unevenness of the floor, which is allowed by the laser level used when installing the beacons. With high-quality grouting, the surface will be only slightly rough with clearly visible fibers of fiber, from it you should only sweep away the remaining dust.
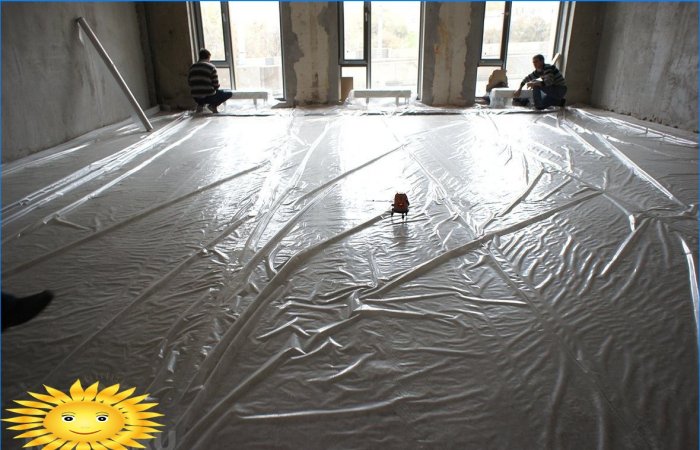
Despite the lack of water in the initial solution, the screed tends to further gain strength if it remains moist. Therefore, it is better to keep it under a film for at least two weeks, periodically (3-4 times) adding a new portion of water. For 3 and 4 weeks, the film can be removed, but continue to periodically spray the surface and maintain the humidity in the room at a level of at least 70-80%.
Laying of coatings such as laminate or linoleum can be done 20 days after pouring. For tiles, parquet or parquet boards, it is necessary to withstand the full maturation period – 28 days, otherwise those minor irregularities that appear during residual shrinkage can harm the coating. With due diligence, a semi-dry screed does not require leveling with a self-leveling mixture, but it remains quite porous and can be very dusty. Therefore, after the end of the exposure period, it must first be impregnated with a primer for highly absorbent surfaces, and then treated with “Concrete-Contact”.


Could you please provide more information about the technology, advantages, and disadvantages of semi-dry floor screed?