Recommendation points
- What pipes are suitable for underfloor heating
- Soil preparation
- The choice of insulation
- Preparatory and accumulating screeds
- System installation, proportions and loop pitch
- The inclusion of a warm floor in the heating system
The installation of a warm floor is itself considered a difficult engineering task. If the floor is in direct contact with the ground and serves as part of a liquid heating system, the probability of making a mistake increases significantly. Today we will talk about both the materials used and the phased device.
Laying underfloor heating on the ground is a complex engineering measure. This means that the contractor is responsible not only for the efficiency and long service life of the heating system, but also for the normal behavior of the floor covering under cyclic heating conditions. Therefore, proceed consistently and strictly follow the recommendations for device technology.
What pipes are suitable for underfloor heating
The first thing to do is to decide on the type of heat pipes. While the issue of purchasing the required type of product is being resolved, you will have time to carry out all the necessary preparatory work. In addition, you will be familiar with the pipe fastening system from the very beginning, and you will provide everything necessary for this..
So, let’s start with the rejection of pipes that do not have such a targeted purpose as using in underfloor heating systems. This includes metal-plastic polyethylene pipes connected by a system of press fittings and PPR pipes for soldering plastic water pipes. The former do not show themselves in the best way in terms of reliability, the latter poorly conduct heat and have high coefficients of thermal expansion.
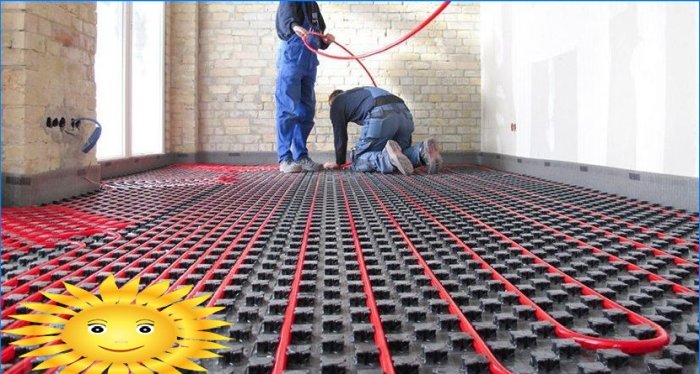
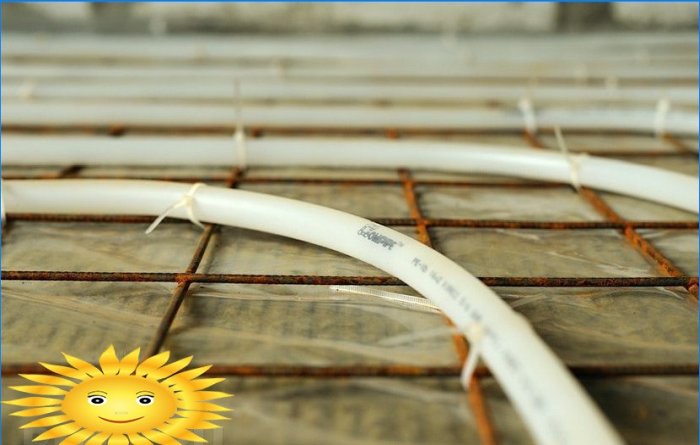
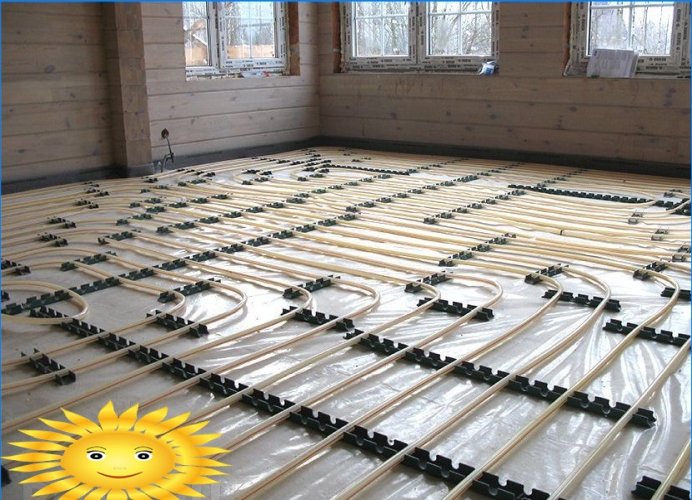
Initially, a convenient and reliable installation system for temporary fastening of pipes is selected. It can also be a reinforcing mesh, to which the pipes will be tied with wire, but imagine installation in this way on an area of 100 m2 or if suddenly several ties come off during the pouring of concrete. Therefore, a mounting pad or rail system should be used. They are attached to the base of the floor while the pipes are not yet laid, then the pipes are fixed in the guides with clips or click clamps..
The fastening system itself can be plastic or metal. There is not much difference in this, the only thing you need to pay attention to is how reliable the fixation is and whether the guides themselves can damage the pipes.
Finally, we decide on the material of the pipes. There are two types of products recommended for use in underfloor heating systems. For both, the mounting technology eliminates the human factor during bending and joining.
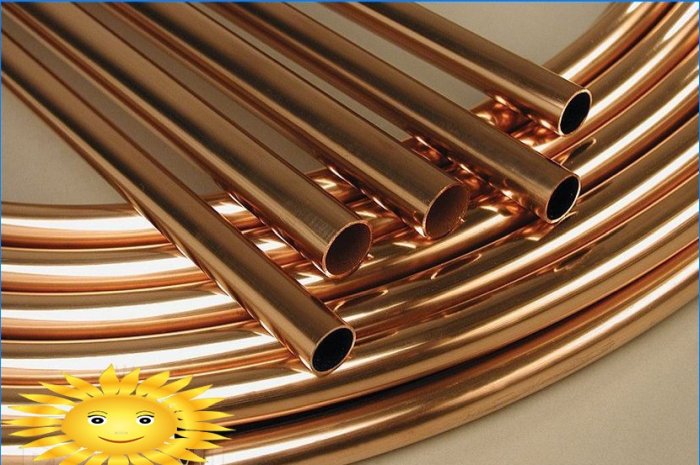
Copper. Despite the increased cost, copper tubing is easy to install, requiring a bottle of flux and a gas torch for soldering. Copper manifests itself best in systems of “fast” underfloor heating, which works in parallel with radiators, but not on a permanent basis. Bending of copper pipes is carried out according to a template, respectively, their break is extremely unlikely.
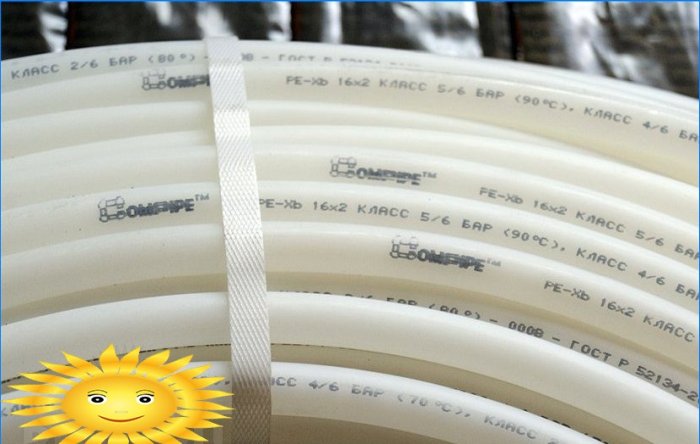
Polyethylene. This is the more common class of pipes. Polyethylene is practically not subject to breakage, but a special crimping tool is required for installation. Polyethylene can have different density, it is recommended not less than 70%. The presence of an internal oxygen barrier is also important: polyethylene is poorly resistant to diffuse penetration of gases, at the same time, water in a pipe of this length can entrain oxygen from the external environment in significant volumes.
Soil preparation
When installing a warm floor on the ground, a “cake” is prepared, the thickness and filling of which are determined individually. But these data are important already at the first stage of work, so that, if necessary, deepen the earthen floor and not sacrifice the height of the room..
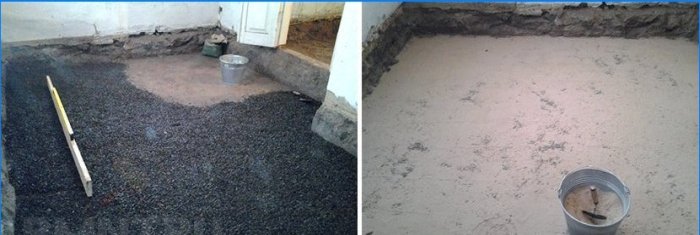
In general, the soil is removed 30–35 cm below the level of the planned floor covering, taken as the zero point. The surface is carefully leveled in a horizontal plane, an incompressible material is added over the geotextile layer, in most cases, an ASG is used for this.
After careful manual compaction of the bedding, preparation is carried out with low grade concrete. For the purpose of additional thermal insulation, this layer can consist of lightweight expanded clay concrete. It is important that the surface is brought out into a common plane, located below the zero mark by the thickness of the cake, plus about 10-15 mm.
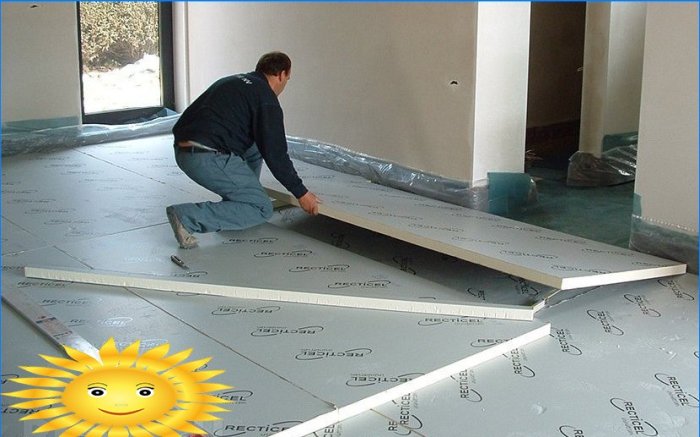
The choice of insulation
The water-heated floor cake consists of insulation tightly sandwiched between two layers of cement-sand screed. A rather narrow number of requirements are imposed on the insulation itself.
Compressive strength is mainly normalized. Extruded polystyrene foam with a density of 3% or more is ideal, as well as PIR and PUR boards as they are more fireproof. If desired, you can use slabs of mineral wool grade 225 according to GOST 9573–96. Cotton wool is often rejected due to the complexity of its installation and the need to cover the insulation with a hydro-barrier (polyamide film). It is characteristic that the minimum thickness of the slab is 40 mm, while when installing a reflective screen made of EPPS, the thickness of the latter rarely exceeds 20-25 mm.
Foam materials also serve as a good barrier against moisture migrating from the soil; they do not require a waterproofing device. Many can be stopped by the questionable safety of a styrene-containing material or the price of more expensive boards with complete chemical inertness (PUR and PIR).
The thickness of the insulation is determined by the heat engineering calculation. If concrete with expanded clay as a filler was used in the preparation, 10-15 mm EPS or 60 mm mineral wool will be sufficient. In the absence of insulated preparation, these values must be increased by 50%.
Preparatory and accumulating screeds
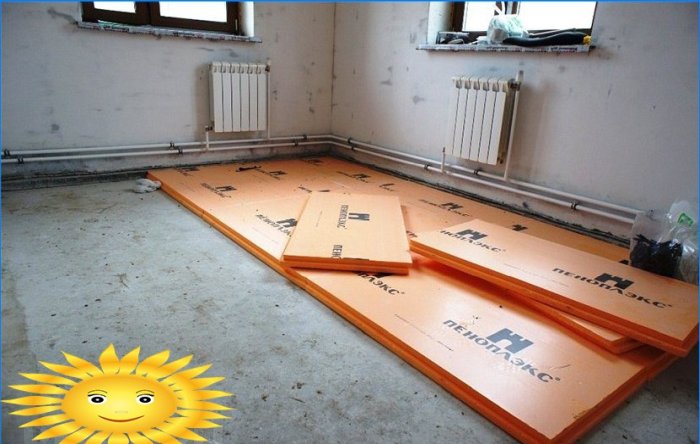
It is very important that the insulation is tightly clamped between the two ties and that any movement or vibrations are excluded. The concrete preparation of the floor is leveled with a preparatory screed, then insulation plates are glued onto it using tile glue under the comb. All joints are sealed with glue. If mineral wool is used, the concrete preparation must first be covered with a layer of penetrating waterproofing.
The screed layer above the insulation must be of such a thickness that its overall thermal conductivity is at least 3-4 times lower than that of the heat shield. In general, the thickness of the screed is about 1.5–2 cm of the total height of the ceilings, but to correct the inertia of the warm floor, you can freely “play” with this value. The main thing is to change the thickness of the insulation accordingly..
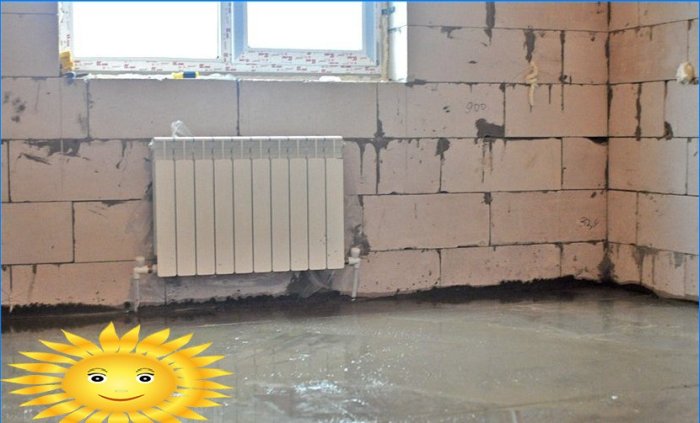
The top layer of the screed, subjected to heating, is poured after the walls have been enclosed with a damper tape. For convenience, the accumulation screed can be poured in two stages. On the first, about 15–20 mm are poured with reinforcement with a thin mesh. It is convenient to move along the resulting plane and fix the pipe installation system, the rest is poured to the level of the zero mark minus the thickness of the floor covering.
1 – compacted soil; 2 – sand and gravel bedding; 3 – preparatory reinforced screed; 4 – hydro-vapor barrier; 5 – insulation; 6 – reinforcing mesh; 7 – underfloor heating pipes; 8 – cement-sand screed; 9 – floor covering; 10 – damper tape
System installation, proportions and loop pitch
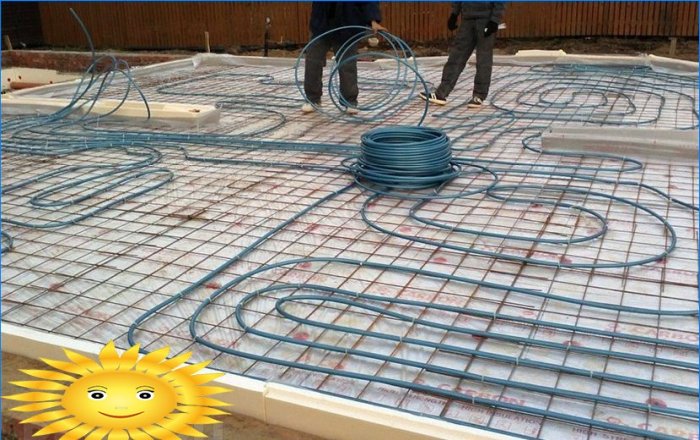
Underfloor heating pipes should be laid according to a previously thought out scheme drawn on the floor. If the room has a shape other than rectangular, its plan is divided into several rectangles, each of which is represented by a separate loop of the loop.
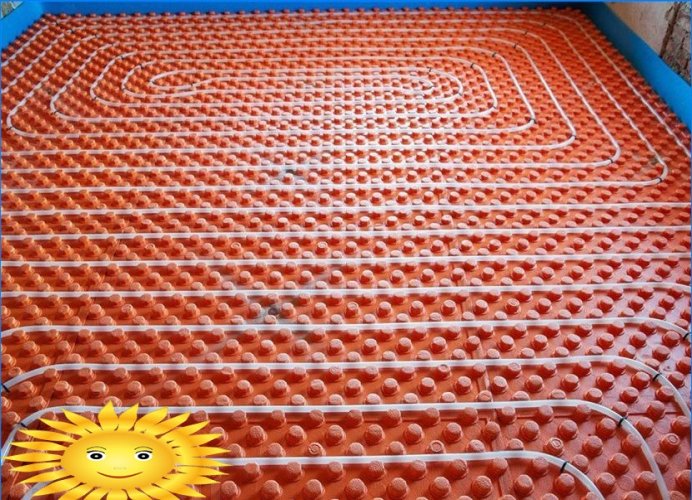
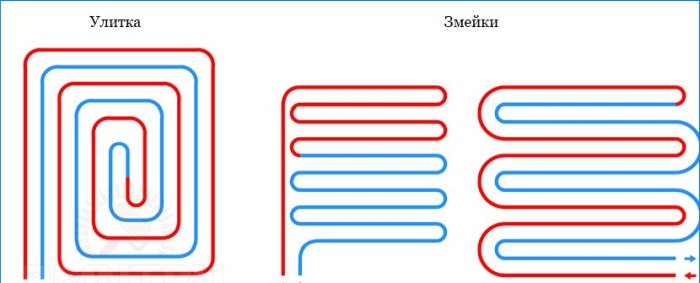
The same principle applies to floor zoning. For example, in the play area, pipes can be laid at a more frequent pace, and it is advisable not to lay them under the cabinet furniture at all. In each separate round of a rectangular shape, depending on the priority of heating, the tubes can be laid either with a snake or a snail, or a combination of options. The general rule is simple: the farther a specific point is from the beginning of the channel, the lower its temperature, on average, there is a drop of 1.5-2.5 ° C every 10 meters, respectively, the optimal loop length is in the range of 50-80 meters.
The minimum distance between adjacent tubes is determined by the manufacturer according to the permissible bending radius. A denser gasket is possible in a snail pattern or with the formation of wide loops at the edges of the snake. It is optimal to adhere to a distance equal to 20–30 times the tube diameter. You also need to make allowances for the thickness of the accumulating screed and the desired floor heating rate..
The installation system is attached along the route through the insulation to the layer of concrete preparation, respectively, the length of the fastener (usually plastic BM dowels) should be 50% longer than the distance to the surface of the preparatory screed.
When laying the pipe, you should figure out an impromptu spool for unwinding, otherwise the pipe will constantly twist and break. When all hinges are fixed in the installation system, they are tested with high pressure and, if the test results are satisfactory, the top layer of the accumulation screed is poured.
The inclusion of a warm floor in the heating system
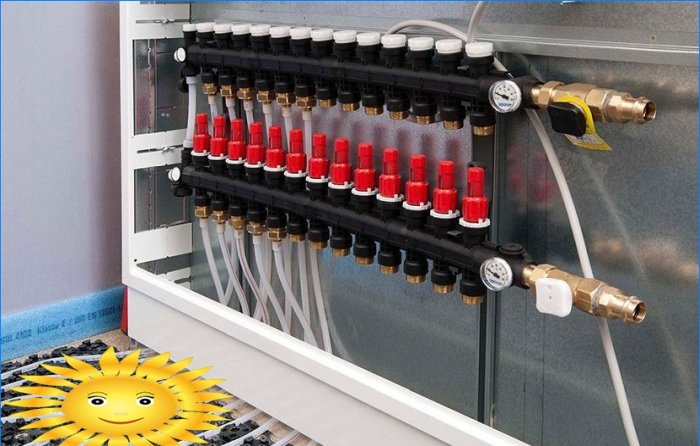
It is recommended to lay whole pipe sections without joints in the screed layer. Loop tails can either be brought to local collectors or lead directly to the boiler room. The latter option is usually convenient when the heated floor is slightly removed from the boiler or if all rooms have a common corridor for which indirect heating is sufficient.
The ends of the pipes are rolled with an expander and connected by crimping or soldering with threaded fittings for connection to the manifold assembly. Each of the bends is equipped with shut-off valves, ball valves with a red flywheel are installed on the supply pipes, and with a blue one on the return. A threaded transition with shut-off valves is required for emergency shutdown of a separate loop, purging or flushing it.
An example of a connection diagram for a warm water floor to the heating system: 1 – heating boiler; 2 – expansion tank; 3 – security group; 4 – collector; 5 – circulation pump; 6 – manifold cabinet for heating radiators; 7 – underfloor heating manifold cabinet
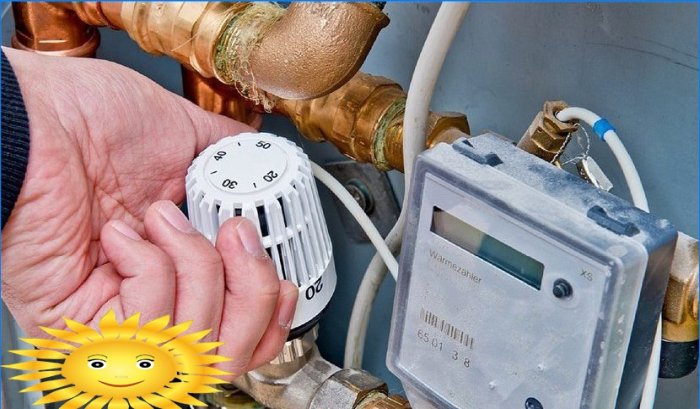
The connection of the collectors to the heating main is carried out by analogy with heating radiators, two-pipe and combined switching schemes are possible. In addition to the thermostat, the manifold units can be equipped with recirculation systems that maintain a comfortable temperature of the heat carrier in the supply of about 35–40? С.
I’m interested in installing a DIY heated water floor on the ground. Has anyone done this before and can share their experience? What are the pros and cons of this method? Any tips or precautions I should be aware of? How effective is it in heating up the room and is it cost-efficient in the long run? Thank you for any insights!
Is it possible to install a do-it-yourself heated water floor on the ground without professional assistance? What materials and steps are involved in the installation process? Are there any recommended resources or guides available for beginners looking to undertake this project?