Recommendation points
- Do I need to prepare the base
- We collect the frame floor
- Wall frame construction
- Shed roof device
- Internal and external finishing
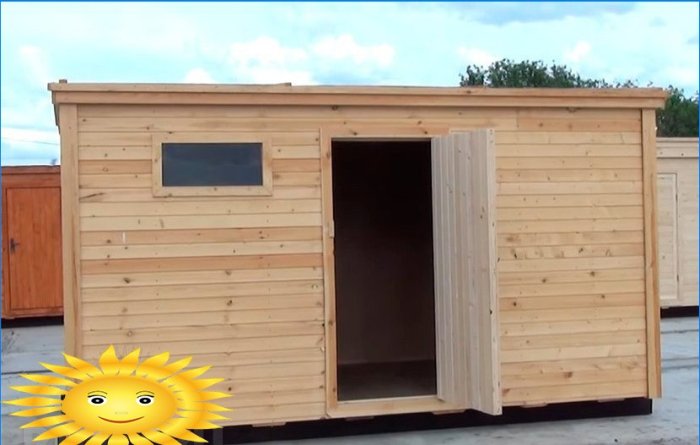
For a real master, buying prefabricated cabins is not an option. We want to tell you about the construction of a triple-purpose change house – a toilet, a shower, a utility block. Such a change house will be needed both for novice site developers and summer residents for summer use..
We will talk about a very small building that can be assembled with an assistant in just a couple of weekends. On the other hand, by using a larger caliber wood, you can easily expand the structure to the desired size. In the meantime, consider the process of creating a small block of 2.5×4 m with a 2 m ceiling, divided into three rooms: a toilet, a shower room and a small pantry for household equipment..
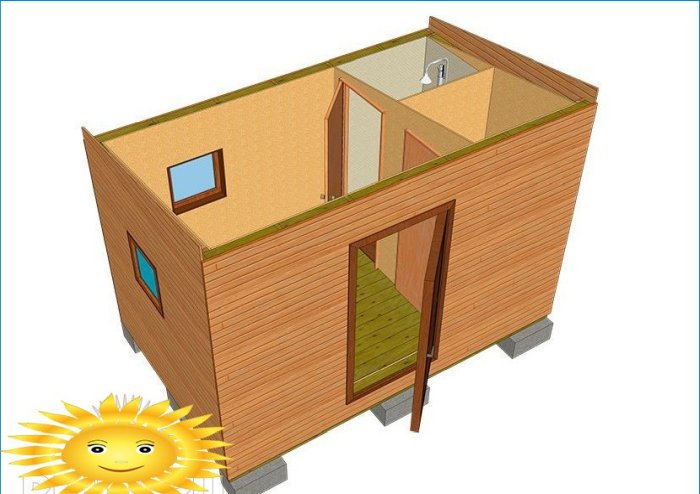
Change house plan: 1. Common room. 2. Shower room. 3. Toilet
Do I need to prepare the base
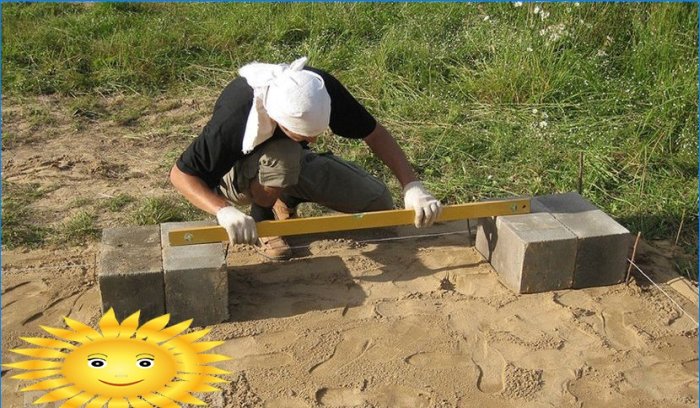
The decision on the foundation is made on the basis of how long you assign the change house. It is built entirely of wood, and for such objects, uneven subsidence when installed on bare ground is very painful, therefore it must be installed on a cinder block or brick blocks – this way the tree will be isolated from the damp earth. The curbstones should be placed under the long walls of the change house and in the center between them with an interval of about 100-120 cm.
If you plan to use the change house for 15 years or more, you need to prepare a columnar foundation for it. The most optimal way is to use a TISE drill for this with the immersion of the posts 20-30 cm below the freezing depth. If this is not possible, you should excavate a pit 60×60 cm, make a gravy with reinforcement 30-35 cm thick, and then knock down the formwork of a square post with a side of 35 cm.
Only six pillars are needed: four in the corners and two intermediate along the long side. At the same time, the lower beams of the change house are made of solid timber 150×150 mm. The posts and supports must be covered with a waterproofing layer.
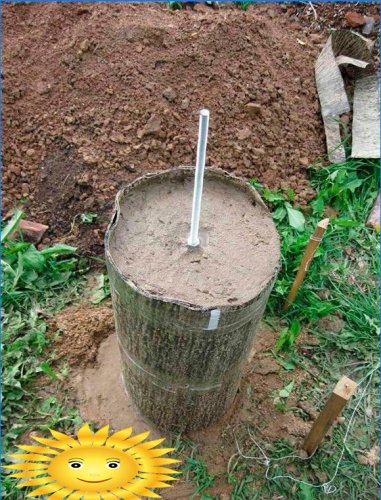
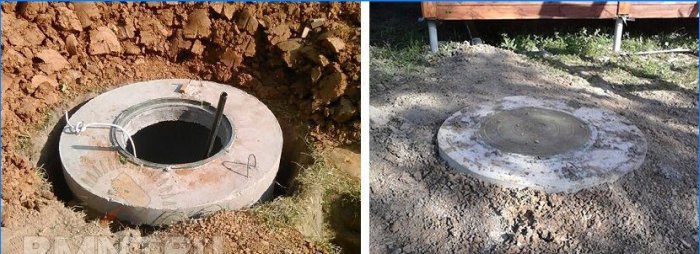
To equip a toilet and a shower in the change house, you should prepare a sewage pit or septic tank in advance on the site. It is enough to place it within 2-3 m from the building. If we take the proposed layout as a basis, then the pit should be located on the right side behind the change house. The walls are laid out with concrete rings or bricks. From the change house, the far right corner, it will be necessary to bring a channel to the gutter from a regular sewer pipe 110-150 mm.
Immediately before entering the change house, a check valve should be installed on the pipe, or simply an elbow should be built along the route to form a water seal so that unpleasant odors do not seep into the interior of the room.
We collect the frame floor
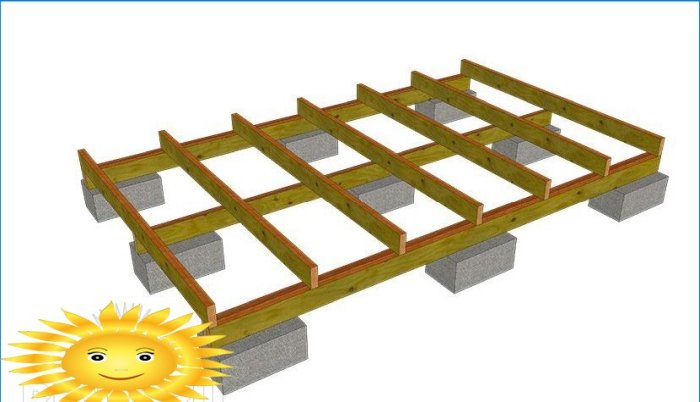
In the lower part of the change house there are two supporting pine beams. Collect them from two boards 150×50 mm, twisted with self-tapping screws, or a bar of 150×100 mm. Install the beams on the edge strictly parallel to each other at a distance of 220 cm. Fasten the ends of the beams with a 150×50 mm board, connecting them with a spike in half a tree, then align the resulting rectangle diagonally.
For a shower room, it is important to provide for a floor slope in one of the corners of at least 1-2 °. In the change house, it is easier to tilt the entire base so that one of the corners, which is closer to the sewer pit, is lower than the rest.
Stretch a galvanized or plastic mesh with a fine mesh and a glued canvas of windproof membrane between the beams. Install floor logs perpendicular to the beams: boards 150×50 mm, placed on the edge every 55-60 cm. Fix them to the beams with recessed self-tapping screws, for which you need to drill the ends of the boards 75-100 mm with a drill 8 mm thick. For fastening, use self-tapping screws 100 mm long, two fastening points for each connection.
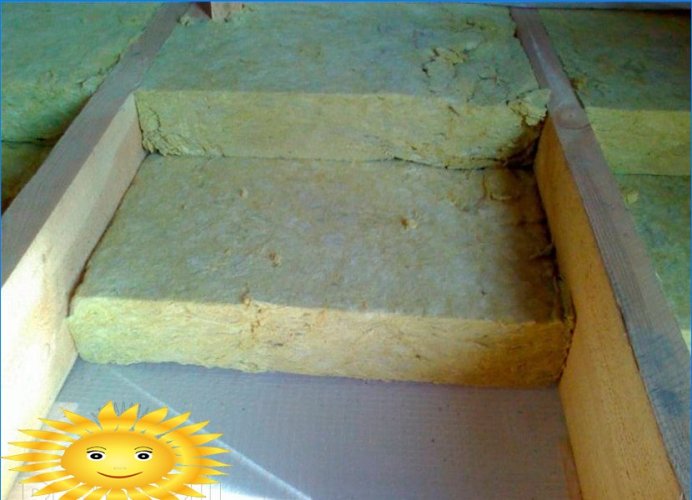
1. Hemming the frame with a reinforcing mesh and wind protection. 2. Rough floor. 3. Waterproofing and vapor barrier. 4. Insulation
After assembling the resulting shield, turn over and tap the mesh with the membrane to the lags. You can shoot with a stapler through a plastic washer, you can take screws with a wide head – the choice is yours. After assembly, install the finished floor base on the props, and then wind the central supporting beam of two 150×50 mm boards and attach the logs to it: one self-tapping screw per intersection.
At this stage, you should lay the foundation of the sewer pipe for the shower and toilet. It is easier to attach them to the beams: under the back wall for the shower room and to the central one for the toilet.
This is followed by thermal insulation: lay a mineral wool insulation, cover the logs with a vapor barrier and cover the floor with an edged or tongue-and-groove board. After assembly, remove the boards holding the support beams together and protect the ends of the framing with strips of moisture resistant plywood that run down to the middle of the bottom beam.
At the place of the shower, it is necessary to protect the floor from moisture. To do this, it is enough to cover a sheet of moisture-resistant plywood and film waterproofing in the place where the shower room will be. As a result, you will get an isolated area with a drain in the far corner, so that the water leaves the change house without stagnating or damaging the wooden structures.
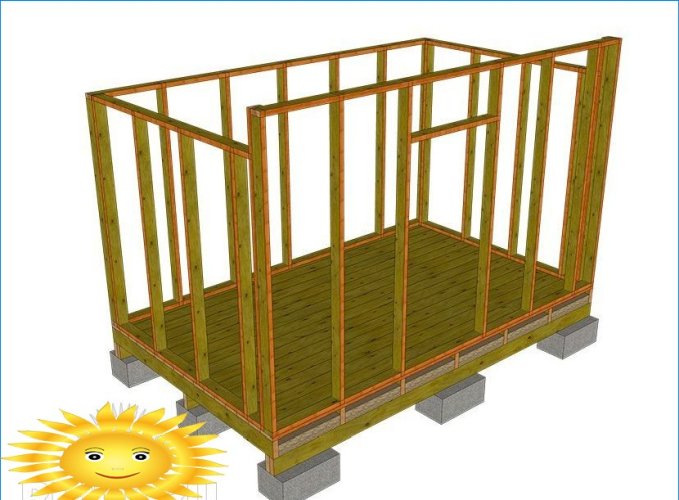
Wall frame construction
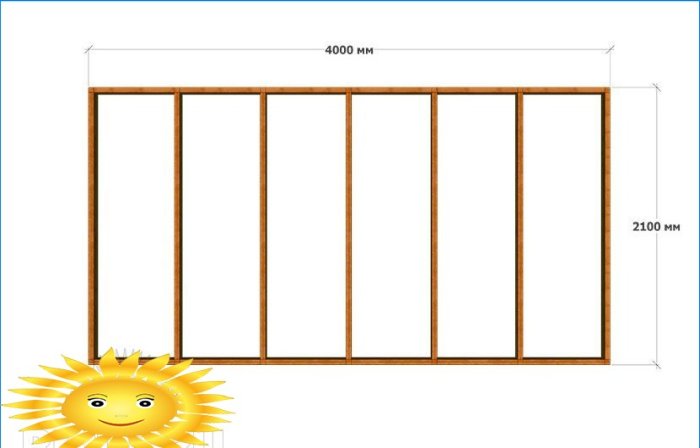
Assemble the walls from four frame frames, knocked down from a 40×100 mm bar. On the knocked down floor, spread the beams on the edge, forming a frame of the back long wall 4×2.1 m, placing short beams between the long ones. In the same way, in 60 cm increments, fasten the vertical frame posts. After assembly, lift the wall, reinstall it and temporarily fix it with an oblique support to the floor.
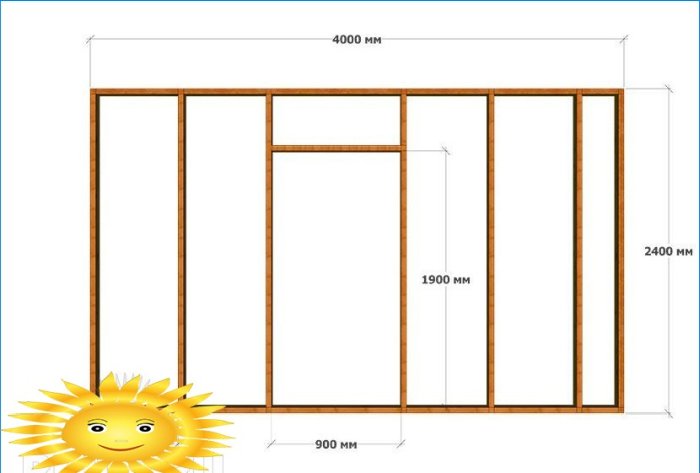
The second long wall (front) has a height of 2.40–2.55 m and sets the overall slope of the pitched roof. After assembly, install it opposite the previous one and fix it in the same way. Long walls are exposed at the end protection of the floor, that is, flush with the plywood.
After installing long walls, measure the exact distance between them on the floor, this value is taken as the length of the frame of short walls. They need to be assembled in the shape of a rectangle along the height of the rear wall, but at the same time the extreme post, which will be joined to the front wall, is taken equal in height to the front wall. It is important to navigate by the real height of the already installed frames. After installing all four fences in place, tighten the frame with self-tapping screws in the four upper corners. Next, nail the walls tightly to each other and fix to the floor logs through the boardwalk with self-tapping screws 120 mm or longer.
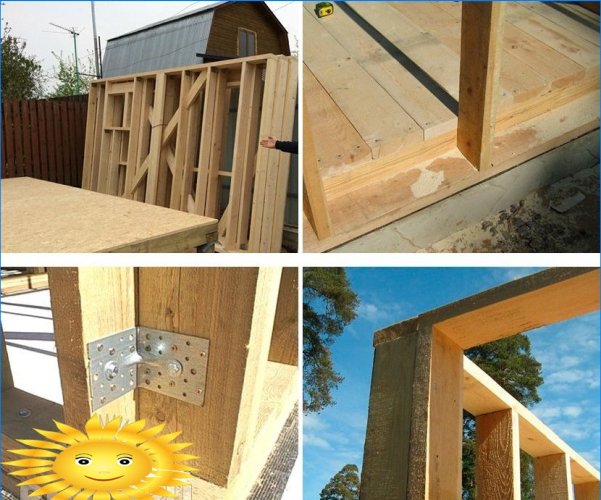
At the corners of the building there are corner junctions of the extreme pillars of the neighboring walls, they need to be reinforced with a 60×60 mm bar. Finally, cover the entire frame flat with a 100×40 mm board, which is first laid on the short sides with an overlap on long walls, and then in the formed gaps.
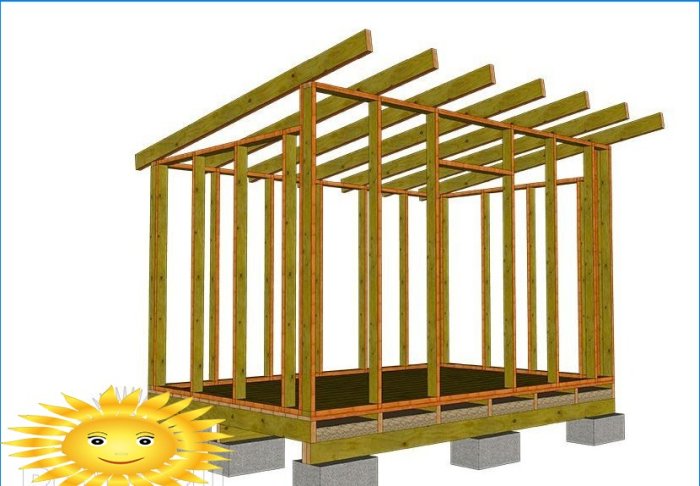
Shed roof device
Install ceiling beams 200×40 or 150×50 mm on top of the frame. Their length should be about a meter more than the short wall of the house: take out the roof above the walls 60 cm in the high part and 30 cm in the low.
The roof beams are supported by the back and front wall frames. Install the two outer beams along the edge of the side walls and distribute the rest between them in 600 mm increments. To mate the beams with the two horizontal ends of the walls, cut and cut to a depth of about 10-15 mm. Fix the beams with corners or long pre-drilled screws to the wall frame.
From the bottom to the beams, shoot the vapor barrier strips with an overlap of at least 5 mm with a stapler, glue with aluminum tape as they are laid on both sides. Then hem the ceiling with a 15×80 (100) mm edged board. Already below the layer of insulation and lining there is a water tank for the shower. In the best case, this is a plastic container for 200-250 liters with a height of no more than 20 cm.
1. Roof covering. 2. Lathing. 3. Insulation 4. Vapor barrier. 5. Ceiling lining
Place a roll of mineral wool with a density of 60 kg / m between the beams3, cover the roof with a crate with an outlet on the sides of about 35 cm.It is optimal to fill the slats across the slope from a board of 25×100 mm with an indentation of about 40 mm, this will be enough for ventilation of the under-roof insulation.
When choosing roofing, avoid metal; in the summer heat, it will heat the change house to the point of impossibility. It is preferable to cover the roof with ondulin or bituminous tiles, since its area is very small.
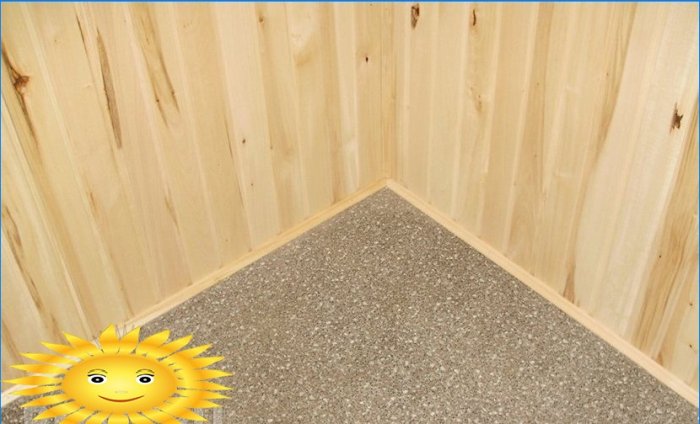
Internal and external finishing
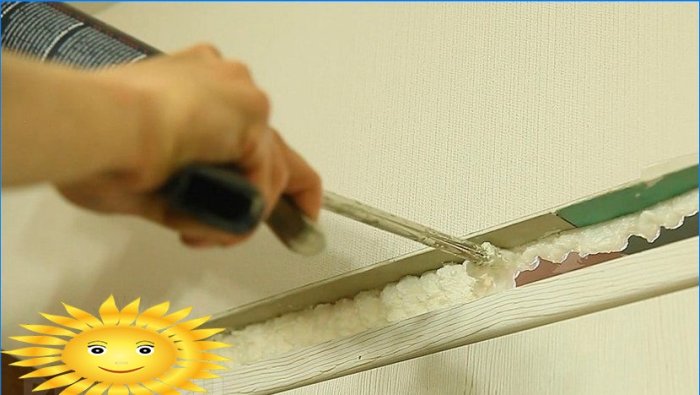
Before further work, you need to prepare the openings: install horizontal crossbars. On the inside of the change house, trim the walls with a vapor barrier, and then form a panel sheathing. You can use either 10 mm lining for this, but it will be faster and easier to sew up the OSB walls. After installing the cladding, go over all the joints and seal them, this will take about one cylinder of professional polyurethane foam.
Wall insulation: 1. Frame. 2. External cladding. 3. Internal lining. 4. Wind protection. 5. Insulation. 6. Vapor barrier. 7. Window
On the outside, between the walls, lay insulation: mineral wool 100-120 kg / m3 or expanded polystyrene. It is also advisable to fill the joints and abutments to the beams with polyurethane foam. Of all the options for external cladding, it is strongly recommended to use the simplest wooden siding: a calibrated board 20×120 mm with a sample of one edge. Start installation from the bottom, with a herringbone, from plywood to roof beams..
Tap the eaves and side overhangs of the roof with ordinary wooden lining, 8-10 holes with a diameter of 10 mm are drilled in 3-4 places on each side for ventilation of the under-roof insulation.
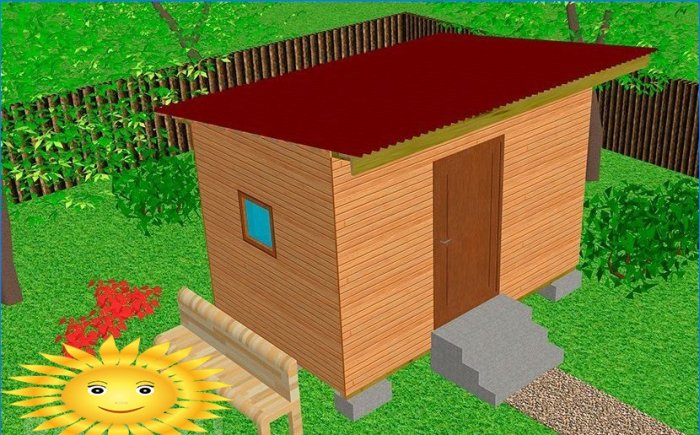
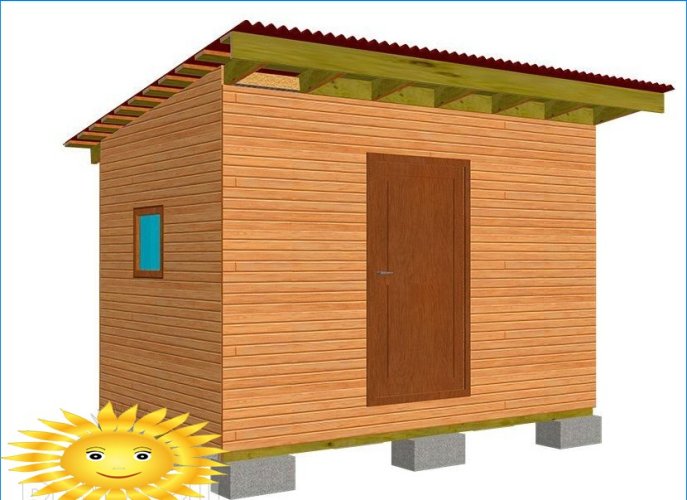
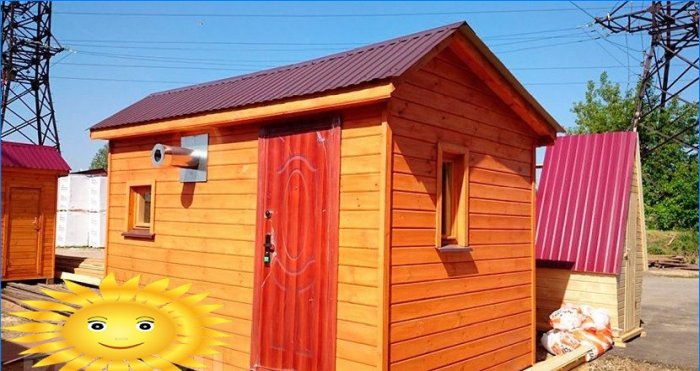
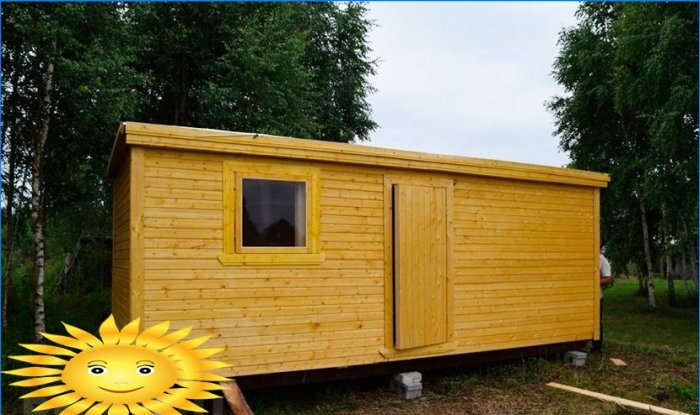
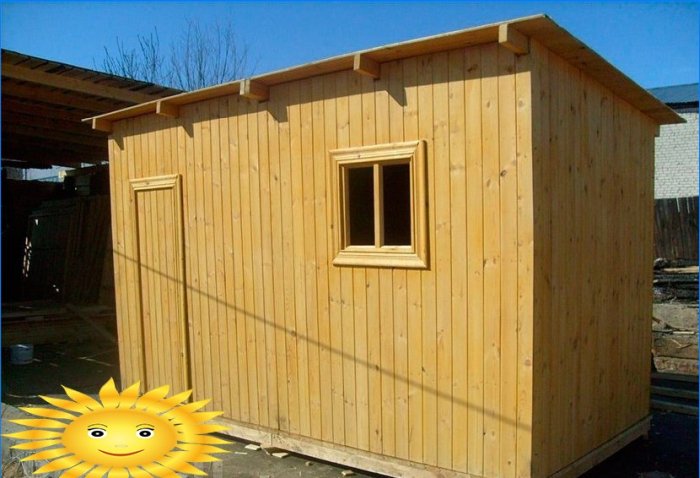
The frame and base of the change house is easily scalable, and you can choose almost any layout. Below are examples of wooden cabins with shower and toilet.
Can you please provide more details or clarification on what you mean by “change house with toilet and shower with your own hands”? Are you asking how to physically relocate a house or switch the location of a toilet and shower within a house using your own hands? Could you also specify if you are looking for general tips or guidance on these tasks, or if you have a specific question in mind?
Is it possible to change the layout of a house, specifically adding a toilet and shower, without relying on professional help and doing it all by yourself?