Recommendation points
- Oven installation options in the house
- Selection of bricks, sand, mortar
- Preparation, tool list
- Step-by-step instructions with a photo on laying the stove
- Foundation masonry
- Erection of the furnace body
- Chimney creation
This article contains an understandable, very detailed photo-instruction for laying a brick oven with your own hands, tips on how not to make a mistake when choosing the necessary materials and how to properly place the stove in a private house for optimal heating of a larger area.
Oven installation options in the house
The placement of the stove entirely depends on what the owners expect from it. If it is installed in a small house and will be used as a fireplace for friendly gatherings, you can use the first scheme. Such a stove is a good option for grilling barbecues or kebabs..
Brick oven placement options
The second scheme is for a solid quadrature house. In this case, the front side of the fireplace stove opens into the living room, the stove walls heat both bedrooms, and the heat in the rest of the rooms is maintained by means of heat exchange..
The third scheme with a stove for heating and cooking is a budget housing option for a bachelor or a small family. Pros – a warm bed and the possibility of placing a dryer in the hallway.
Important: it is worth taking care of the external insulation of the house in advance, because it greatly increases the efficiency of stove heating.
Selection of bricks, sand, mortar
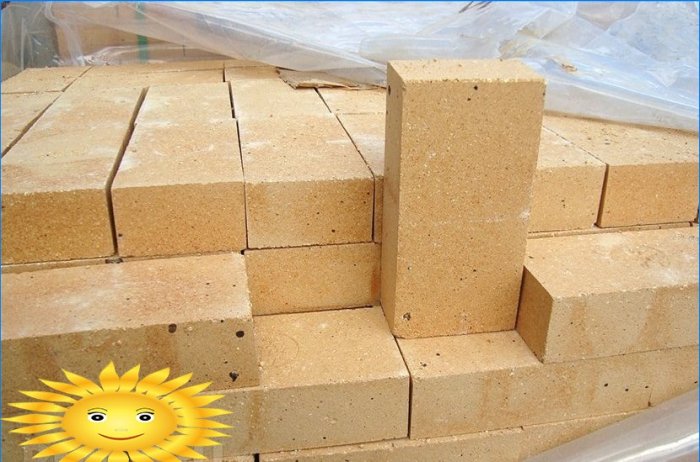
For the oven to serve for a long time, you need to correctly select all the materials. There are three types of bricks:
- Ceramic – can be used to build a furnace.
- Silicate – generally not suitable in this case, even double M150.
- Refractory – ideal, but they are often used only for the firebox and fireplaces, varieties: fireclay, refractory bricks, etc..
Tip: when choosing a brick for a stove, you need to completely abandon its hollow types.
The mortar is made from clay. Red clay is suitable if the stove is made of red brick; when using fireclay, special fireclay clay is required. Some stove-makers still, in the old-fashioned way, independently make a solution from river sand with a grain of 1–1.5 mm, clay (in a ratio of 2.5: 1) and water. At the same time, it is advisable to use angular quarry sand without foreign inclusions and the so-called oily clay. However, it is easier and more reliable to buy a ready-made oven mixture in a store, having prepared it according to the instructions..
From accessories, you need to purchase grates, blower and furnace doors, soot cleaners, valves or dampers.
Preparation, tool list
Before starting work, you need to determine and mark the place that the new stove will take.
The chimney pipe should be no closer than 15 cm from the roof rafters.
If the laying is done by you for the first time, professional stove-makers advise you to practice in advance by making a model of the future stove from the prepared brick. Naturally, no solution. This minimizes possible risks in real laying, allowing you to learn from your mistakes, which can still be corrected in the layout..
The stove foundation requires preliminary waterproofing, in area it should exceed the area of the stove.
When laying a new row, you need to control the absolute verticality of the walls..
To build a brick oven, you need the following tools:
- plumb line;
- trowel;
- roulette;
- putty knife;
- Bulgarian;
- knitting wire;
- building level;
- metal strips, corners;
- containers for cement and clay mortar.
Step-by-step instructions with a photo on laying the stove
Different stove-makers have their own masonry technologies and their own secrets that have come over the years of experience. Here is information about a fairly simple way to create a fireplace stove for heating a two-story house, the process will not seem extremely difficult even for novice stove-makers.
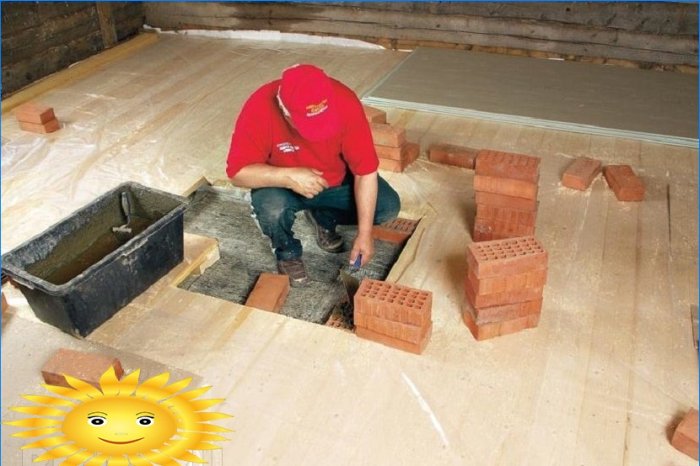
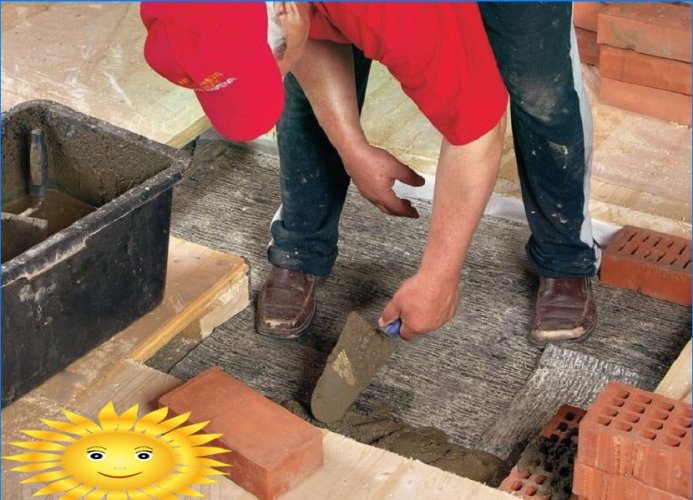
Foundation masonry
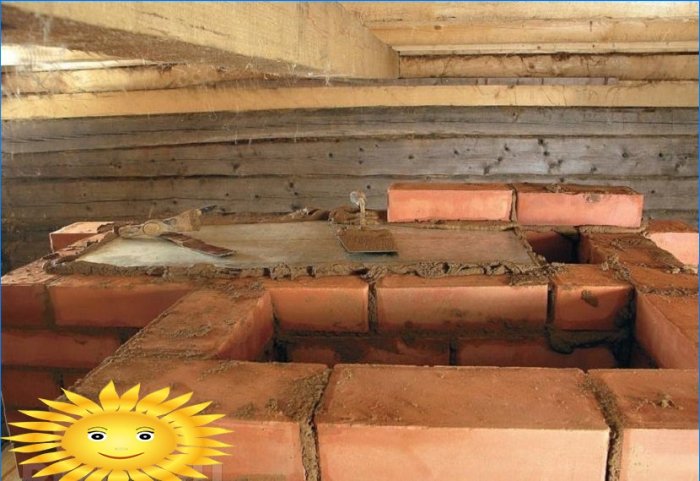
A basic row of brickwork will serve as the foundation. It is done with any brick, some stove-makers even cover this level with rubble.
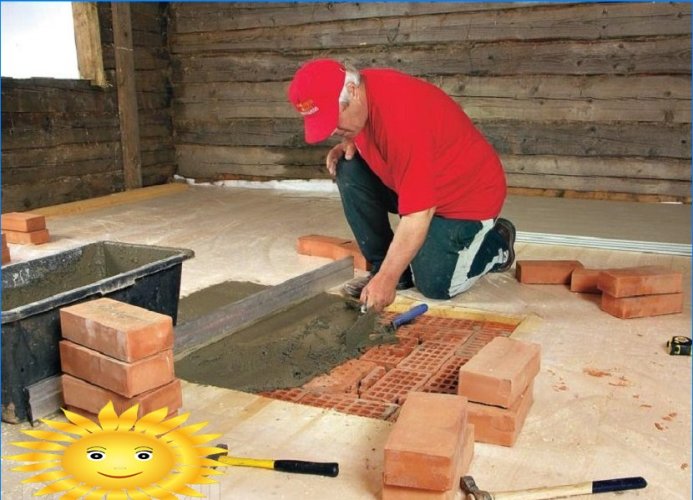
When laying the base row, cement mortar is used.
The foundation is completely filled with mortar, the layer is leveled.
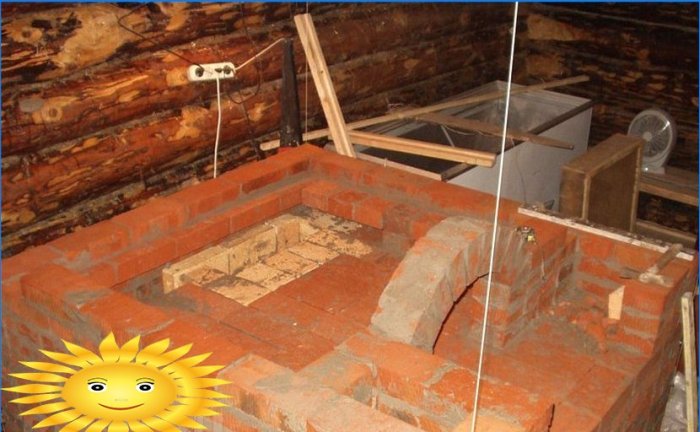
Erection of the furnace body
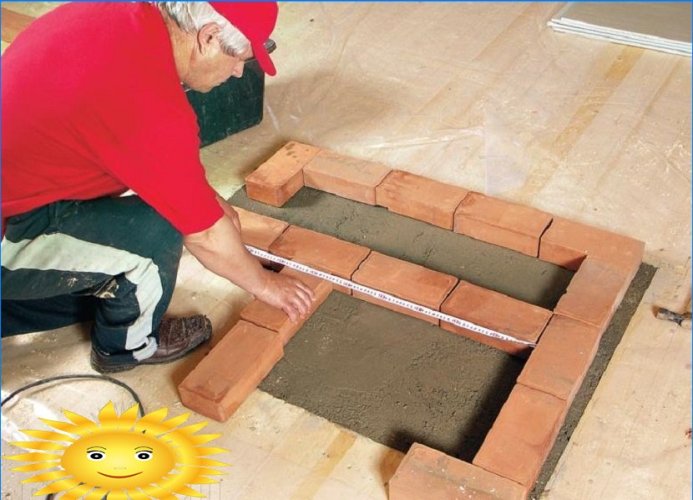
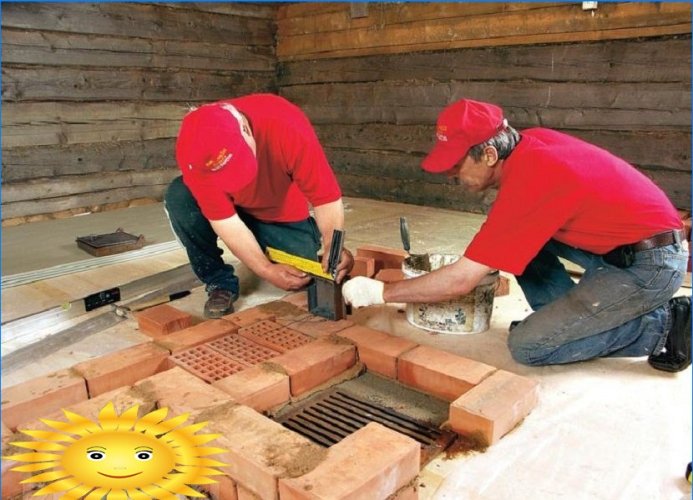
The first oven row is marked. The horizontal from which they are repelled when marking is the wall of the room.
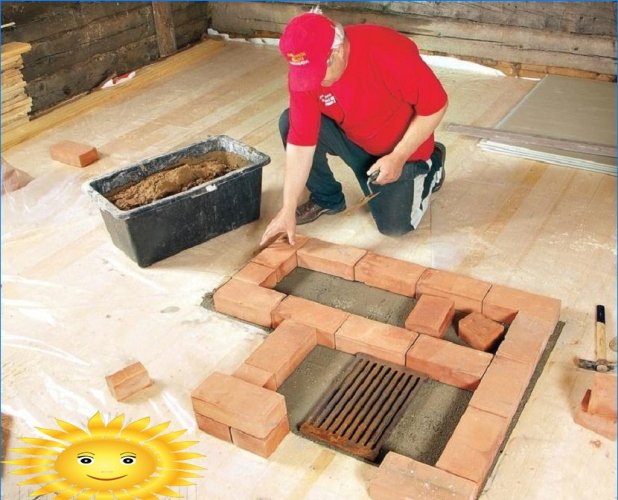
Where the fireplace is planned to be placed, a grate is placed. From this row, bricks are already laid on the oven mortar.
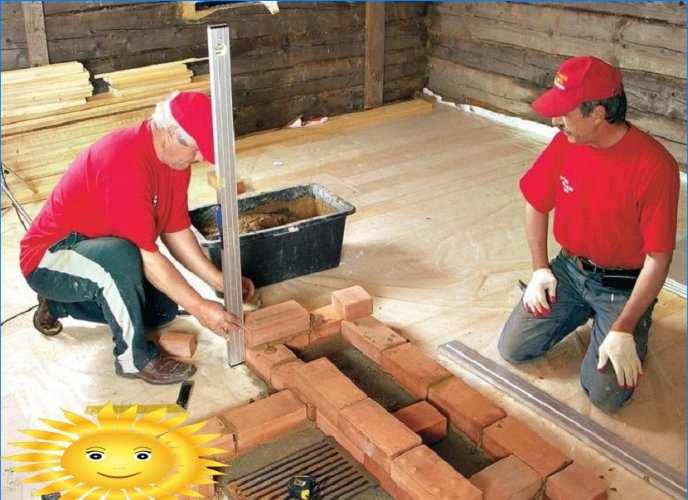
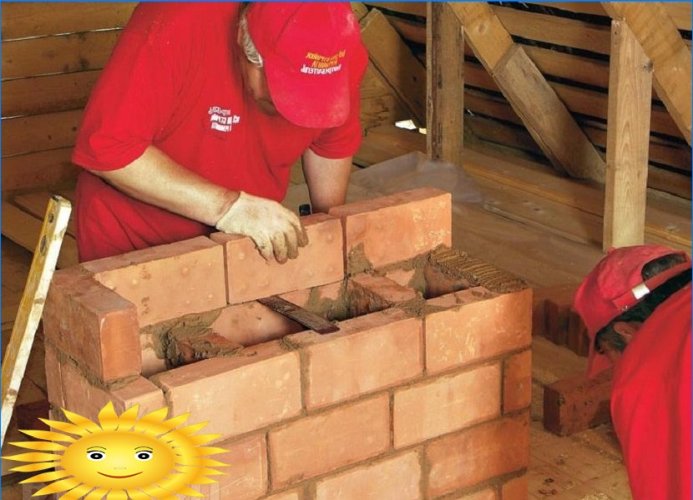
An important stage of work is the scrupulous alignment of each new row by level.
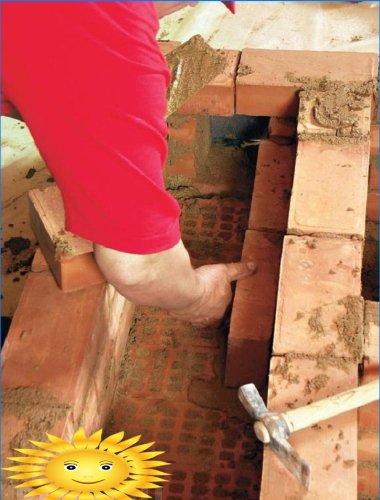
Laying the second row. The stove wall, which is closest to the wall of the room, is reinforced with additional bricks to increase fire safety.
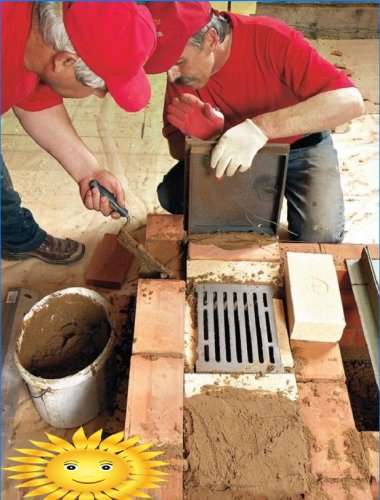
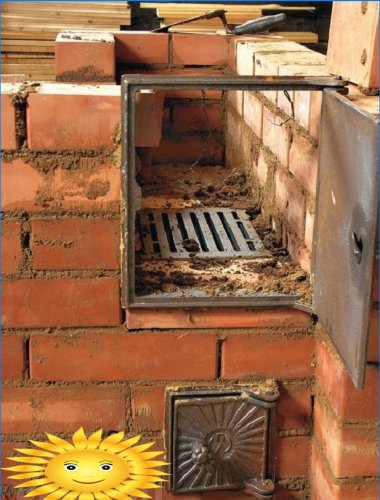
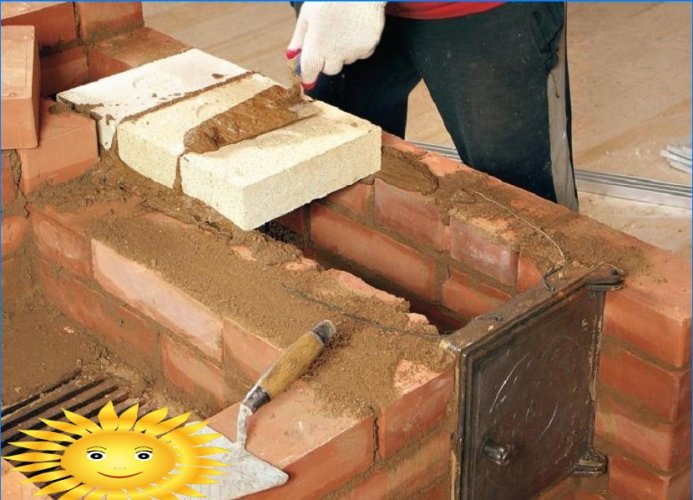
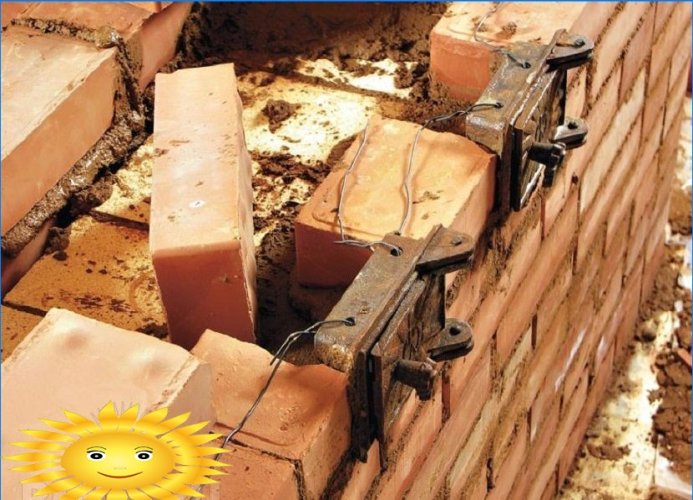
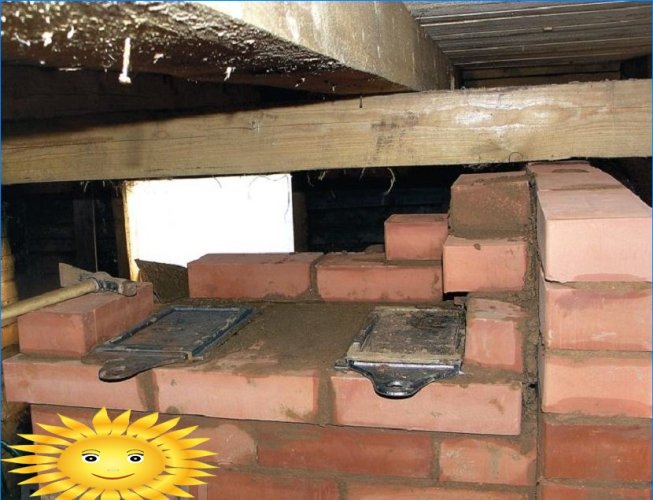
The place where the chimney will be located in the 2nd row remains empty, the rest of the stove is laid completely. A door is mounted through which the owners will clean out the ash.
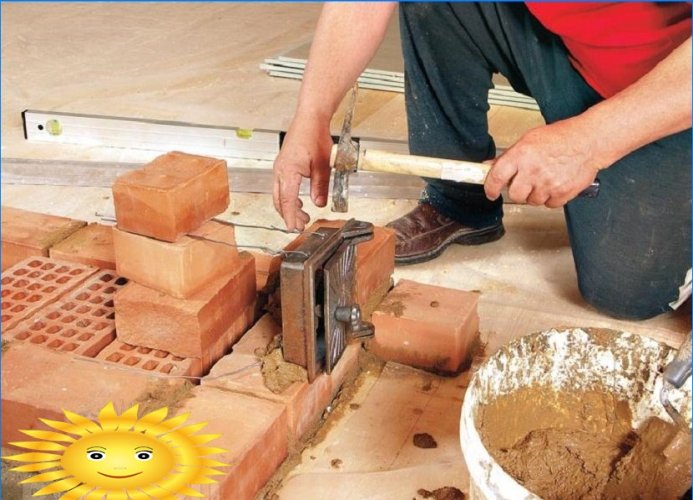
The door is installed on the mortar, leveled off. For a more reliable fixation, it is fixed with wire, which must be laid between the bricks..
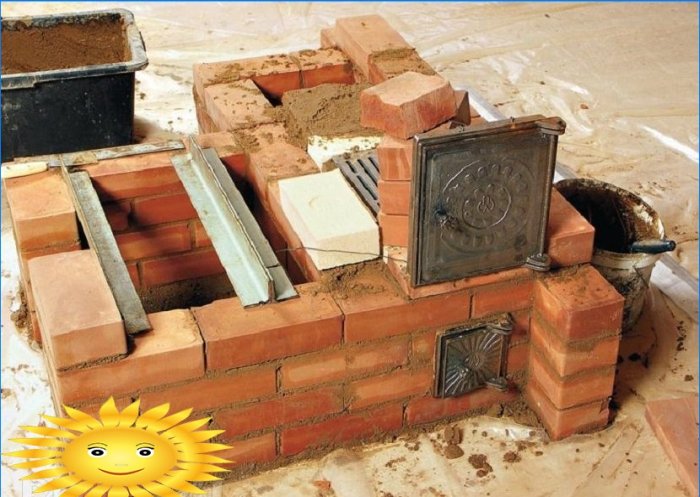
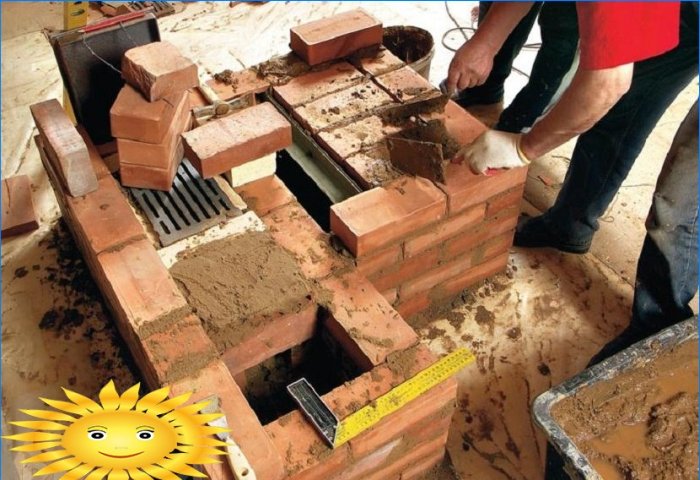
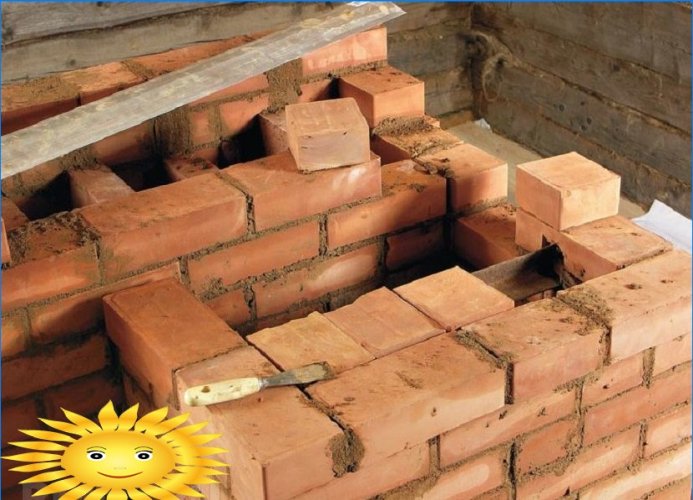
Next, the next 3 rows are laid. Then a brick stop is installed for the lattice – 2 rows of 1/4 brick are placed on the sides.
The grating is not laid on a simple brick, but on a refractory brick. Holes are cut in the fireclay bricks so that it lies on the same level as the bricks..
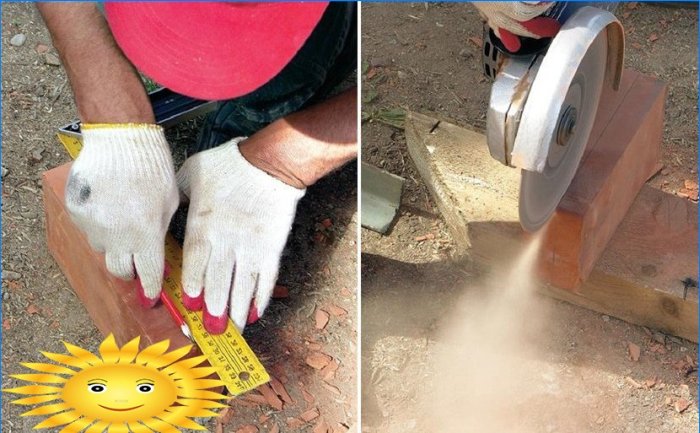
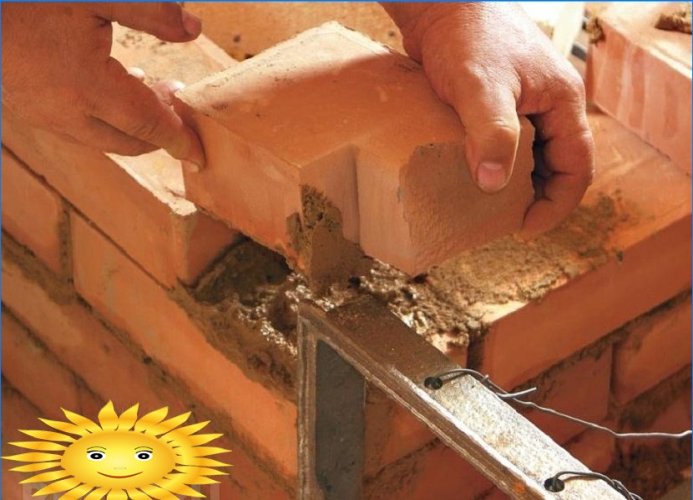
The size of the brick is easily adjusted – the excess is measured out and neatly cut.
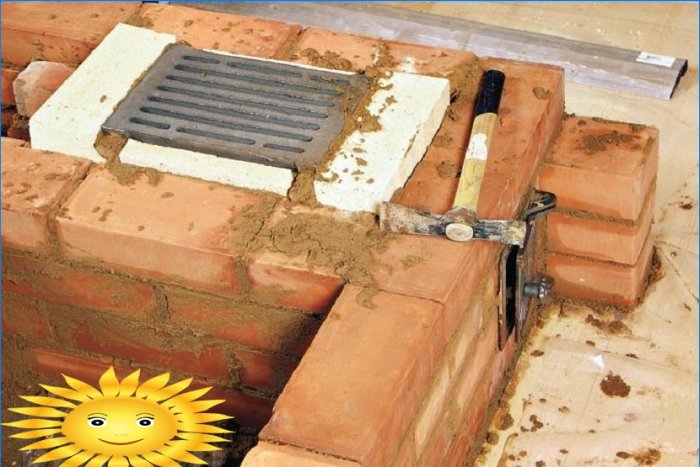
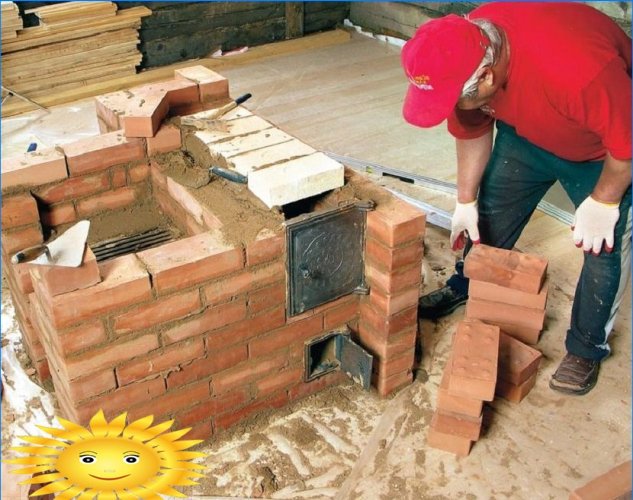
The large door is mounted next to the installed grille.
The large oven door is similarly fixed with wire fasteners.
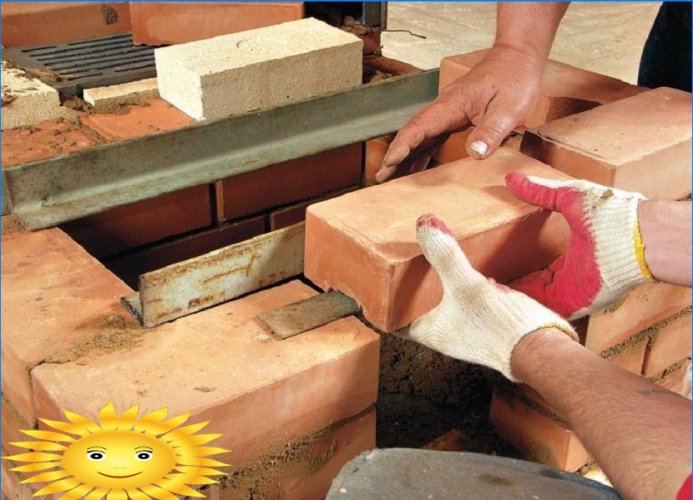
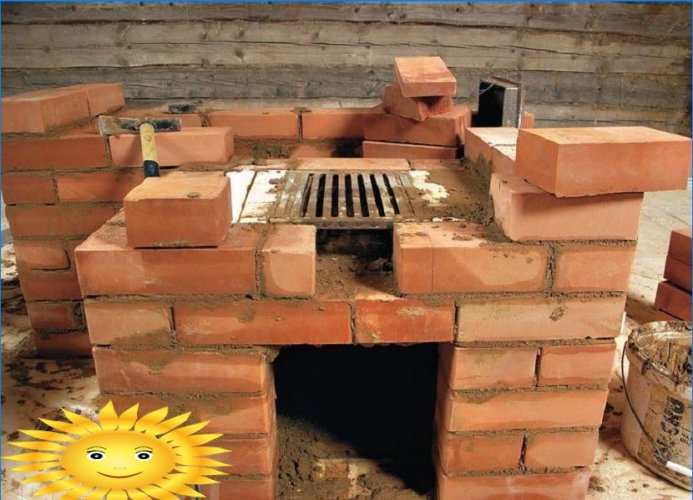
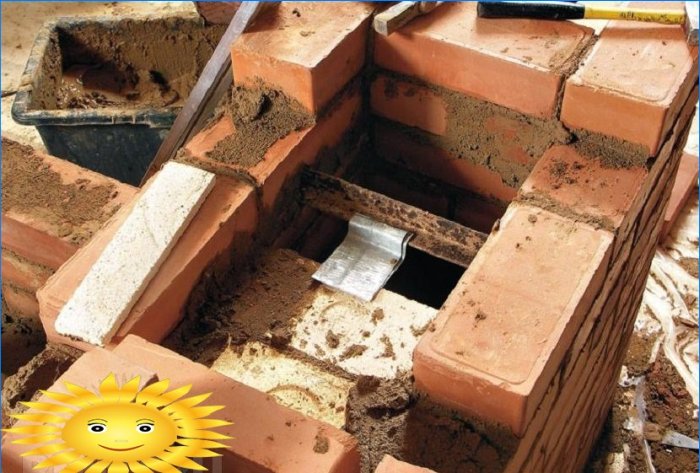
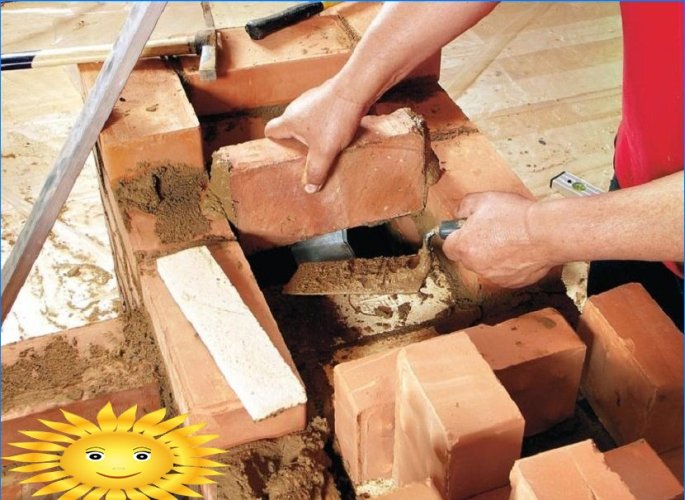
The first furnace row is placed exactly above the fireplace, it is reinforced with metal corners and a strip or thick sheet metal. So that the masonry can lie on them, it is cut through with a grinder, then the slots are manually brought to the desired size.
The next brick row is laid.
A fireplace grate is laid on a refractory brick along with a brick row.
The door is fixed, the brick is strictly adjusted to it.
The firebox of the new stove with a fireplace is ready.
Fire-resistant fireclay bricks are placed above the furnace.
Stove body built.
Chimney creation
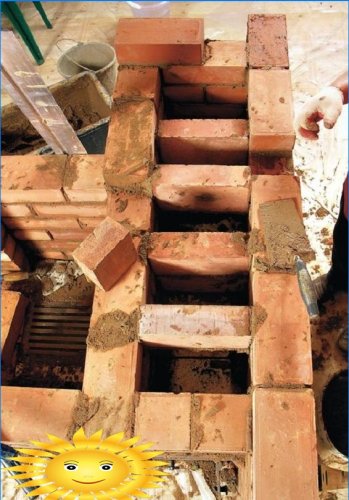
The place left for the chimney is divided into wells. The design requires reinforcement with metal plates.
Brick chimney wells are laid.
Soot cleaners are mounted above the firebox roof.
The wells are again divided, the first rows of the walls should be reinforced with metal strips.
After strengthening, the ceiling of the furnace body is erected. The chimney space remains empty.
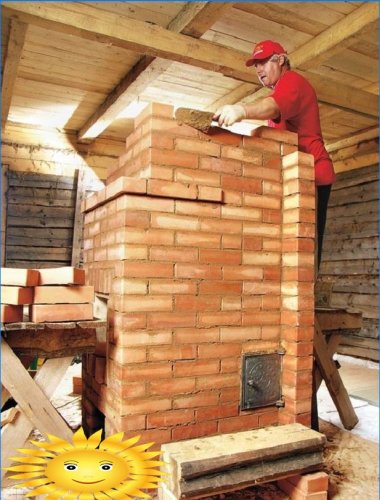
The cornice of the body is laid out, then the chimneys are laid.
The final stage of work on the ground floor. The stove is located at the bottom left, the smoke inside the chimneys moves in a spiral and comes out at the top left. The final division of the wells is covered with a tin sheet. In order to compensate for the pressure inside the fireplace, 2 brick rows are laid on the sheet metal.
Two chimneys stretch to the second floor of the house – from the fireplace and the stove itself, they are separated from each other. A separate damper is required for each chimney.
Floor level of the second floor. Waterproofing is installed here, the chimney is again reinforced with metal corners. To save money and not build a heating stove on the second floor, the chimney of the stove under construction is again divided. The smoke will go along it like a snake, having time to warm up the room. To make the chimney warm up much faster, it is placed in the area of the second floor with a thickness of 1/4 or 1/2 of a brick.
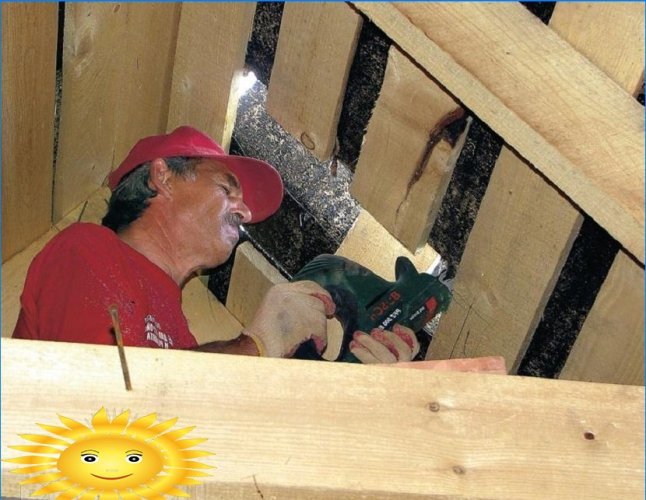
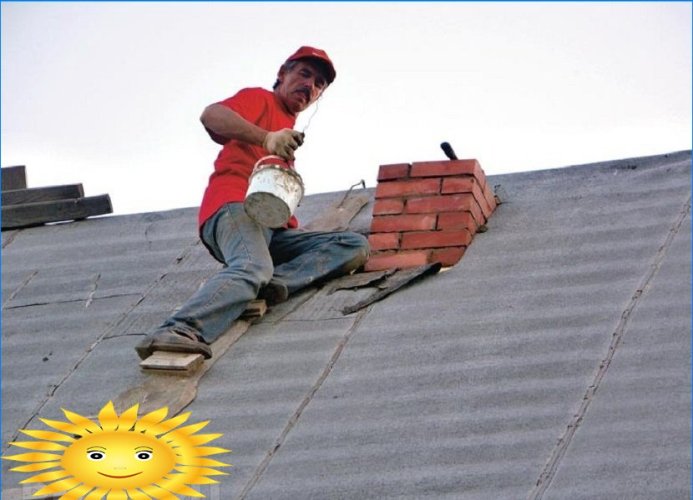
A hole is carefully cut out in the roof for the chimney.
Before removing the chimney to the roof, it is reinforced with metal corners.
If the chimney is located in the immediate vicinity of the roof ridge, it must be laid out above the ridge by at least 0.5 meters. If further, then the height of the chimney is allowed, equal to the height of the ridge, but not lower. In this case, the wind increases the furnace draft, raising the smoke up.
Even a small stove in the house is coziness and comfort. Larger stoves require increased skill and additional materials, but the principle of their construction is similar to the above method..

This is an interesting article! I’d love to give it a try. Just curious though, what materials are needed to build the DIY brick oven? And how long does it take to complete the whole project?