Recommendation points
- Purpose and dimensions
- Step-by-step instruction
- Formation of the “trough”
- Pillow device
- Waterproofing
- Formwork
- Reinforcement
- Pouring with concrete
- Completion of work
The main function of the blind area is to divert surface water (rain and melt) from the base of the house. Among the several coating options, the concrete blind area is one of the most common for a private house. In this material, we will consider in detail the arrangement of the blind area with our own hands.
Purpose and dimensions
In accordance with the standards, the blind area is part of the mandatory waterproof measures to prevent the soaking of base soils (primarily sensitive to moisture changes) with surface waters. That is, it is not the foundation itself that protects the blind area from water (there is waterproofing for this), but the soils, since many of its types, when a certain level of humidity is exceeded, lose their strength properties.
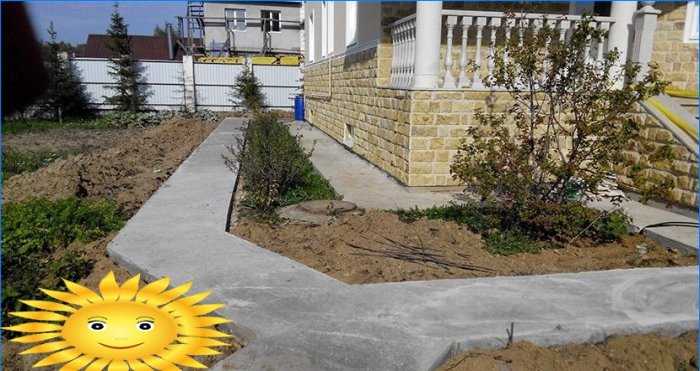
In addition, the blind area can be used as a path around the house and serve as part of landscape design..
It should be said right away that there is no separate standard for the arrangement of the blind area. There are three main documents regulating the requirements for width, slope angle, height above the planned level, foundation soil preparation, and so on. We will operate with their requirements when talking about arranging a blind area for a strip foundation.
A few words about myths. None of the regulatory documents indicate the dependence of the width of the blind area on the size of the roof overhang. In most cases, the actual aspect ratio is given as the recommended one. Although, sometimes the indicated excess of the width of the blind area over the removal of the eaves of the roof in 20-30 cm may not be observed. According to the norm, side overhangs for one- or two-story houses with an unorganized drain should be more than 60 cm (clause 3.24 SNiP 31-06-2009), and the width of the blind area depends on the type of soil, and its minimum size can be 70 cm.
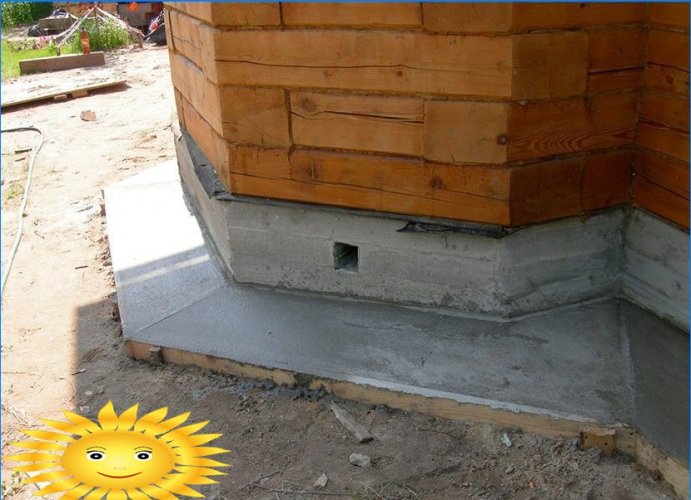
Blind area scheme. 1. Foundation and wall. 2. Ground. 3. Gravel preparation. 4. Sand preparation. 5. Waterproofing. 6. Concrete blind area. 7. Reinforcing mesh. 8. Formwork. 9. Drainage system around the house. 10. Downpipe
In the manual, which should be guided by developers, construction organizations and supervision services (“Operational control schemes …”), there is a direct indication of the width of the blind area for two types of soil:
- clayey – at least 100 cm;
- sandy – at least 70 cm.
It is also indicated here that the slope of the blind area should lie within 1-10%.
But if the soils are subsiding, then another normative document is “included” in the action – “Guide for the design of foundations …” (to SNiP 2.02.01–83). And it indicates that the width of the blind area for subsidence soil of type I should be from 1.5 m, and type II – from 2 m, with an elevation of the outer edge of the blind area above the planned surface of the site by 5 cm (paragraph 3.182).
And in both cases, the blind area should overlap the sinuses of the pits by more than 0.4 m, and the slope angle should be more than 3 °, or 5.2% (p 4.30).
The minimum thickness of the concrete covering of the blind area will be at its outer edge. Based on the standard thickness of the protective concrete layer of reinforcement (at least 30 mm), it should be from 70 mm.
The thickness of the blind area at the basement depends on the width of the blind area and the slope angle. It is easy to calculate it: multiply the width of the blind area by the slope angle (in percent) and divide by 100, and add the result to the thickness of the outer edge.
Step-by-step instruction
Formation of the “trough”
Since the concrete blind area can be used as a path around the house, it is subject to SNiP III – 10–75. The fertile (humus) layer must be removed over the entire width of the blind area. Its thickness may be different, but it must be remembered that the depth of the trough should be sufficient to accommodate the pillow under the blind area, the thickness of which should be more than 10 cm (clause 1.13 SNiP III – 10–75).
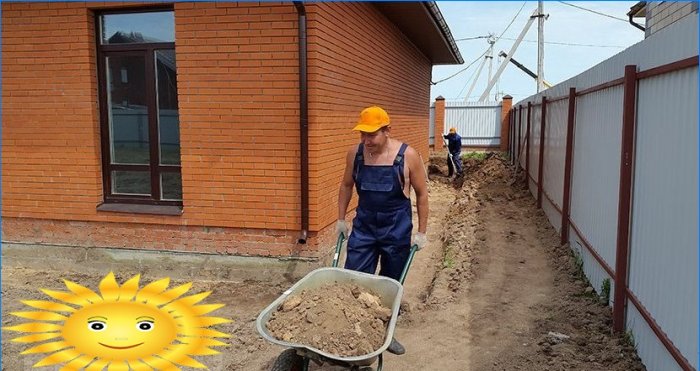
To the size, add the thickness of the thermal insulation materials (if necessary) and the underground concrete part of the blind area. The surface of the bottom of the trough should have a slope towards the drain and be compacted to a state where no imprints from the rammer remain on the ground (p 3.26 SNiP III – 10–75). The thickness of the compacted layer of collapsing soils must be at least 15 cm (p. 3.182 “Manual …” to SNiP 2.02.01–83). When arranging a deepening under the blind area, drainage is laid around the house, if this is stipulated by the construction project.
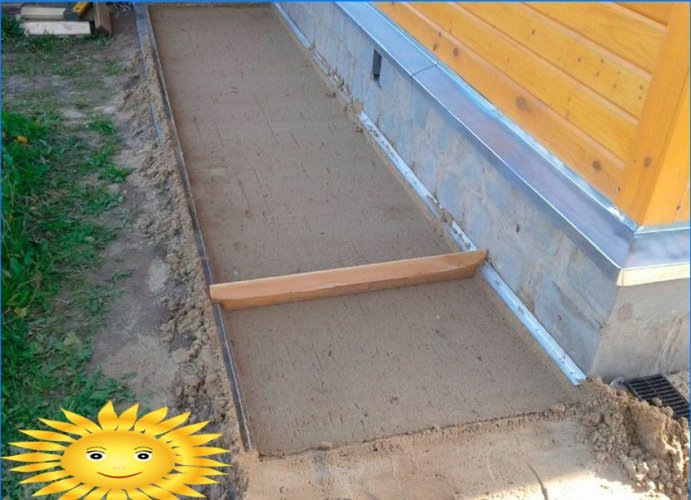
Pillow device
A concrete blind area is arranged on a compacted sandy base (p. 3.16 SNiP III – 10–75). The gap from the planned base to the three-meter rail should be less than 10 mm. The bottom layer of the pillow can be gravel or crushed stone with a fraction of 40–70 mm with a wedge (filling of pores) with a fraction of 5–10 mm. The total thickness of the pillow should be at least 10 cm, the recommended thickness is 15 cm (of which at least 5 cm of sand). A layer of rubble is watered and rammed in three steps until the mobility of the main and wedging fractions ceases. The deviation of the level of crushed stone preparation should not exceed 15 mm per 2 m length.
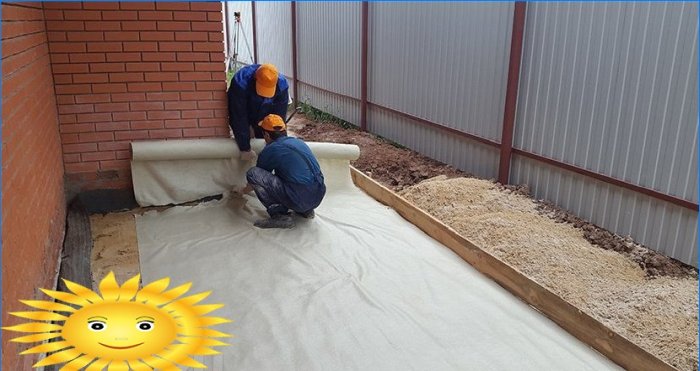
Waterproofing
A separating layer of waterproofing material is laid on top of the sand. It can be a geomembrane or polyethylene film with a thickness of 200 microns. The dimensions of the panels of these materials are sufficient to cover the blind area in width, and along the length they are either glued together or laid with an overlap with an overlap of 0.5 m. For heaving soils, it is recommended to lay an insulating layer (usually extruded polystyrene foam is used). With two-layer laying, the seams of the upper row are shifted relative to the lower one by half the size of the sheet.
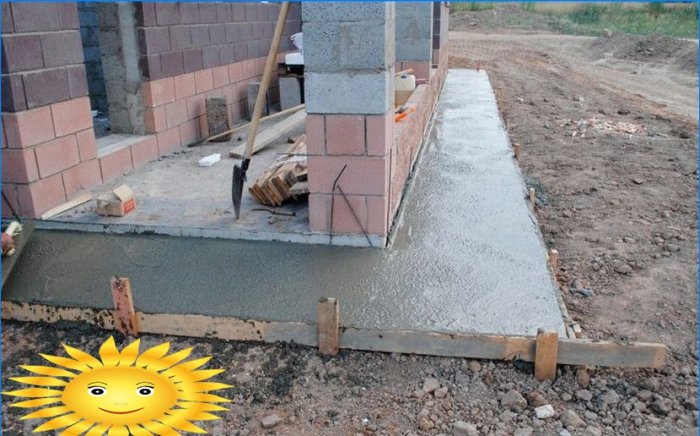
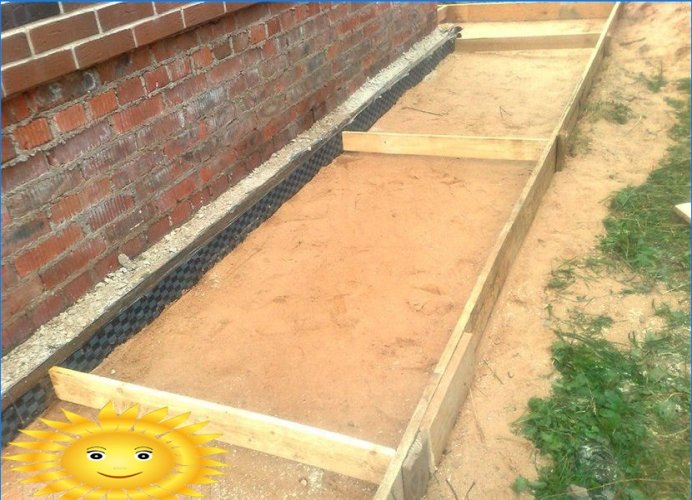
Formwork
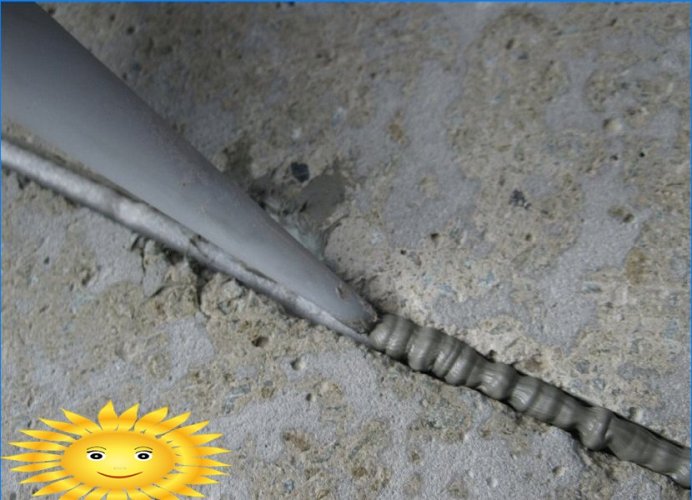
The formwork for concreting is assembled from a 20 mm thick edged board. After installing the formwork, it is necessary to lay the slats for the device of expansion joints (they will also serve as beacons for forming the slope of the blind area surface). The joint width for hard coatings is 15–20 mm, the joint depth is at least 1/4 of the blind area thickness.
The distance between the seams depends on the thickness of the blind area at the base. For monolithic coatings, they are combined with technological seams (the size of the grip of one fill) and are taken equal to about 25 times the layer thickness. So for the thickness of the blind area at the base of 15 cm, the distance between the expansion joints is 4 m. The abutment of the blind area to the base also provides for an expansion joint. It is formed in the form of a sheet of roofing material, but not thicker than 5 mm.
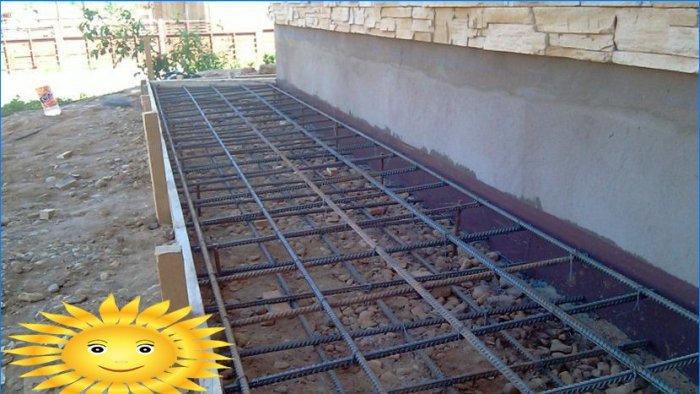
Reinforcement
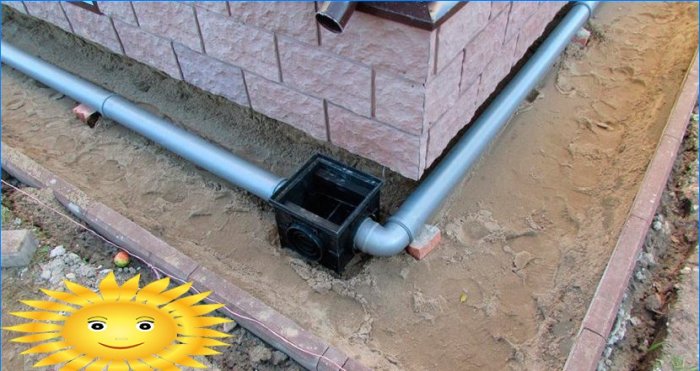
The simplest reinforcement option is to use a 100×100 road mesh with a thickness of 4 mm. There must be at least one cell overlap between individual cards. The distance from the reinforcement to the concrete surface must be at least 30 mm (including at the ends of the slab). At the same stage, all the necessary elements of the storm sewer are laid.
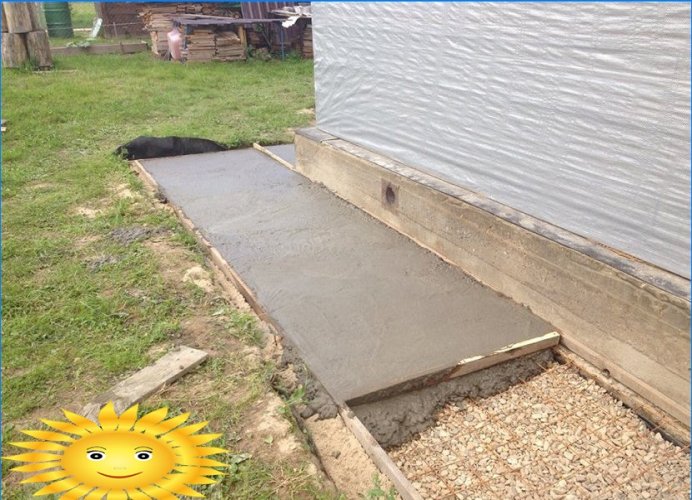
Pouring with concrete
To fill the blind area, concrete of the M200 brand is used. After pouring and forming the slope angle, the surface must be covered for 4 hours to prevent concrete drainage. In SNiP III-10-75 (p. 3.18), it is recommended to cover fresh concrete with roofing material for this, and pour a 10 cm layer of sand on top, which is moistened for two weeks.
Completion of work
After 14 days, sand and roofing material are removed from the surface of the blind area, the slats are removed from the expansion joints and filled with bituminous mastic containing 20% mineral filler.
As an increase in water resistance and resistance to abrasion of the surface of the concrete blind area, it is ironed. Wet ironing is performed two weeks after pouring concrete, dry ironing – immediately after pouring.
To obtain a blind area with high decorative properties, the technology of stamped or articulated concrete is used.

What are some effective and affordable options for creating a concrete blind area around the house for improved safety and privacy?
What are some important factors to consider when creating a DIY concrete blind area around the house? Specifically, I’m interested in knowing about the necessary materials, tools, and steps involved in the process.