Recommendation points
- Calculation of floor insulation on the ground
- Concrete and wood as two scales
- Soil preparation: dredging and marking
- The best materials for insulation
- Waterproofing: technology of work
Today we will focus on the complex flooring on the lower floors, that is, on open ground. These works require a thorough design approach, adherence to installation rules, the choice of suitable materials and the correct preparation of the “pie” for specific conditions. But first things first.
Calculation of floor insulation on the ground
The methodology of “heat engineering” of floors on the lower floors is very different from the calculation of the thermal resistance of other building envelopes. In the case of the lower thermal barrier, we are dealing with a heterogeneous environment, because the building is in contact not only with air, but also with soil, which itself prevents the transfer of heat and partially absorbs it. Calculation techniques differ due to many external factors, but each of them is worth studying separately. Therefore, here we give only the necessary references..
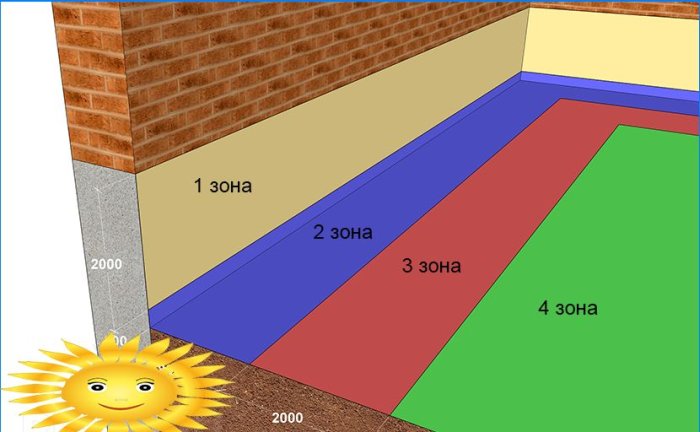
The floor of the lower floor of an unburied building, which refers to buildings on the MZLF and pile foundations, is best calculated using the Machinsky method. It involves dividing the floor into four conditional zones, forming a line 2 meters wide along the perimeter of the building on the floor. For each of these zones, the following values of the resistance to heat transfer in m are taken2K / W:
- First zone – 2.1.
- Second – 4.3.
- Third – 8.6.
- And the fourth – 14.2.
In narrow buildings, the last zones may be absent, and in wide buildings the fourth zone occupies the entire space remaining from the first three. In zone no. 1 at the intersections of the perimeter lines at the outer corners of buildings, the area must be counted twice.
For recessed houses with basement floors, the height of the walls to the ground level on the street should also be taken into account. In this case, the concrete of the foundation is assumed to be equivalent to the soil, and the heat leaving through the soil layer conventionally moves to the surface. The heat leaving through the horizontal plane of the floor must be calculated as penetrating into the bowels of the soil, respectively, the temperature difference and the degree of saturation of the environment with heat will be completely different. These principles are described in Sotnikov’s method, but for its correct use it will be necessary to determine the initial data on climate and geomorphology..
Concrete and wood as two scales
A completely different question is the system and type of floor device. It is a constant compromise, where reliability and durability rest on one side and warmth and comfort on the other. The choice may not stand as such for buildings on slab foundations or grillages. The seismological situation in the region also makes its share of unambiguity..
1 – compacted soil; 2 – crushed stone; 3 – sand bed; 4 – rough screed; 5 – thermal insulation; 6 – reinforced screed; 7 – finishing floor; 8 – waterproofing
Concrete floors, including screed over slabs or backfill, have the highest known resource, and they are also preferred for bathrooms and other rooms where the floor is covered with tiles. It is a myth that the concrete floor will always be cold – the system of its device allows you to lay up to 150 mm of insulation. In this case, you can use inexpensive polystyrene without much concern for health: the operating temperatures of the environment are such that the foam does not undergo destruction.
1 – foundation for pillars; 2 – waterproofing (roofing material); 3 – support pillars; 4 – cranial bar; 5 – steel mesh; 6 – wind protection; 7 – lag; 8 – insulation (mineral wool); 9 – ventilation gap; 10 – vapor barrier; 11 – floor boards
The intersecting log system of the wooden floor allows you to lay much more insulation, besides, the tree itself does not conduct heat well. Such a floor cannot be called the standard of simplicity and reliability: it is afraid of moisture condensation, it ages over time and loses its original appearance. Naturalness is a plus, but this is not an argument for most.
Soil preparation: dredging and marking
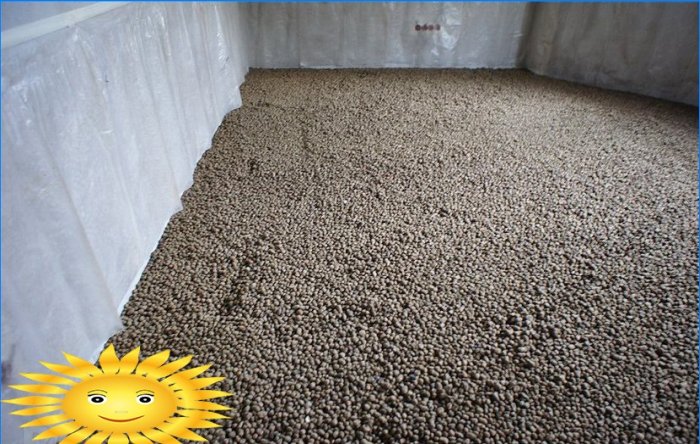
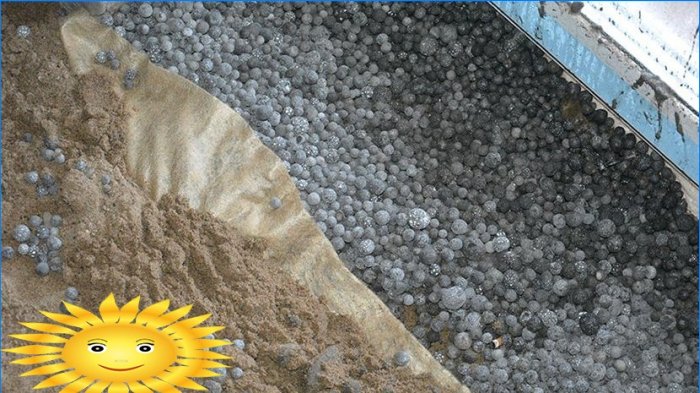
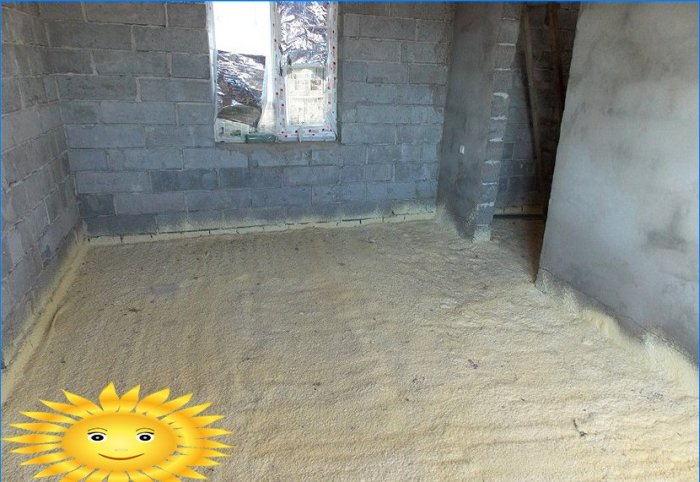
The initial preparation for flooring is the same for most building types. First of all, it is necessary to arrange a tough but porous bedding. For this, ordinary road crushed stone of 20-30 mm fraction is used, its layer in a well-compacted state should be about 100-150 mm. Under the concrete floor, crushed stone can be replaced with expanded clay, but its layer should not lie deeper than concrete fences.
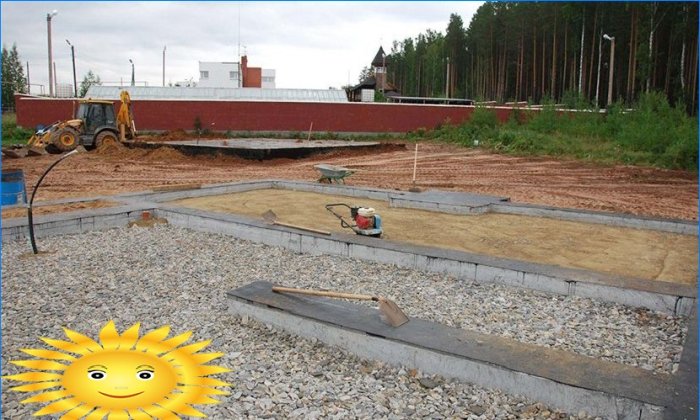
It is better to do the bedding immediately after the foundation is laid, having previously treated the earth with glyphosate. It is more convenient to dig out the soil this way, although this can be done even earlier – at the stage of excavation. So the concrete does not have to be cleaned of dirt, it can be immediately covered with waterproofing and crushed stone.
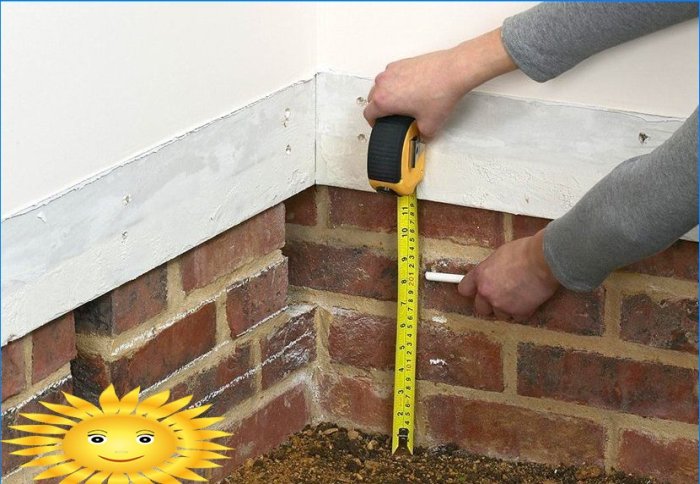
At the corners of the walls, it is necessary to mark the general horizontal level, and then determine the zero level of the floor. According to the transferred marks, you can beat off the line with a dyeing cord, but it is better to do this before arranging the upper tiers of the system and the floor cake.
The best materials for insulation
Depending on the type of floors, insulation materials can be exposed to a different number of adverse effects, such as mechanical, high humidity and condensation, the vital activity of microorganisms and many others..
You must be fully aware of the strengths and weaknesses of the insulation used or a combination of such, as well as the optimal operating conditions.
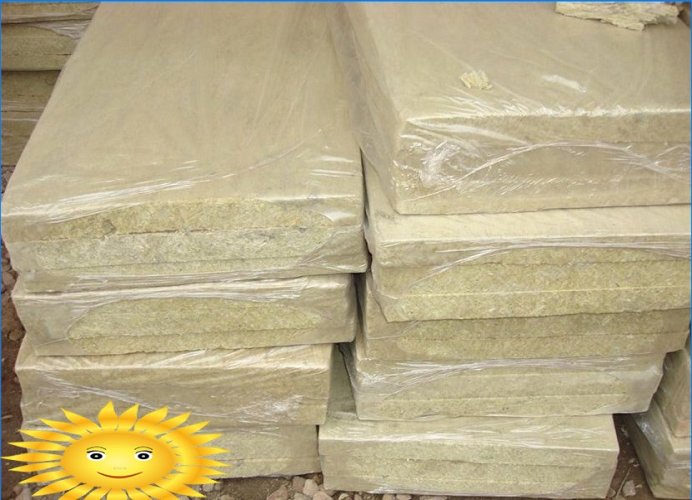
Mineral (stone, basalt) wool is the best material for insulating frame systems. Very simple installation and good resistance to heat flow made it popular and affordable, but cotton wool completely loses its properties when wet, therefore, it requires mandatory protection against steam penetration and must be kept ventilated.
Foam glass – conducts heat worse than cotton wool, because in the thickness of the insulation there is no air convection. This material, in fact, is an absolute heat insulator, it is solid, easily cut and joined with a special glue, which excludes cold bridges. In addition, foam glass is extremely strong in compression in a large array, so it can even be used to insulate monolithic slabs and concrete floors. Unfortunately, the technology is little mastered by the domestic manufacturer, although the price of the material is equivalent to mineral wool and is made from the same glass breakage.
Foamed polyurethane is another milestone in the evolution of building materials. Compounds for pouring and spraying can be purchased in cylinders, expanding foam fills the space between the elements of the floor system or only the bottom of the pit. It turns out a solid mass of material, which practically does not conduct heat, but within a week after spraying, the foam emits a slightly toxic gas.
It is always better to have a thinner layer of high-quality material, but remember the expediency of expensive insulation. Heat losses through an uninsulated floor account for up to 20% of brownies, so most often purely symbolic protection is sufficient.
Waterproofing: technology of work
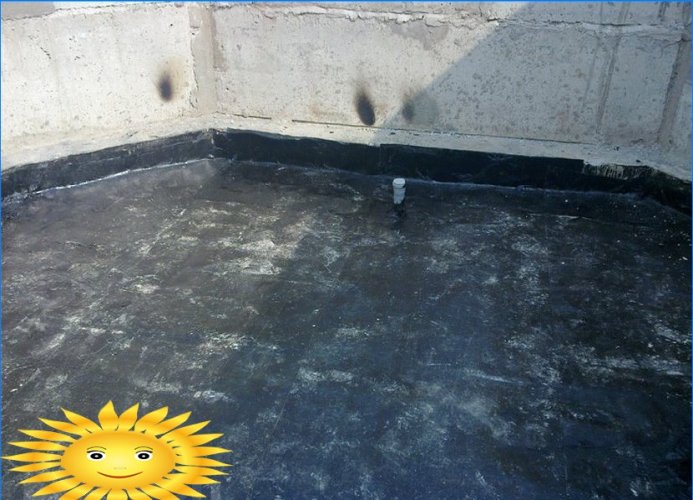
Both concrete and wood floors should be protected from soil that periodically accumulates moisture. And, depending on the device, floor waterproofing is achieved in different ways.
For a self-leveling concrete floor, a continuous waterproofing lock should be arranged. It can consist of one or two layers of polyethylene tape, rolled out over a thin sand bed, which protects the castle from sharp edges of rubble. The edges of the film are tucked up and glued to the walls with bituminous mastic, while the canvases can be “soldered” together with a relatively small amount of silicone and two flat slats under pressure.
You can use roofing material, banner fabric or special roll waterproofing for the floor. Consider the service life of the materials, for capital buildings it should be at least 50 years.
Wooden floors with wadded insulation cannot be isolated from the ground with a solid hydro-barrier, this will lead to a short circuit in the insulation layer of air moisture, which will constantly condense and evaporate. Only the floor system and, possibly, support pedestals are treated with coating insulation. In the simplest case, a couple of layers of roofing material are placed between the lags and the cement pad. Ideally, a special bar is used for the logs, processed locally or factory-made to make them hydrophobic and resistant to organic damage. Elements of the subfloor can also undergo a similar treatment, but it is better to cover the lumber of the floor covering with colorless compounds of the general spectrum of action..

I’m curious about the feasibility of installing do-it-yourself floors in a house on the ground. What are the main considerations one should take into account before embarking on such a project? Are there any specific types of DIY flooring that work better for ground-level houses? Any tips or insights would be greatly appreciated!
Can anyone share their experience with installing do-it-yourself floors in a house on the ground? I’m considering tackling this project myself, but I’m wondering if it’s manageable for a beginner. Any tips, recommended materials, or potential challenges I should be aware of? Thanks in advance for your insights!