The basis of almost any staircase is marches. The ability to make them allows you to assemble stairs of almost any configuration. In this article, we will tell you how it is possible, having only basic woodworking tools and general carpentry skills, to independently make a flight staircase out of wood.
We talked about how to determine the shape and main parameters of a staircase in relation to specific operating conditions in the previous article “How to make a staircase yourself. Part 1: project “. Most often, a staircase of any complexity is one or more marches connected into a single system using intermediate platforms or ramps. Therefore, the process of making stairs must be started with marches.
The constructive feature of the assembly of the flight staircase into the bowstring implies the manufacture of grooves-recesses into which all previously prepared elements will be inserted into the glue: steps and risers. Accordingly, the whole process is divided into three stages:
1. Making two bowstrings. Here you need to mark the workpieces and make grooves-recesses.
2. Preparation of the steps. All blanks are brought to the same dimensions – width and length, a longitudinal recess is made for the riser and, if necessary, cuts are made on the sides of the steps so that they form a beautiful harmonious structure with the bowstring.
3. Assembling the stairs. All elements are put together on glue.
How all this is done will be described later..
Making a bowstring
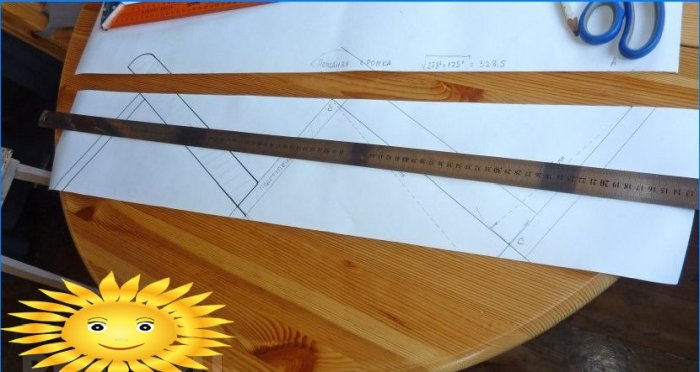
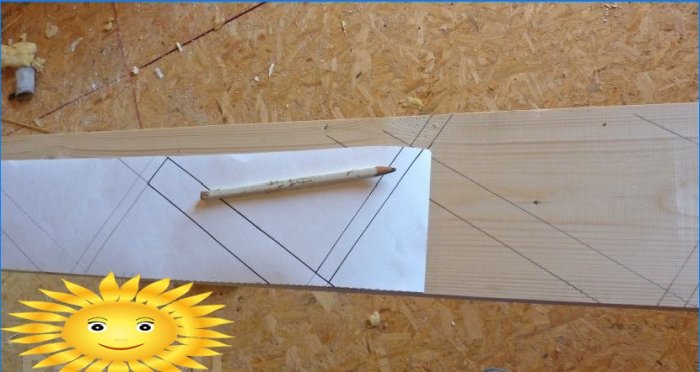
We start by marking up the template. Of course, you can apply markings directly to the workpiece for the bowstring, but, firstly, even with enough experience, you are not immune from mistakes, and it is much more difficult to correct them on the board than on paper, and secondly, preliminary markings will help you to accurately determine the correct necessary and sufficient dimensions of the blank for the bowstring. So, for example, as will be seen below, after making a template, it becomes clear without additional mathematical calculations that a board width of 160 mm is quite enough.
So:
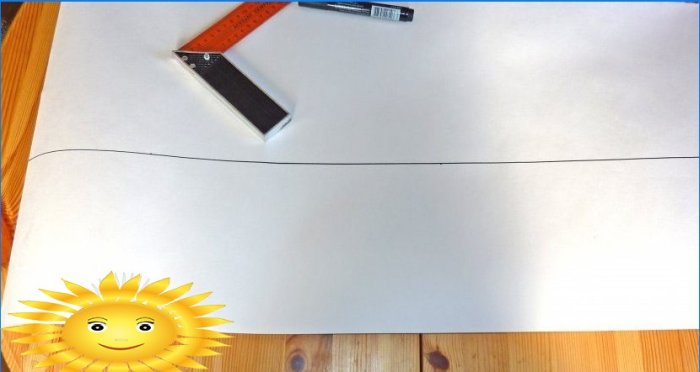
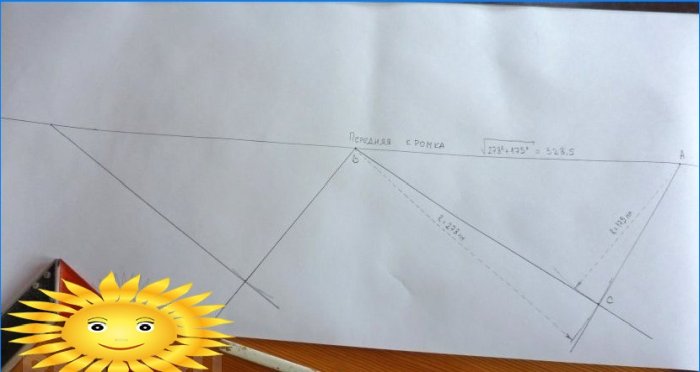
1. Draw a straight line on a sheet of paper, retreating from the edge of about 200 mm. This will be the leading edge of the bowstring..
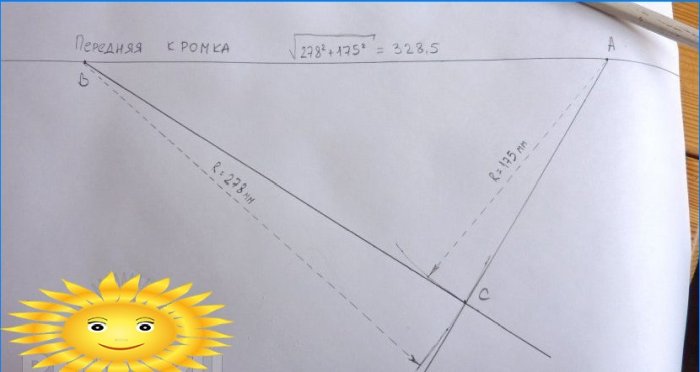
2. We need to build a “saw” with teeth – right-angled triangles, with legs equal to the width and height of the steps, that is, 278 mm and 175 mm, respectively. Hypotenuse – the side that will go along the line of the leading edge, we calculate according to the Pythagorean theorem – the square root of the sum of the squares of the legs. We get 382.5 mm. We neglect half a millimeter – this will give a minimum and acceptable error. In the future, when constructing, we will use a value of 328 mm. To plot, mark the first point – AND. From it we set aside along the line-edge of 328 mm – we get a point IN. From point AND draw an arc with a radius of 175 mm. From point IN – similar to a radius of 278 mm. Point of intersection of arcs – point FROM – the third vertex of the tooth triangle. In fact, we got the first step.
3. We retreat from the point IN left 328 mm and build the second triangle in the same way as the first. More on the sheet is unlikely to work, and this is not necessary – after transferring the markings to the board, the template simply moves along the bowstring and gives the following marks.
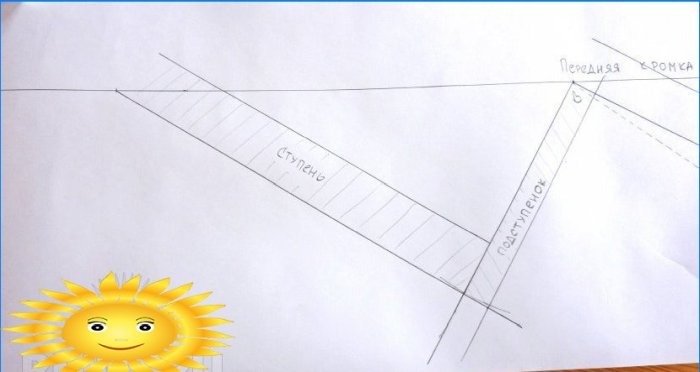
4. From the side Sun upward we retreat a distance equal to the thickness of the steps minus 1 mm, and draw a line – this will be the upper plane of the steps. 1 mm is necessary in order to ensure sufficient tightness of the joints. In the future, when adjusting the steps, it will always be possible one way or another to adjust the dimensions to the required ones. From AS retreat back a distance equal to the thickness of the riser, and draw a line – this is the rear plane of the riser.
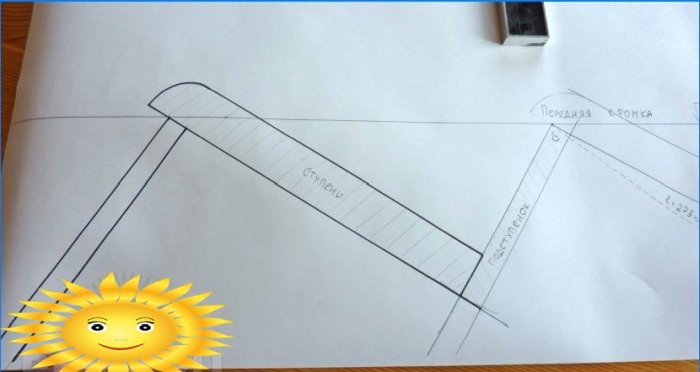
5. Highlight one step and one riser in bold. The overhang of the step should not be more than 30 mm. If the purchased workpiece forms an overhang of more than 30 mm, then it will have to be cut in width. In our case, the width of the steps of 300 mm is sufficient for the step to form an overhang of 300 – 278 = 22 mm – quite suitable.
6. Notice the point farthest from the leading edge — the rear bottom edge of the riser. If we measure the distance from this point to the leading edge, we get the minimum allowable width of the blank for the bowstring. Ours, as you can see, is 160 mm.
Thus, having marked out the template even before purchasing the material, you can determine the optimal, in terms of economy, dimensions of the blanks, as mentioned above..
7. Cut off the template strip along the leading edge.
8. At this stage, the process of making the template is finished..
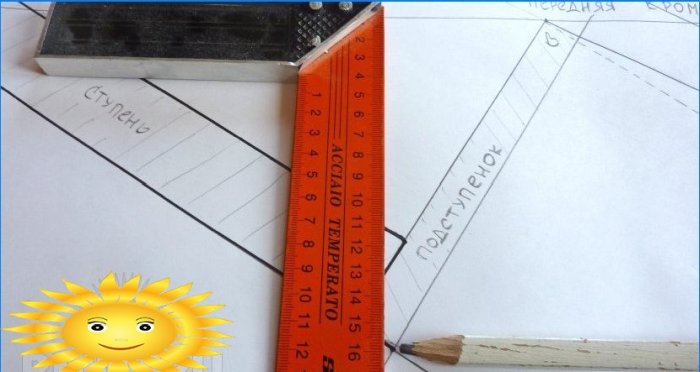
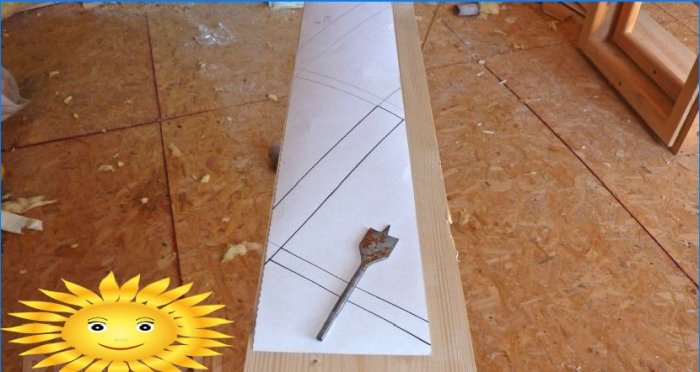
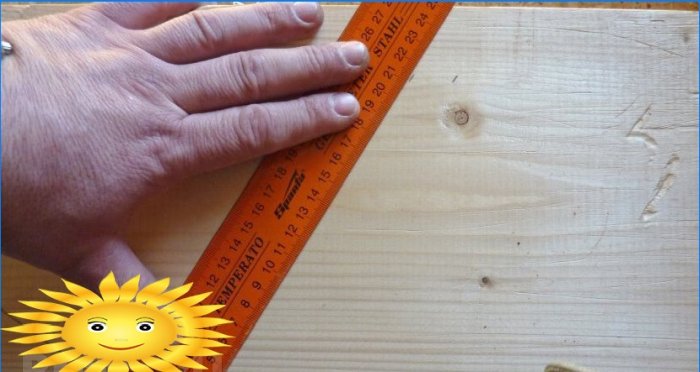
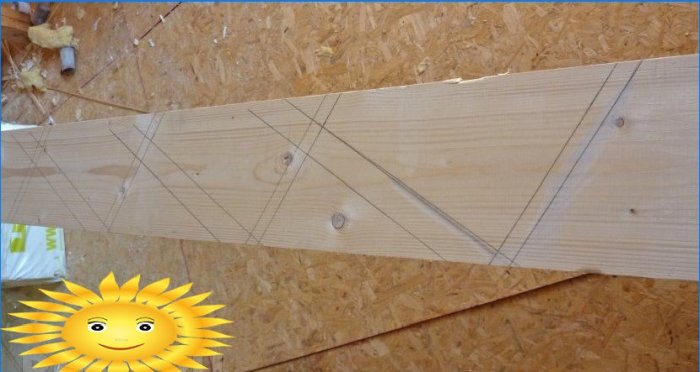
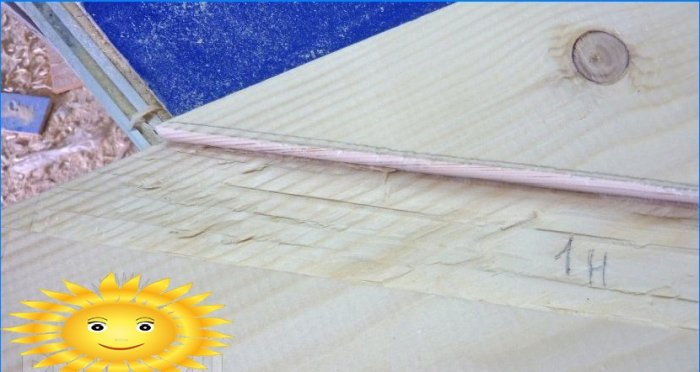
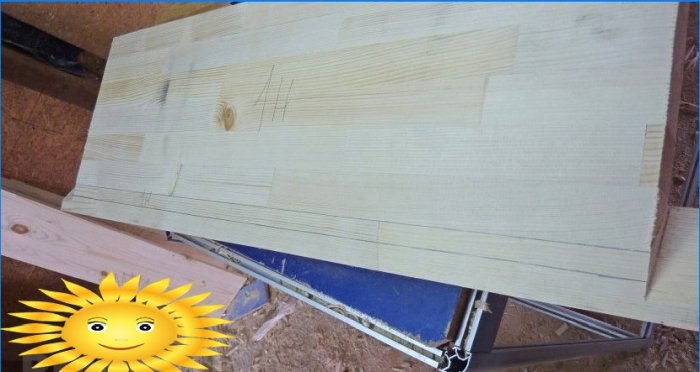
9. Transfer the markings from the template to the bowstring blank. We lay out the paper strip on the board.
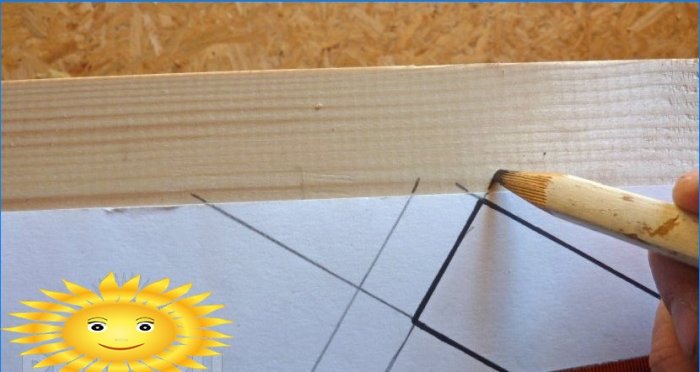
10. Carefully transfer all the lines from the paper to the board.
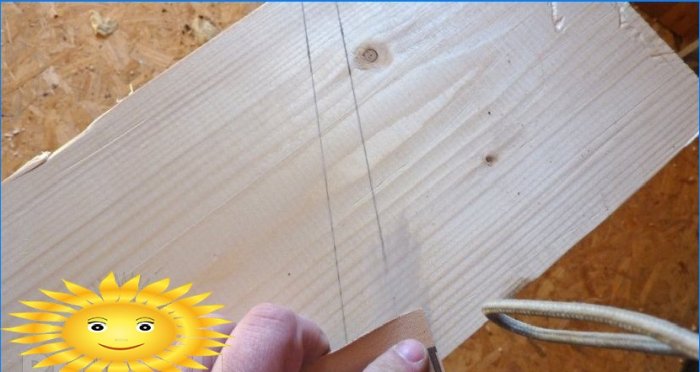
11. Connect the labels.
Even the presence of a template does not guarantee the absence of errors.
If this happened, then with the help of emery cloth we remove the wrong lines. And we are correcting.
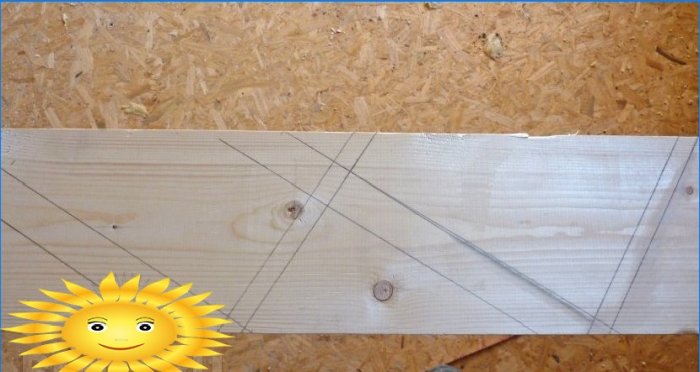
As a result, we get the markings of the future stairs already on the board..
Somehow the step will be located in relation to the bowstring.
12. Shift the template to the left, align the lines and mark the bowstring further as necessary, that is, by the required number of steps.
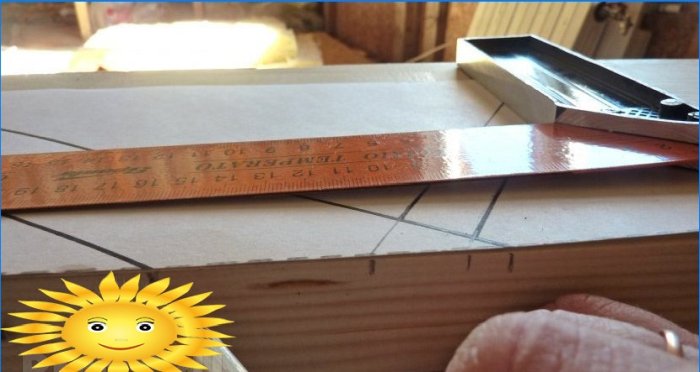
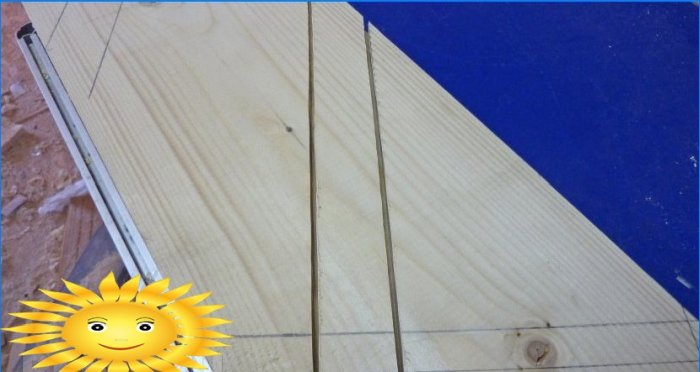
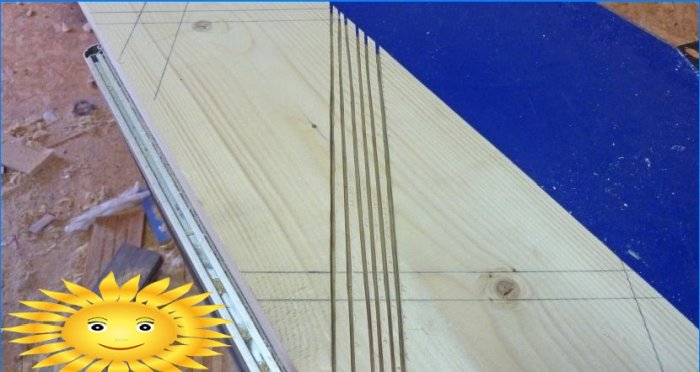
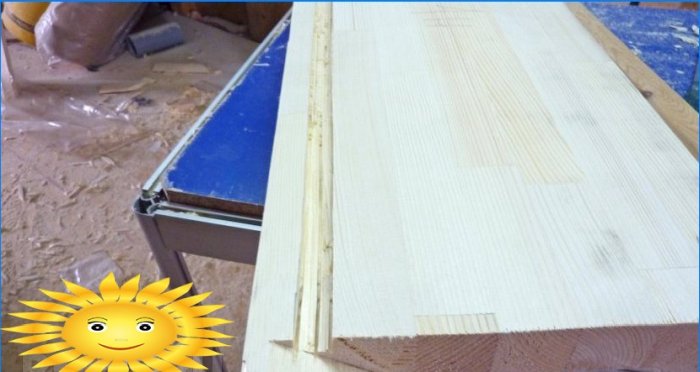
13. We make cuts along the marked lines. Depth from? before ? the entire thickness of the board.
Important! We retreat from the pencil markings so that the cut on the right line is to the left of the markings, and at the left, respectively, to the right. This will give the required width of the grooves for the stair elements, taking into account the thickness of the cuts themselves.!
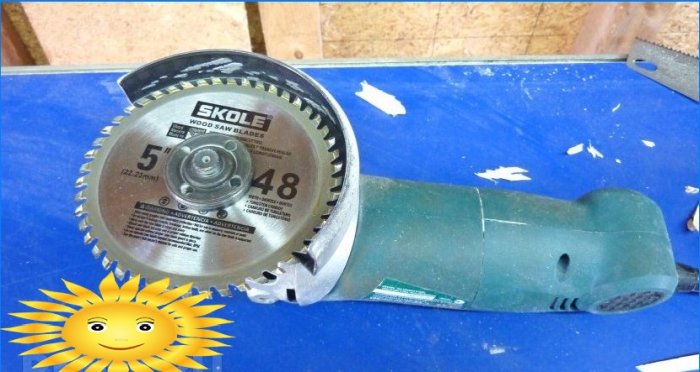
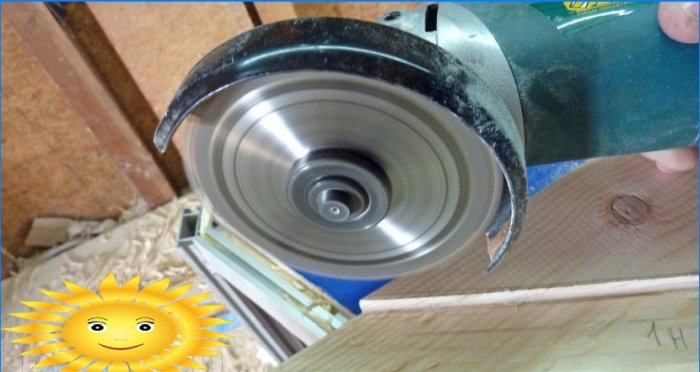
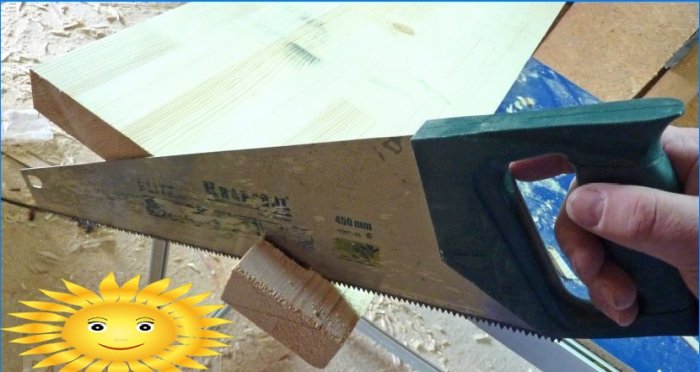
Cuts can be made with any convenient tool: with a hand hacksaw for wood – the most accurate, but also the longest and most difficult way, with a circular saw – the simplest, but not giving the most accurate result, or using a hybrid of a grinder and a circular saw – simple, fast, convenient, with a high quality result, but requiring special attention to safety measures.
14. If you use a power tool, it makes sense to make a few more cuts between the main.
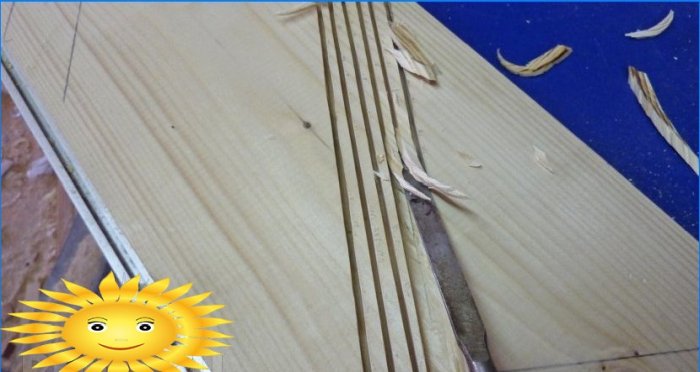
15. Cut off all unnecessary with a chisel.
16. In the same way we make all the other grooves-recesses. As a result, we get a finished bowstring. If in the future it is planned to sew up the stairs from below, for example, with clapboard, then grooves-recesses can be made along the entire width of the board. In our case, since the customer has not yet decided on the design of the stairs, it was decided to make the indentations not to the end in order to preserve the whole lower edge of the bowstring.
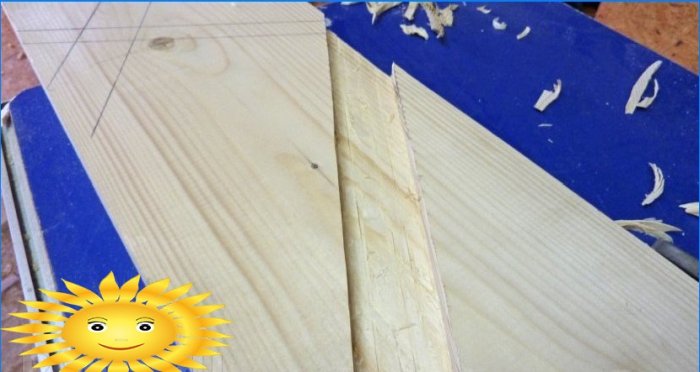
17. The next step will be making the second bowstring. Since both bowstrings must be absolutely mirrored identical, you should not mark the second one according to the template – this can lead to significant discrepancies. You just need to transfer the markup from the first board to the second. To do this, we lay one on top of the other, combine the side edges and transfer the marks.
18. Next, we draw lines, make cuts, remove the excess with a chisel, and as a result we get a mirror pair of bowstrings.
Preparation of steps
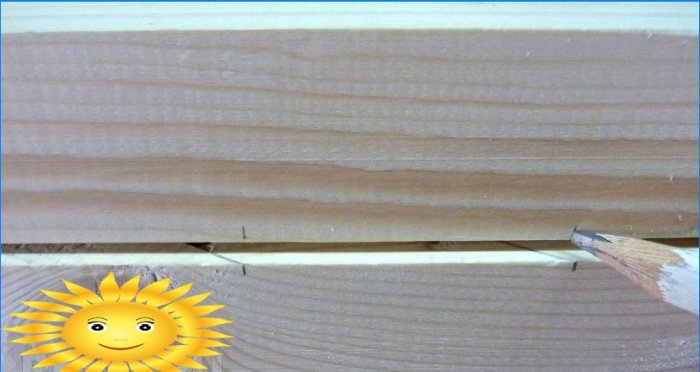
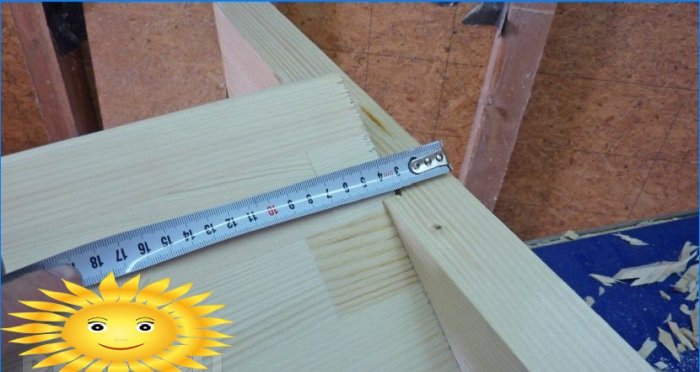
1. The first thing that needs to be done is to measure all the steps. All of them must be of the same length, equal to the total width of the stairs. If necessary, we cut the steps.
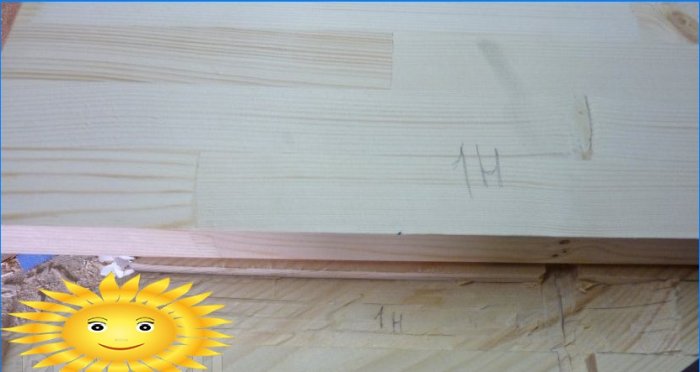
2. Since each step will be adjusted in place, first we will number the steps and the corresponding grooves.
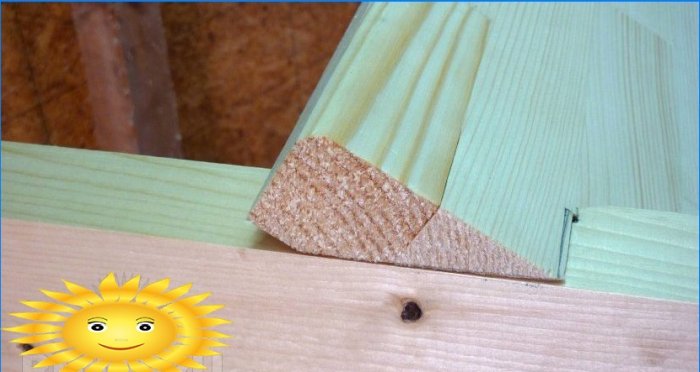
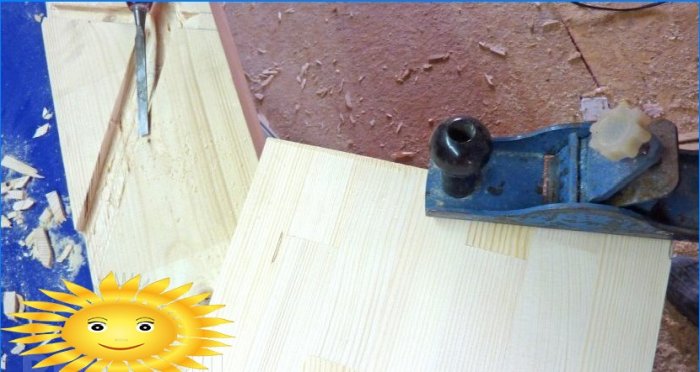
2. Let’s try to insert the step into place. If it enters, but very tightly, then with the help of a hand planer we remove the chamfer from the side edge of the step.
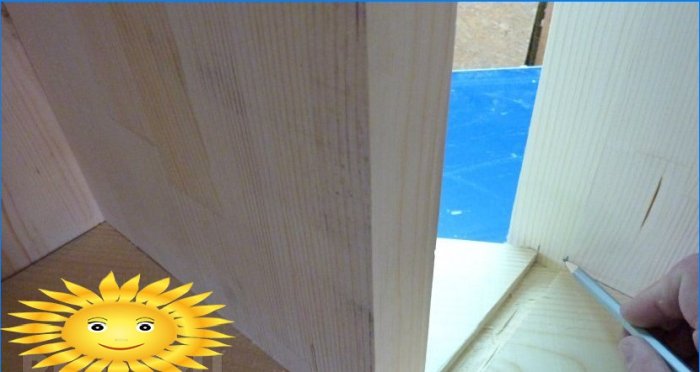
3. If the size discrepancy is large, you will have to cut the groove. We attach the step to the place and mark the cutting line with a pencil.
4. Cut the groove along the marked line.
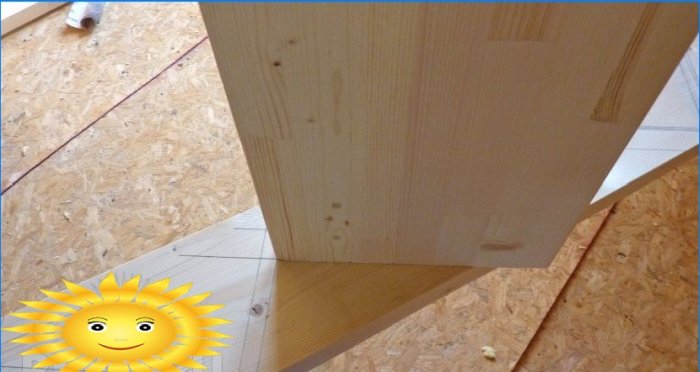
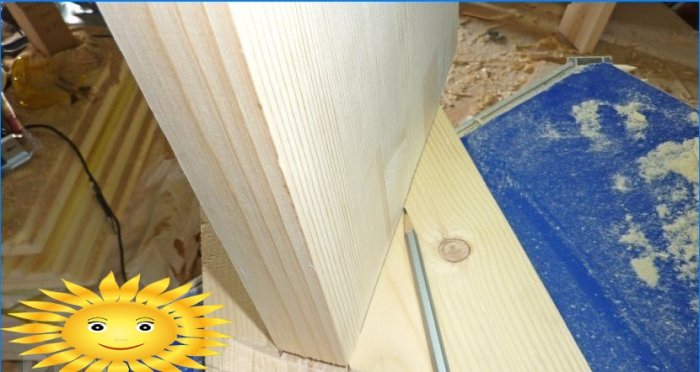
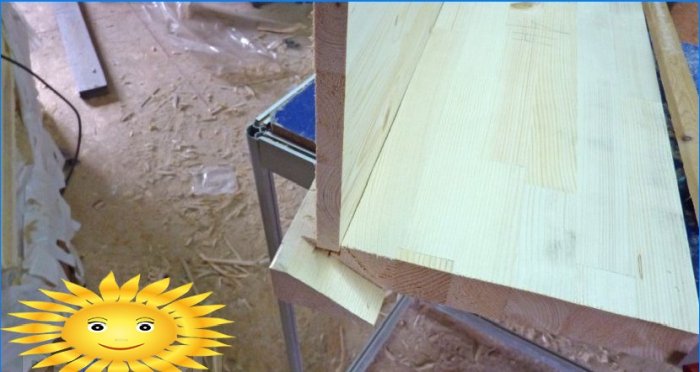
5. As a result, the step should fit snugly, but not tightly, into the groove. We insert the step into both bowstrings into place – the trailing edge should reach the front wall of the grooves for the riser.
6. We mark the groove on the lower plane of the step for the riser. It is necessary so that there is no gap between the step and the riser and to strengthen the entire structure. We do it from both sides.
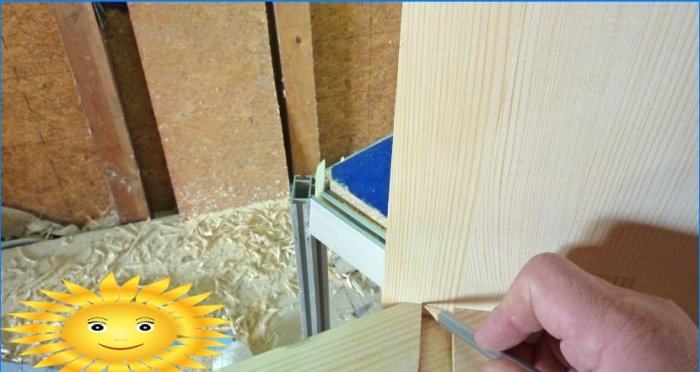
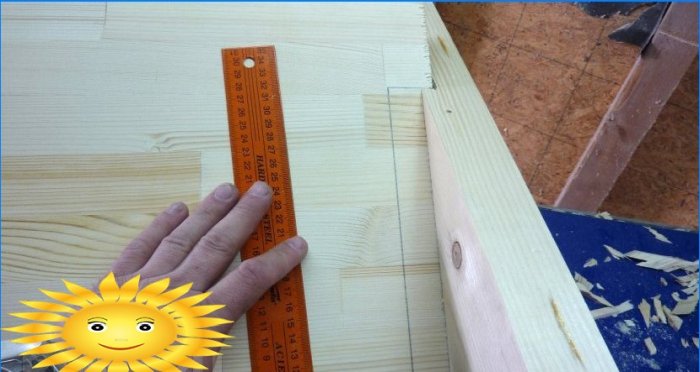
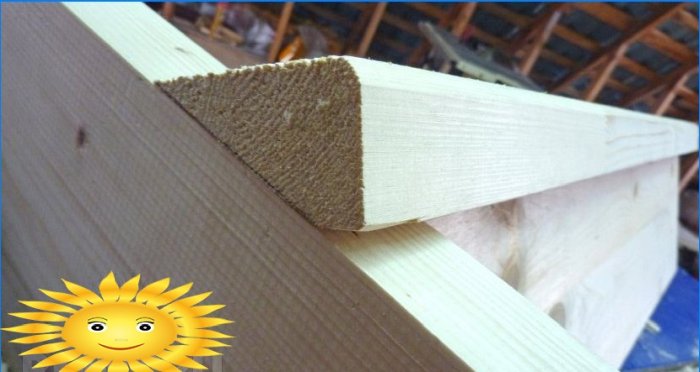
7. Since for beauty it is necessary that the side edge of the step and the bowstring be in the same plane, you need to prepare the step for this. We mark the necessary lines from the sides.
8. Measure how much you need to cut off the sides of the step. In our particular case – 35 mm.
9. We mark and draw lines on both sides of the step.
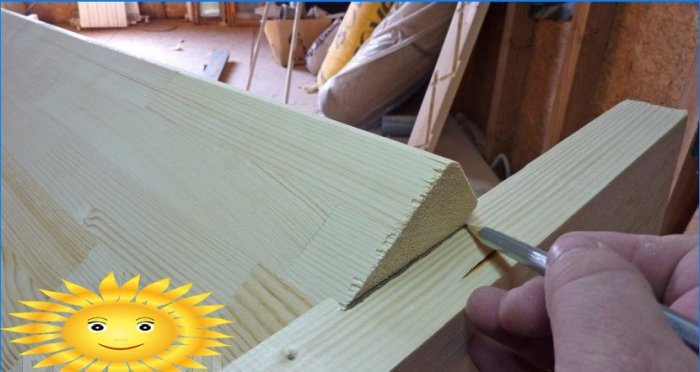
10. Saw off and cut down the excess with a chisel.
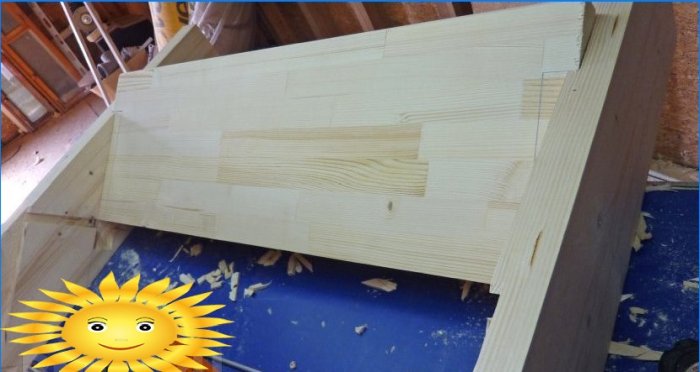
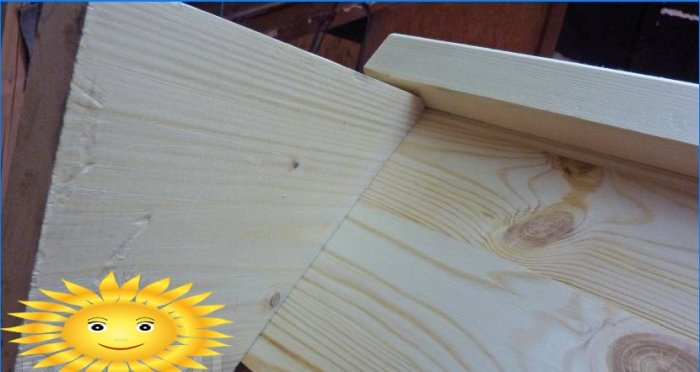
11. We get a step with protrusions on the sides.
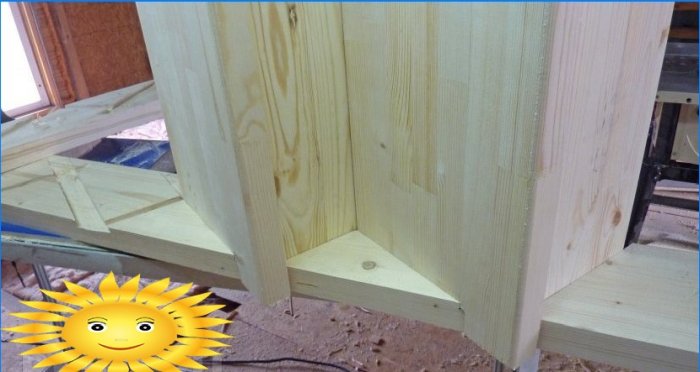
12. Make a groove for the riser. Its depth is approximately 10-15 mm.
13. Assembling the first step with a riser.
14. Insert the second step into place, mark and prepare in the same way as the first.
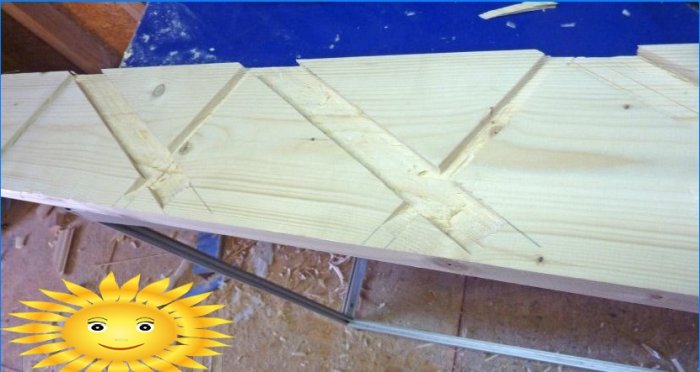
15. We do the same with all the other steps. Ultimately, after installing all the elements of the stairs in their place, we get a ready-made march.
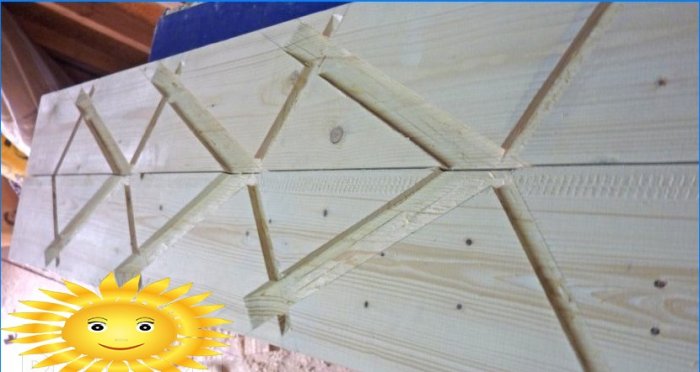
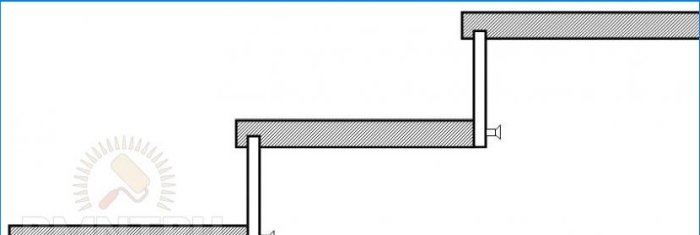
The assembly of the marches is carried out on glue, which holds all the joints in the grooves. The riser is screwed with self-tapping screws to the steps as shown in the figure:
The result is a structure in which each element is bonded to four others, which provides very high strength.
If you use industrial equipment, then all the described operations are done much easier, and the result is somewhat more accurate, but this option is not available to most people. However, if you take your time and pay close attention to the little things and details, then on your own, using ordinary tools available to everyone, you can make the basis of any staircase – marches, of quite acceptable quality.
About how, using such marches, to assemble a complex combined staircase with winders according to the project described in the article “How to make a staircase yourself. Part 1: project “, will be described in the next article.
How to make a ladder yourself. Part 2: doing marches
This post provides a detailed step-by-step guide of how to make a ladder yourself. It begins with the essential supplies: timber, sawn wood, screws, sandpaper, saw drill and nailer. It then outlines the steps required to construct the ladder safely, including marking the timber for cutting, making the back leg, attaching the rear side, finishing the front leg, and assembling the rails and rungs. Finally, it emphasizes the importance of sanding and finishing the ladder for a professional look. This post is helpful for those looking for a DIY approach to create secure and sturdy ladders with smooth surfaces.
House and cottage, suburban construction


Can you please provide more information or instructions on how to do marches when making a ladder? I would appreciate any tips or step-by-step guide to complete this task successfully.