Crumb rubber tiles are a ready-made coating that can be the perfect choice for your site. Our site of advice will tell you about the advantages of rubber tiles, the features of its choice and varieties, how to properly lay such a coating with your own hands.
The portal has already talked about covering the site with rubber crumb. As well as for floor coverings made of this material, applied by spraying or rolling. Now let’s focus on the tile, as the most convenient material, ready for DIY installation..
Let’s first list the benefits of crumb rubber tiles:
- A successful replacement for traditional paving slabs and concrete pouring. Lighter and easier to transport than cement tiles.
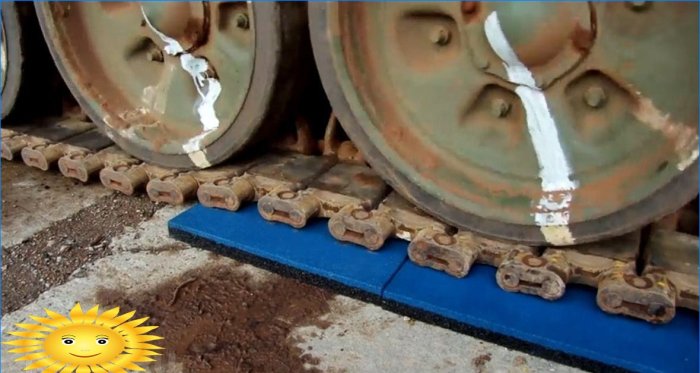
- Traumatic, with shock-absorbing properties. This makes the rubber tiles an ideal covering for children’s and sports corners in the country, garden paths along which kids will run..
- Non-slip, rough, suitable for areas around the pool, porch. Ice does not form either.
- The styling process is simple and straightforward.
- Strong, durable. It is possible to damage, of course, but it is not difficult to repair.
- Easy to clean, easy to maintain and operate.
- Frost resistant.
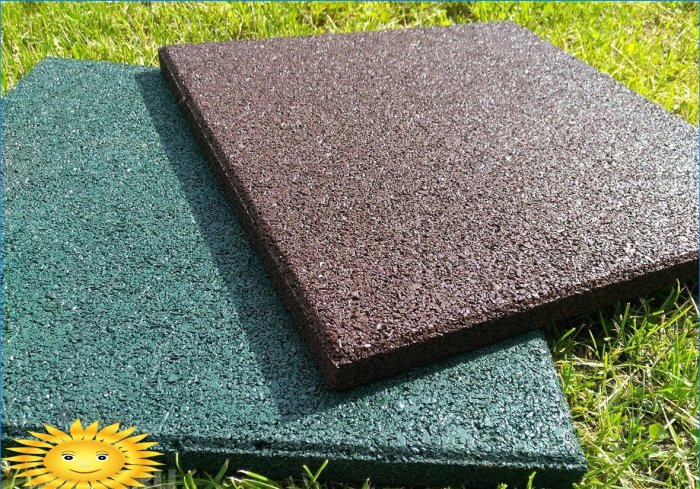
- There is a rich selection of colors, you can create original compositions. The size and shape of the tiles can also vary..
- Serves outdoors up to 15 years without losing properties.
- Does not absorb moisture.
- Good noise insulation properties, you will hear less children pounding while running around in the yard.
As mentioned above, the shape, size, appearance of crumb rubber tiles can be very different. The thickness varies from 10 to 40 millimeters, it is clear that the thicker the coating, the more reliable and durable it is, with more pronounced shock absorption properties. Standard, most common tile sizes: 30×30, 35×35, 50×50 centimeters.
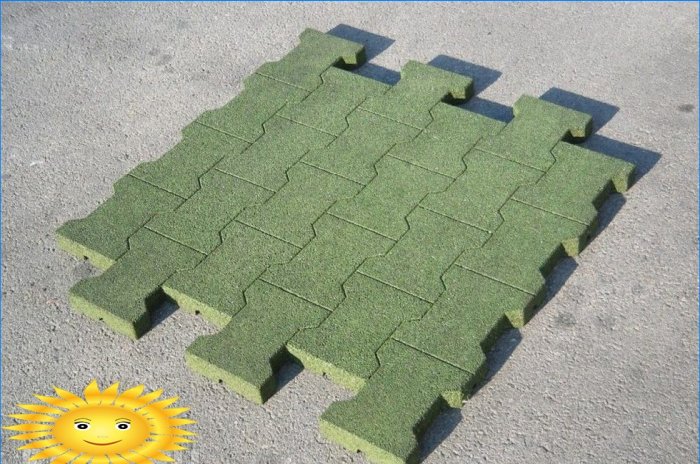
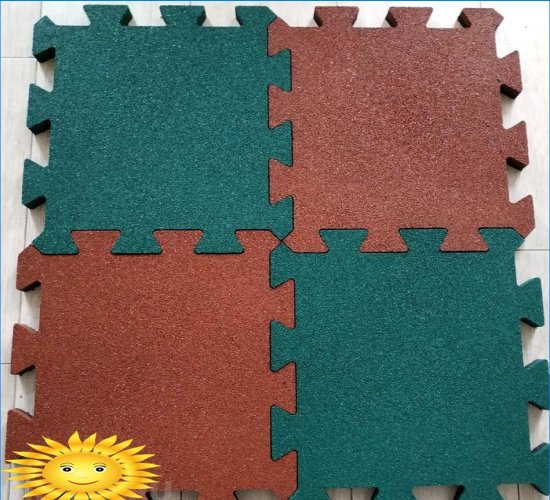
Very popular are such varieties as coil tiles and puzzle tiles, presented in the photo above. They are firmly connected to each other during installation, and they look more original than ordinary square tiles. There are also tiles for brick, “wave” and “cobweb”, so named because of the characteristic pattern on the surface.
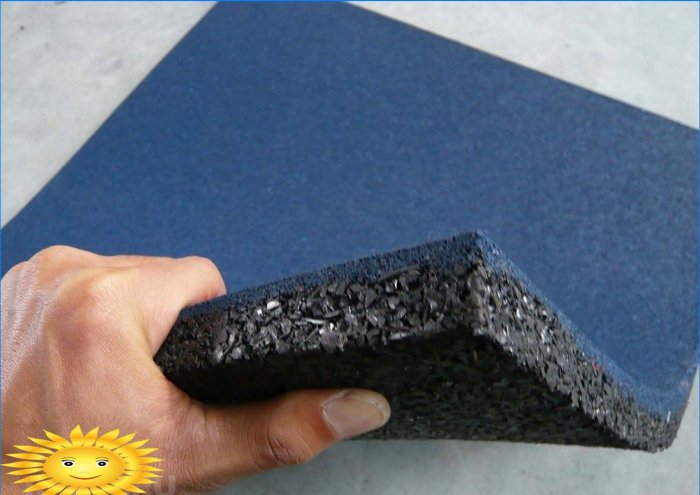
Important! When buying, we strongly advise you to choose a tile made of rubber crumb, consisting of several layers. Moreover, the upper layer should be made of small chips, with a diameter of less than 1 millimeter, and the lower one – from a larger one – up to 4 millimeters. The upper layer is more dense, multi-colored, the lower one is loose and the color of a regular tire. It is this tile that has the best performance properties and lasts the longest..
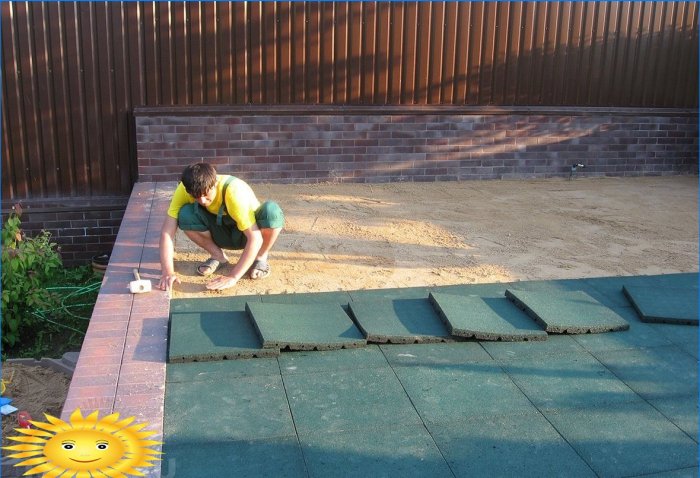
Rubber tiles are laid on a variety of substrates, including concrete, asphalt, soil, sand, plywood sheets.
Important! The thinnest rubber crumb tile – up to 20 millimeters – is laid only on a concrete or asphalt base using polyurethane glue. She needs a solid and as flat base as possible. For laying on the ground, you need to choose a tile of greater thickness, it is not afraid of minor irregularities.
If the tile is laid on a flat base, concrete, asphalt, then it is simply cleaned of debris, dust is removed and a slope is provided for water drainage. If the tiles are laid on the ground, such a slope is not needed, the water will easily pass through the rubber crumb and be absorbed into the soil.
If we are talking about laying on the ground, it is necessary:
- Remove the top fertile soil layer up to 20 centimeters thick.
- Tamp the platform.
- Pour fine crushed stone in a layer from 7 to 20 centimeters thick – depending on the future load of the coating.
- Tamp again.
- Pour quarry sand with a layer of at least 10 centimeters.
- Ram again.
Sand is sometimes mixed with cement to increase its strength. For arranging small sites, with a low load, you can do only with a layer of compacted sand.
To lay the tile itself, you will need a level, tape measure, mallet, gloves, a notched trowel, in general – no highly specialized tools are needed. The process is simple enough.
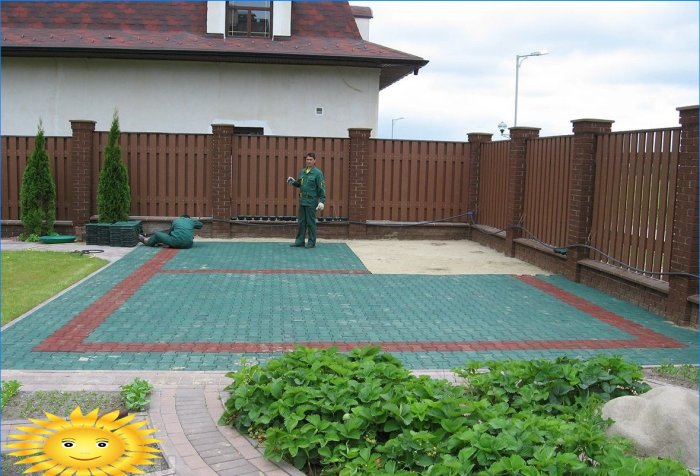
Important! Curbs are needed, they will maintain, for example, the shape of a garden path, extend the life of the coating. To avoid gaps between the main canvas and the border, the tiles can and should be cut.
Important! If laying is done simply on sand, without cement, the tiles should be of a tongue-and-groove system for strong adhesion..
After laying, the entire surface is covered with sand, which fills in small gaps and gaps. The rest of the sand is simply swept away with a broom.
Rubber tiles on the site: features of selection and installation
Rubber tiles can be an ideal floor covering for a variety of outdoor locations. They provide numerous advantages such as being water-resistant, anti-slip, easy to clean, impact absorbing and eco-friendly. The selection of the right type and size of rubber tiles should take into account the site, weather conditions and traffic volume. Installation of rubber tiles is simple and can be done with the use of adhesive or mechanical fasteners. With durable, yet stylish qualities, rubber tiles can be an ideal choice for achieving an attractive and functional outdoor flooring solution.
Improvement of the territory
What are some key factors to consider when selecting and installing rubber tiles on a site?