It’s nice if the shower is comfortable and beautiful. Making it yourself is not at all difficult if you have the time, material, tools and desire. Shower cabins with a flat base or a simple floor drain are convenient for children and the elderly and are easy to clean. And the bathroom looks more spacious.
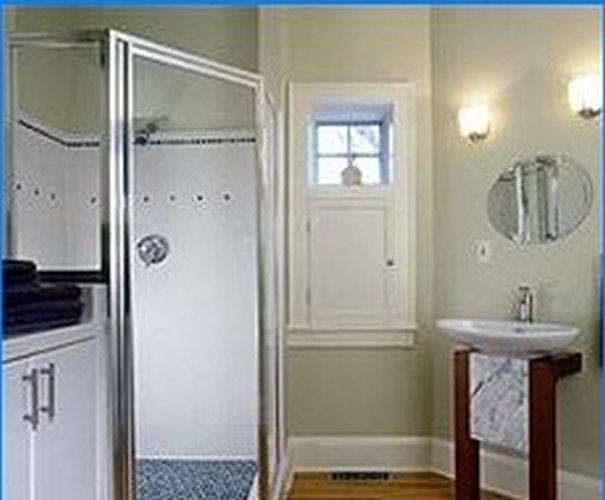
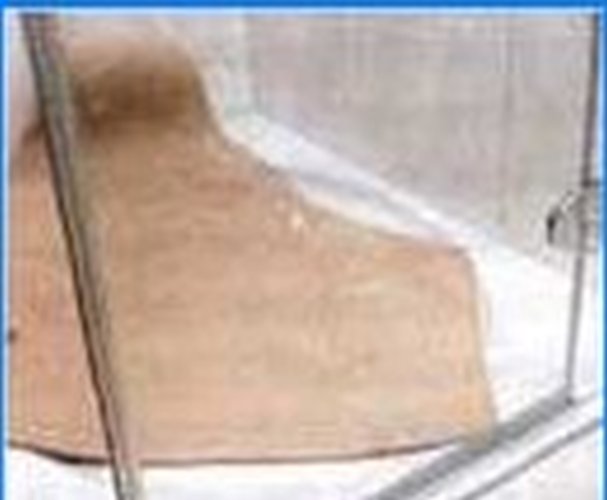
Shower cabin with sloping floor.
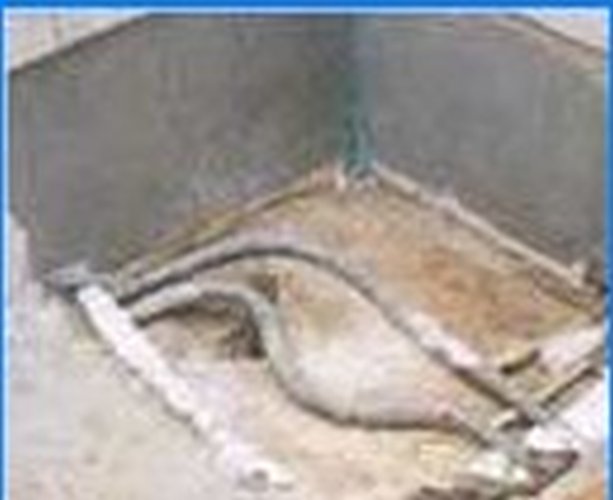
When planning a bathroom, remember that in some cases it is better not to use shower trays, but to make a shower cabin with an inclined floor. So, for example, showers are arranged in gyms or fitness centers. Similar shower cabins can be equipped at home. In order to install a drain (experts call it a ladder), first you need to make a depression in the floor.
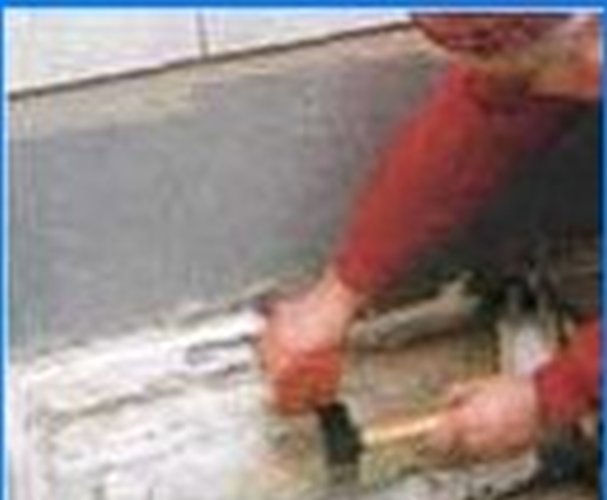
Before laying the facing tiles, it is necessary to hermetically insulate the floor, reliably protecting it from water penetration. The tiles should be laid with a slight slope down to the drain hole, which will prevent the formation of puddles and stagnation of water on the floor of the shower stall. If you decide to do it yourself, be sure to consult with a specialist.
Performing such work requires certain skills and knowledge. An experienced specialist will tell you where to start and what tools are best to use.
A comment:
– the inclined floor of the shower stall will facilitate its cleaning;
– you will not stumble;
– a shower cabin can be made in such a size that your bathroom will allow;
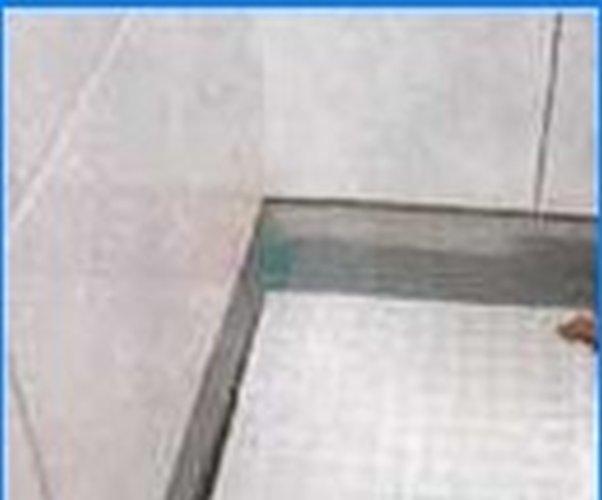
– the highest point is the junction with the bathroom floor; lowest point – drain.
Flat shower trays in the floor.
When constructing a shower stall without steps, you can choose a flat shower tray with low sides. To install a shower tray, you must first prepare a platform for it by hollowing out a recess of the required shape and size in the cement floor screed.
Then you need to determine the location of the drain. It depends on where the drain is located on the pallet. The installation itself is quite simple: the pallet is equipped with height-adjustable legs. When installing the shower tray, be sure to consider the thickness and level of the bathroom floor that will be adjacent to it. After the bathroom floor has been laid, the joint with the pallet can be edged using a special border. The surface of the pallet should have a slight slope, necessary for the smooth flow of water.
A comment:
– quick assembly thanks to a set of prefabricated parts:
– the shower tray is easy to install thanks to the adjustable legs;
– together with the pallet, you need to buy a low border framing it around the perimeter;
– cabins with pallets have the advantage that they do not require the assembly of those sanitary and hygienic products that are necessary for cabins with an inclined floor and seams between.
 Option 1. The shower stall floor is flush with the bathroom floor. In this case, a ladder is used |
 Option 2. In this case, a shower cabin was designed with a tray recessed into the bathroom floor. |
 Drain connection diagram in case of using a drain, option 1. |
 Sump drain connection diagram for option 2. |
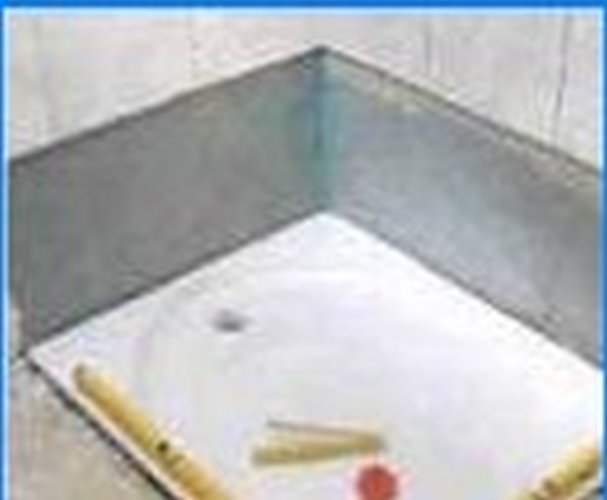
Installing a shower tray.
Almost any home craftsman can independently install a shower tray, having previously properly prepared a platform for it. Shower trays are usually sold complete with the parts needed to install it..
Before starting the installation work, check: whether the angle of joining of the walls of the shower stall is 90 “; whether the edge of the pallet will fit snugly against the walls; whether the socket of the sewer pipe matches the drain in the pallet. It is better to immediately attach the lower part of the structure to the drain pipe..
 1. Attach the adjustable feet to the bottom of the pallet by placing pre-cut pieces of cardboard under each. |
 2. Before placing the pallet in the recess in the floor, use a hammer and chisel to process the surfaces so that they are not sharp.. |
 3. With ordinary ceramic tiles, you can easily check whether the room angle is 90 °. |
 4. If the corner is not right, align the wall at the height of the pallet so that its edges are firmly adjacent to the wall. |
 5. Mount the sewer pipes so that when installing the pallet, the socket of the sewer hole is exactly under the drain. |
 6. The pallet is positioned exactly horizontally by means of adjustable feet. Be careful not to scratch the surface of the pallet! |
“Curtains” for your shower stall.
The shower cabin can be purchased in whole or in parts, combining them at your discretion. It all depends on your desire, skill and imagination. You can install the pallet yourself and lay out the walls with ceramic tiles, buy ready-made transparent walls and mount them yourself.
Modern manufacturers offer a fairly wide selection of shower cabin designs. They can differ from each other in the way of opening the sashes, design, installation method, materials. For the manufacture of sections, glass, fiberglass, various plastics are used. The variety of choice is also due to the fact that goods are offered by a large number of manufacturing companies, representing both already well-known trademarks and those that have appeared on the Ukrainian market quite recently..
The combination of structural and quality characteristics determines the price of shower cabins and their components. If you decide to assemble a shower enclosure from separate components, keep in mind that it can be located either in the corner of the bathroom, or adjacent to one of the walls. You will also need tools and materials that you may find in your house: a drill with drills, a screwdriver, screws, cement.
As a rule, a set of shower walls consists of several sections (there are one-, two- and three-section sets). The sections are movably connected to each other, which allows rational use of the bathroom space.
Kits are available in a variety of designs. Some sections are made of solid glass or plastic, while others are made up of multiple vertical strips. There are sets of frosted and corrugated glass. There are interesting models on sale, which are a set of corrugated strips alternating with transparent ones. Frosted glass with a pattern looks very original. The kits differ both in the height of the sections (from 1 m 40 cm to 1 m 90 cm) and their total length (from 140 cm to 170 cm), which ultimately determines the size of the booth..
So, you can always make a choice that suits your aesthetic tastes, structural and installation conditions and financial capabilities. Thus, it is quite possible to find an acceptable option and successfully implement your ideas..
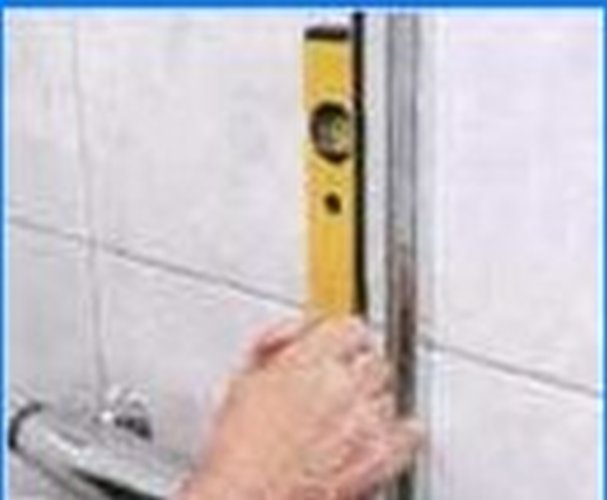 1. Place the wall profile on the edge of the pallet; using a spirit level, set it exactly vertically; use a pencil to mark the drilling locations on the tile |
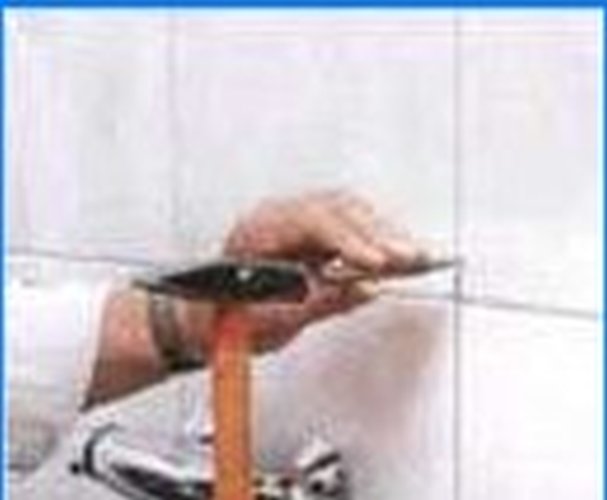 2. Punch the top surface of the tile with a center punch where you are drilling. The punches on the center punch must be done carefully so as not to damage the enamel. |
 3. In order not to split the tiles, in the place of drilling, do not use the impact function of the drill until the drill has passed the entire thickness of the cladding.. |
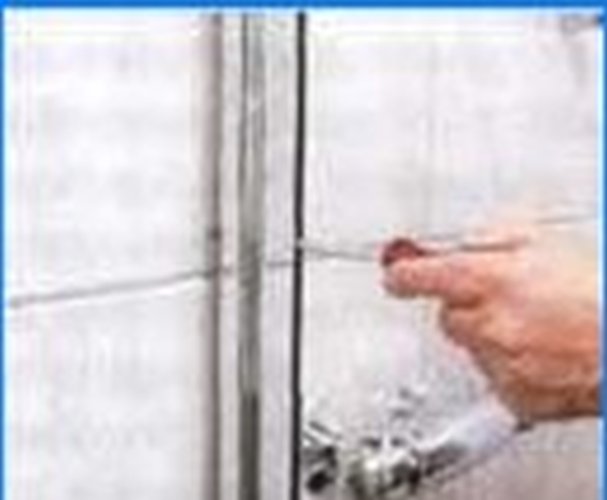 4. Having drilled the holes to a depth corresponding to the size of the dowel, you can screw the wall profile. |
 5. Install fixed walls by hinging the glass. It is important not to pinch the screws so that the glass does not crack.. |
 6. Before fixing the walls, you need to hang the doors and adjust the hinges. With the doors closed, the seal should fit snugly against the edge of the pallet. |
Where can I find a reliable and easy-to-follow guide for building a DIY shower cabin?
One reliable option for finding a guide to build a DIY shower cabin would be to check various home improvement websites, such as Family Handyman or This Old House. These websites often provide step-by-step instructions, as well as videos, tips, and materials lists to help you successfully complete your project. Additionally, YouTube channels like DIY Creators or Fix This Build That offer clear and easy-to-follow tutorials on building a shower cabin. It’s always important to read reviews and do some research before starting any DIY project to ensure you have all the necessary information and resources to complete it successfully.
One reliable option for finding a guide to build a DIY shower cabin would be to check various home improvement websites, such as Family Handyman or This Old House. These websites often provide step-by-step instructions, videos, tips, and materials lists to help you successfully complete your project. Additionally, YouTube channels like DIY Creators or Fix This Build That offer clear and easy-to-follow tutorials on building a shower cabin. It’s always important to read reviews and do some research before starting any DIY project to ensure you have all the necessary information and resources to complete it successfully.
What are some essential steps or tips for successfully building a DIY shower cabin?
1. Plan and design: Before starting, have a clear plan and design of your DIY shower cabin. Consider the size, layout, materials, and features you want to incorporate.
2. Gather materials: Make a list of all the materials you will need for your shower cabin, including tiles, waterproofing materials, plumbing fixtures, and tools.
3. Prepare the space: Ensure the area where you plan to build the shower cabin is clean, level, and properly waterproofed. Remove any existing fixtures or structures that may hinder the installation.
4. Install plumbing: If you are adding a new shower, make sure to install the necessary plumbing connections before proceeding with the construction.
5. Waterproofing: Proper waterproofing is essential to prevent leaks and water damage. Use high-quality waterproofing materials and follow the manufacturer’s instructions carefully.
6. Tile installation: Carefully measure and cut tiles to fit the shower walls and floor. Use a waterproof adhesive and grout to secure the tiles in place.
7. Install fixtures: Once the tiles are set, install the shower fixtures such as the showerhead, handles, and drain.
8. Seal joints and edges: Use silicone sealant to seal any gaps or joints between tiles and fixtures to prevent water from seeping through.
9. Test the shower: Before using the shower, test the plumbing and check for any leaks. Make sure all fixtures are working properly.
10. Enjoy your DIY shower cabin: Once everything is complete and functioning correctly, you can now enjoy your newly built DIY shower cabin.
What are the essential steps and materials required to build a DIY shower cabin?