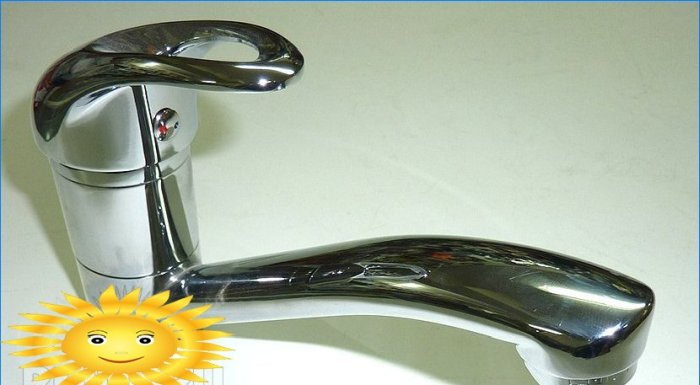
Cartridge mixers are much simpler and more reliable due to their more modern design compared to the axle-box crane. However, they also have problems. The main one is cartridge breakage. How to independently replace the cartridge in such mixers will be described in this article..
The following signs indicate the need to replace the cartridge in the mixer:
- water drips or constantly flows from the spout;
- the movement of the handle is difficult;
- water is oozing from under the handle (note, on a cartridge mixer with a swivel nose for a sink, water may not flow from under the handle, but below, from the seam on the body – this is a completely different problem that will not be discussed in this article).
The procedure for replacing a cartridge in a basin mixer is no different from that for a bath and shower mixer. We will describe the necessary work using the example of a kitchen mixer with a swivel nose.
Required tool
To carry out the work, we need:
- Wallpaper knife.
- Slotted (flat) screwdriver or hex wrench.
- Adjustable wrench.
Replacing the cartridge in the mixer
1. Shut off the water.
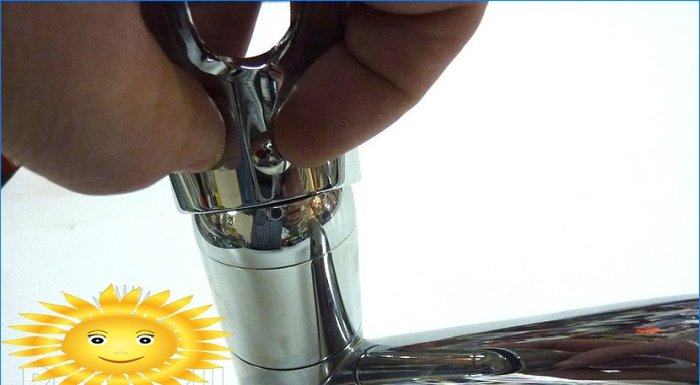
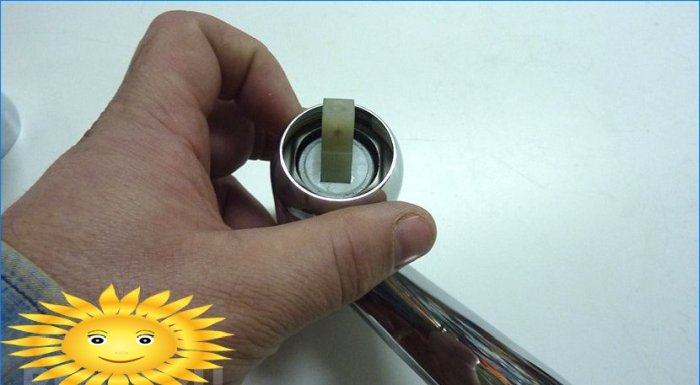
2. Dismantle the decorative plug on the mixer handle. As a rule, it is simply inserted into the hole. If you can’t do it with your hands, then you can gently pick it up with a wallpaper knife.
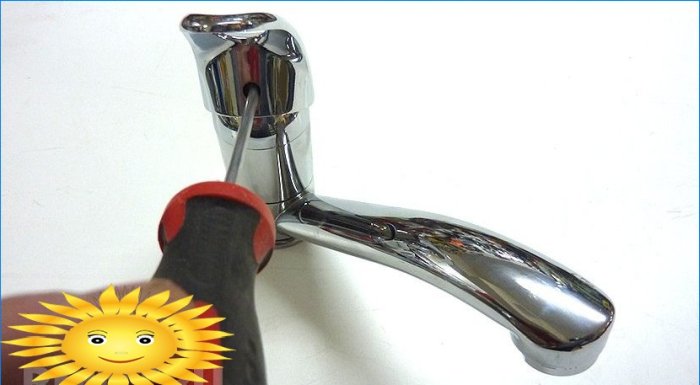
3. There is a screw securing the handle under the cover. Look through the hole and you will see it. Pay attention to its construction. It can be either a slotted screwdriver or a hex wrench. We unscrew the screw with the appropriate tool for its type. Do not turn it completely out, just loosen it.
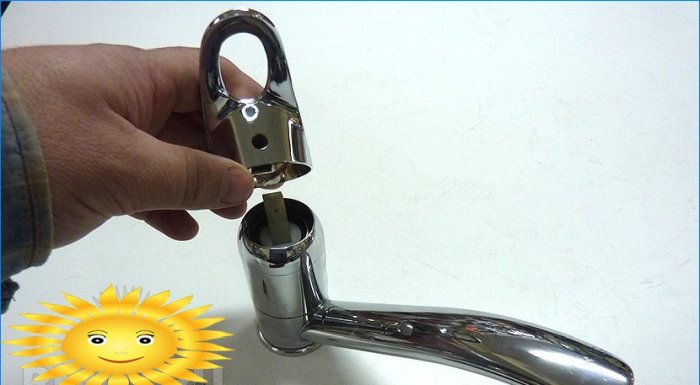
4. Remove the mixer handle upwards.
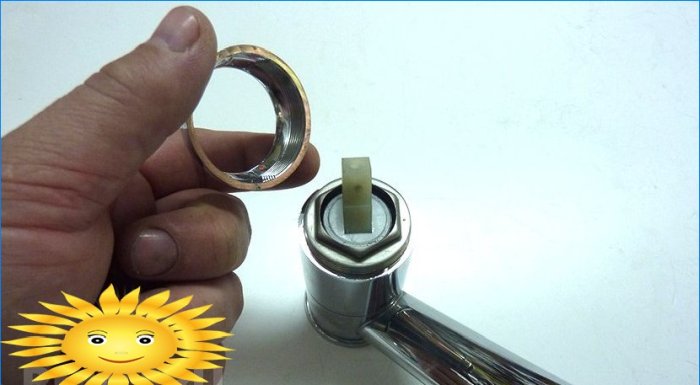
5. There is a decorative ball nut under the handle. We turn it away with our hands. Caution! The nut is plastic, therefore, rather fragile.
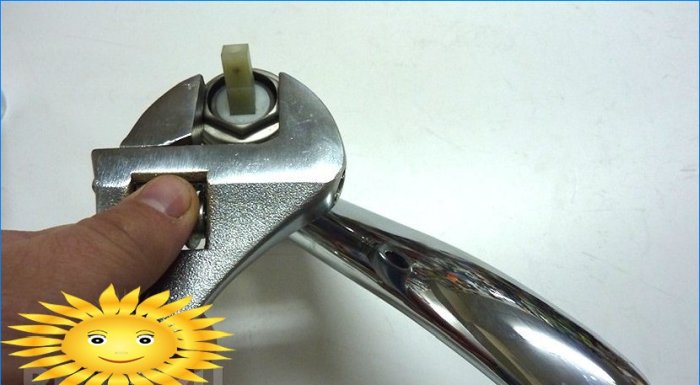
6. After dismantling the spherical nut, it becomes clear that it was screwed onto another nut. It is this, the second, that secures the cartridge. We turn it off with a suitable wrench.
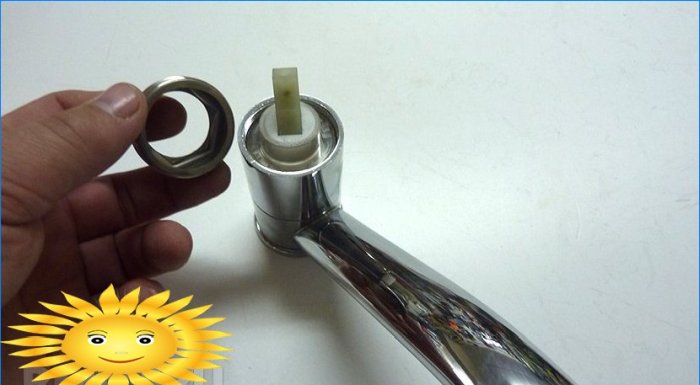
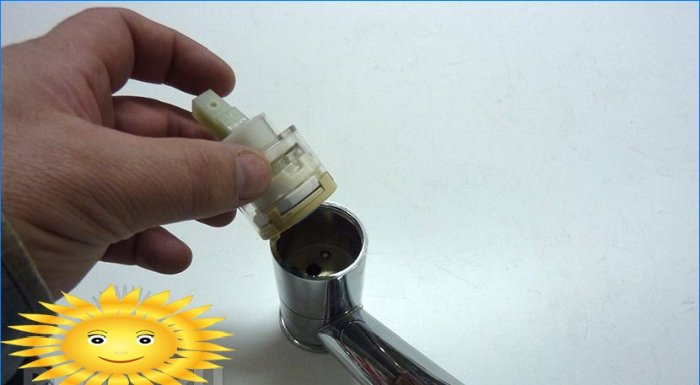
7. Pulls up the cartridge.
8. According to the received sample of the cartridge, we buy a new one in the store and install it in the mixer in the reverse order described..
DIY mixer repair: cartridge replacement
This WordPress post outlines a step-by-step guide to replacing a mixer cartridge yourself. It is an easy and economical solution to a potentially costly problem, as the post details how to do it with common household tools. Additionally, it offers safety tips to ensure the job is done right, as well as general advice on mixer maintenance. Ultimately, this post enables the reader to revive a beloved piece of music equipment, completely DIY.
Renovation and finishing
I have a mixer that needs repair and I’m considering a cartridge replacement. Has anyone here ever performed a DIY mixer repair? Specifically, replacing the cartridge? Any tips or advice for someone attempting it for the first time? Thanks in advance for your insights!
Can you provide some guidance on how to replace the cartridge in a mixer? I’m not sure where to start or what tools I’ll need. Any tips or step-by-step instructions would be greatly appreciated!