Recommendation points
- Laminate differences
- Mounting methods
- Glue mount
- Fastening on the crate
- Disadvantages of laminate as a wall decoration
There are many varieties of laminated wall panels. They are made of different materials and different formats, and auxiliary profiles are produced for them. But no less popular for wall decoration is a laminate designed as a floor covering. Although because of this, its installation takes place according to different rules.
Laminate differences
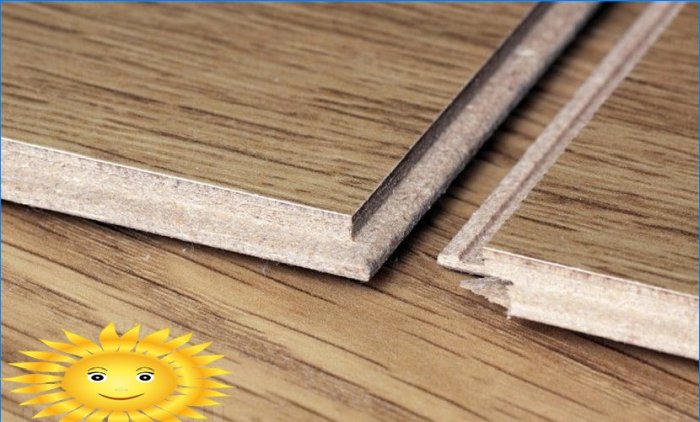
For the most part, the interlocking laminate, as a floor covering, is not intended for rigid attachment to the base. This is a floating floor type, the main feature of which is the reliable fixing of the floorboards to each other. Typically, a firm grip is provided by an end lock connection with a complex snap-on profile. Of course, you can also find an adhesive bond, but rarely.
Finishing with wall panels requires the opposite – rigid attachment to the base, and the profiled end is an additional option, providing a hidden type of installation.
The most common type of slatted panels is a lining with a regular tongue-and-groove end. Therefore, often the laminate is also mounted to the walls – through the groove, fixing it to the lathing with fasteners. But this is not the only type of installation..
Mounting methods
There are three ways to fix the laminate to the wall:
- with glue;
- with nails through the bottom wall of the spike to the sheathing bar;
- clasps to the crate.
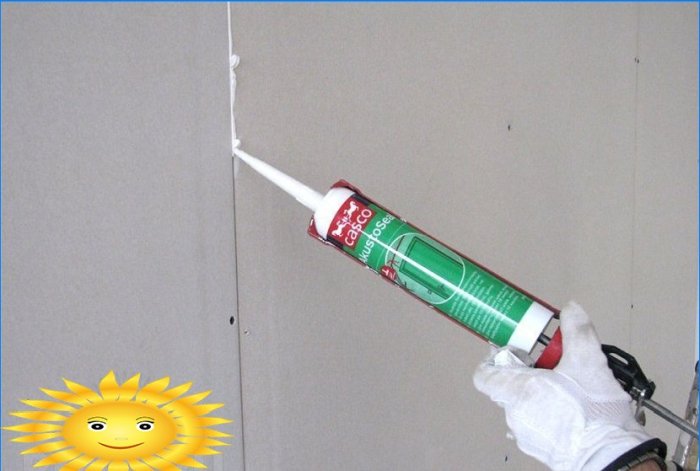
Glue mount
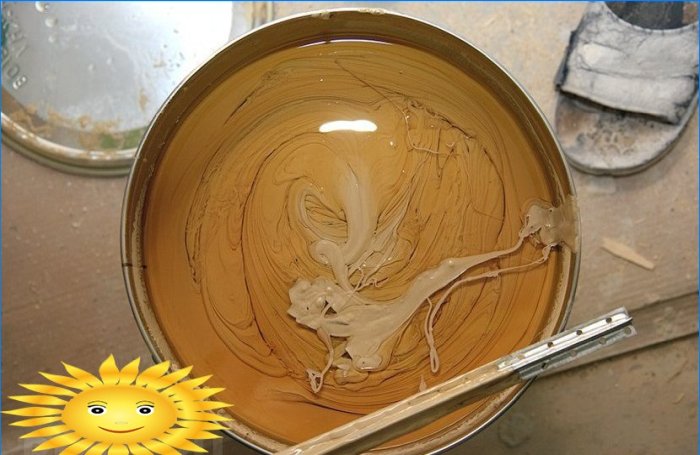
Laminate in its essence can be considered as a type of fiberboard, therefore, an anhydrous glue is needed to fix it. This is especially important if the leveling of the wall surface is carried out using gypsum board or plywood – with prolonged contact with a humid environment, either the base or the panels themselves can swell and “lead”.
You can use parquet glue, but not dispersion, but solvent-based or two-component.
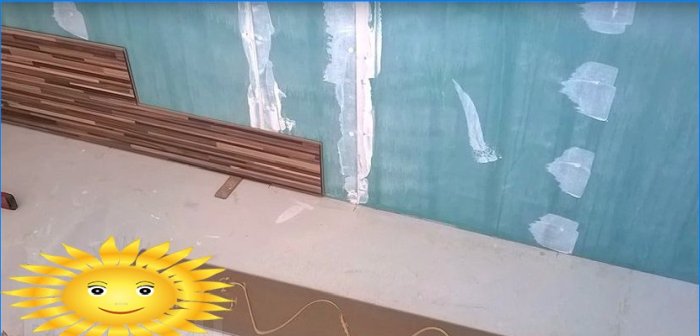
The wall surface should be nearly perfect. If small unevenness of the subfloor can be compensated for with a substrate, then this is not possible for the wall. The glue is quite expensive, it is applied in a thin layer, therefore the uneven surface of the wall will lead to a decrease in the adhesion area spot, which will affect the reliability of the fastening.
After leveling the wall (with plaster, putty, using drywall), it must be primed and dried.
Then, using a level, lines are applied to the surface, which will be guided by during the installation of the laminate.
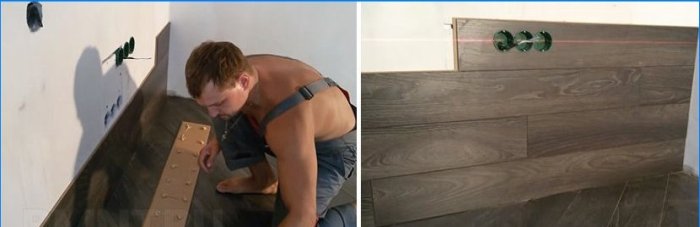
The most common laying pattern is offsetting adjacent rows by half the plank length.
The first row starts from half. They smear its seamy surface and the contact spot on the wall. Press for a short time, then “tear off” and allow the glue to weather, then press again until the initial setting. In principle, this is a technology for working with fast-drying adhesives, which can differ in the holding time at each stage. In this algorithm, the first row of the laminate is glued, and then all the rest.
The second row starts with a whole panel, and the third row again with a half. The technique of joining panels between rows depends on the type of laminate lock.
The advantage of this installation method is the minimum loss of useful volume..
There are more disadvantages: significant labor intensity, high consumption of expensive glue, low environmental friendliness of quick-drying anhydrous adhesives. In addition, walls that have been leveled with plaster and putty may not have sufficient topcoat strength to support the weight of the laminate..
Fastening on the crate
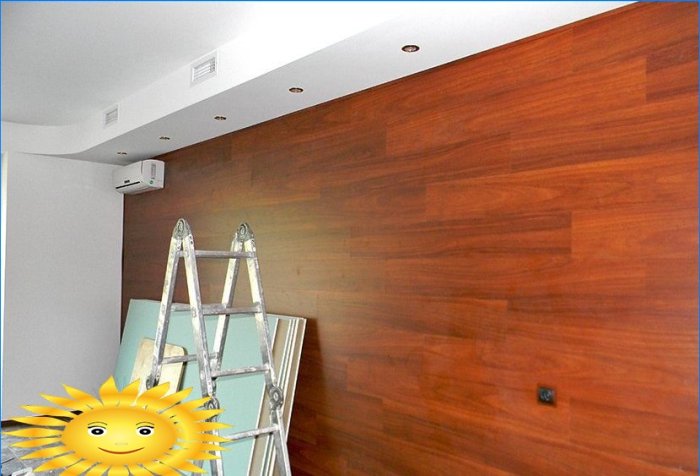
Mounting the laminate to the wall on the lathing has the same sequence of operations as when finishing with clapboard:
- Choose the direction of laying: vertical, horizontal, diagonal.
- Markings are made perpendicular to the direction of laying for fastening the battens. Its pitch should ensure that the laminate is fastened at least three points – along the edges and in the middle. Therefore, the axial distance between adjacent rows of the crate should be fixed: 1/2 or 1/3 of the length (the only exception is for the lower and upper rows of the crate). Reducing the offset pitch of the laying pattern to 1/4, which is practiced for flooring, is technically impractical, given the width of the batten for the lathing.
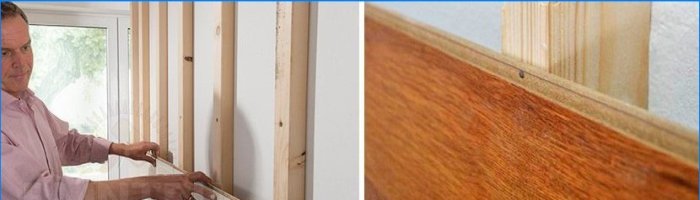
- For the lathing, choose a wooden block with a width of at least 40 mm, since the distance from the edge of the short end of the laminate strip to the attachment point must be at least 15 mm. The joints of the laminate planks in each row should fall in the middle of the lathing bar.
- In the bottom and top row of the crate, you can use a bar of smaller width. It is necessary to start and end the installation of the row not in the center of the bar, but at its edge.
- The lathing bars are attached to the wall in accordance with the markings, observing the general level of the surface.
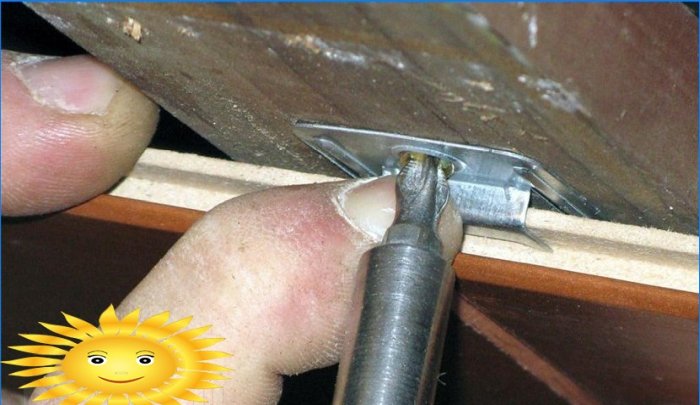
An adhesive laminate with a smooth tongue-and-groove profile is mounted to the lathing in the same way as the lining: with a thin nail through the bottom wall of the groove or using cleats.
To fasten the lock laminate to the crate, clamps are usually used, but under them you will have to:
- for the Click lock, cut the profile of the bottom wall of the lock groove at the attachment point;
- for Lock, cut at the attachment point the lower part of the tongue of the inserted panel.
Disadvantages of laminate as a wall decoration
Among all types of wood-based finishing materials, laminate is one of the most expensive (only parquet board and parquet are more expensive). Previously, it would be possible to save on the class, but below the 31st class are no longer released. The cheapest domestic laminate with a thickness of 6–8 mm will cost about 400 rubles. per sq. meter. Therefore, there is no need to talk about the availability of this type of finish..
High wear resistance of the laminate, the use of HDF in the bearing layer and the complex profile of the lock joint – all these are redundant qualities for wall panels that will not “work” and will not affect the durability of the finish.
Installation of laminate on walls is more difficult than for wall panels. Even with battens, more materials, fasteners and more time are required.
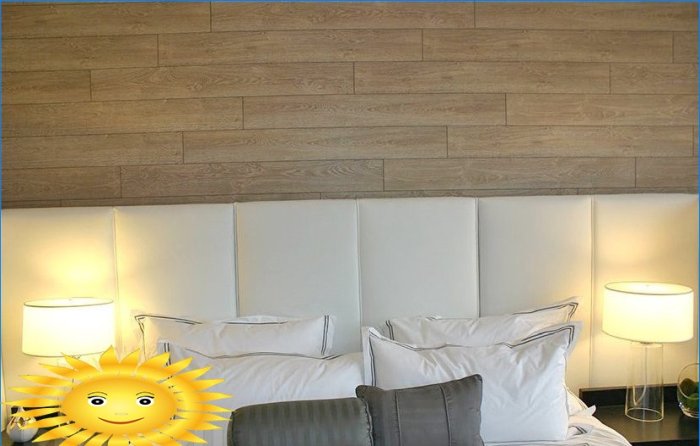
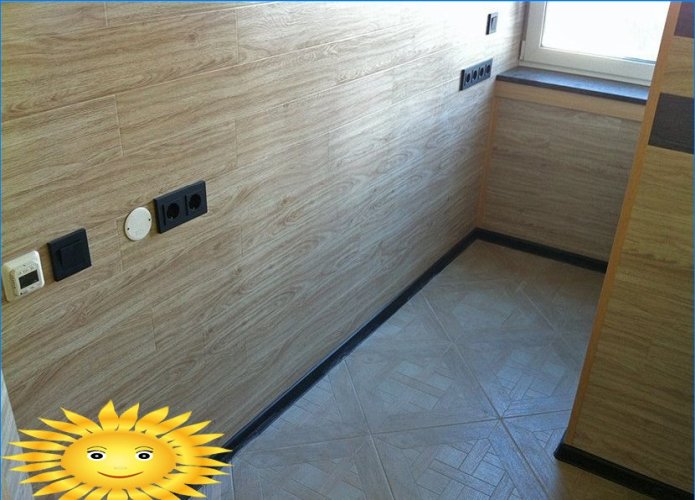
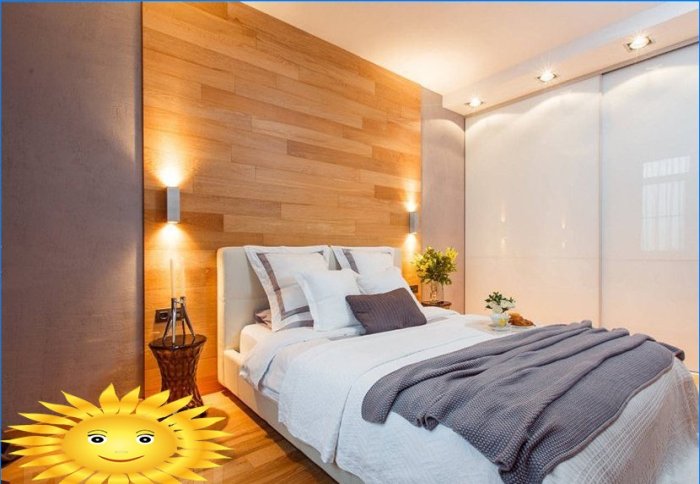
The only thing that justifies the money and effort spent is high decorative properties and the ability to create a harmonious interior. Moreover, it is not necessary to sheathe all walls (or the entire wall) with laminate – usually it is enough to select a separate area.

I’m curious about the process of fixing laminate on walls for decoration. Could you please provide some guidance on how to go about it? Is there a specific adhesive or method that works best? Any tips or instructions would be greatly appreciated. Thank you!
To fix laminate on walls for decoration, you will need a few basic materials and follow a simple process. Start by measuring and preparing the wall surface, ensuring it is clean and smooth. Cut the laminate sheets according to the required dimensions, leaving a slight overhang for trimming later. Apply a recommended adhesive, such as a strong construction adhesive, to the back of the laminate panel. Press the laminate firmly onto the wall, using a roller to remove any air bubbles and ensure good adhesion. Trim excess laminate using a utility knife, following the wall contours. Take care to match patterns or seams as needed for a seamless look. Finally, clean off any excess adhesive and allow sufficient drying time. Follow the specific instructions provided by the laminate manufacturer for best results.
When it comes to fixing laminate on walls for decoration, there are a few key steps to follow. Firstly, ensure that the wall surface is clean, smooth, and dry. Measure and cut the laminate panels accurately according to the wall dimensions. Apply a quality adhesive recommended for laminate installations on walls, ensuring even coverage. Starting from one corner or edge, press the laminate firmly against the wall, removing any air bubbles as you go. Use a roller or a clean, smooth object to further press the laminate and ensure a secure bond. Repeat this process for each panel, ensuring proper alignment. Allow sufficient time for the adhesive to dry before cleaning or fully using the newly laminated wall. While the specific adhesive or method may vary depending on the laminate product, following the manufacturer’s instructions is crucial for achieving the best results.