Recommendation points
- Required materials and tools
- Floor preparation
- Application of a polymer layer
- Pasting a three-dimensional pattern
- Topcoat and protective varnish application
- Calculation of the cost of materials
Apartment owners dream of creating a cozy, memorable interior. This can be done with an element such as a 3D floor. An unusual design of any room with a bright image on the floor can be done by hand. The article contains the main steps for creating a 3D floor.
Required materials and tools
Before starting the path to create an effective flooring, you should determine the list of materials and tools that you will need for work:
- Grinder to prepare the base floor.
- Vacuum cleaner for removing dust and dirt.
- Containers for preparation of compositions.
- Spatulas with notched and even edges.
- Mixer for mixing the mixture or ordinary powerful drill.
- Roller with soft and needle-like surface.
- Special shoes (wet shoes) with needle soles.
- Respirator and overalls (do not neglect these things, because epoxy resins have a persistent unpleasant odor that is harmful to health).
- Epoxy primer for leveling differences.
- Epoxy putty for removing screed defects.
- Self-leveling mixture for screed and self-leveling floor.
- Two-component polyurethane self-leveling compound.
- Top coat protective varnish.
- Decorative design items, 3D printed vinyl.
Above is a list of basic materials and tools to help you create a piece of art on the floor yourself. If you have artistic skills, then you can decorate the floor yourself and create a unique atmosphere in the house. After purchasing all the necessary things, you can proceed to preparing the main floor for applying a layer of polymer.
Floor preparation
Preparation begins with dismantling the old floor and removing dirt. After dismantling, all skirting boards and doors must be removed. Then the coating is carefully examined for cracks and drops and the concrete surface is sanded. If there is high humidity in the room, then before sealing the cracks, it is worth laying waterproofing and sticking a damper tape on the joints of the floor and walls around the perimeter. Cracks are treated with an epoxy-based filler. When the mixture is dry, it is necessary to thoroughly go through the vacuum cleaner to remove dust and degrease the concrete floor..
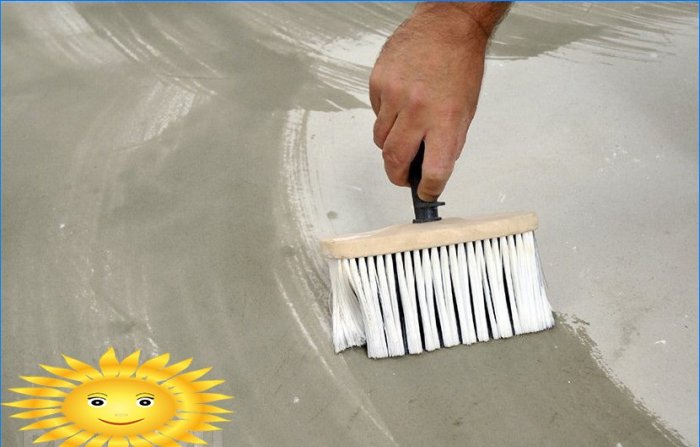
Advice! In order for the self-leveling floor to serve for a long time, it is necessary to prime the concrete joints with epoxy primer in several layers with a spatula or a brush..
When the application of all preparatory layers is completed, it is necessary to leave the primer to dry for 24 hours and then saturate the base with a polyurethane compound. Work is best carried out on days when the air humidity is minimal. High humidity will negatively affect the quality of the future coating.
Application of a polymer layer
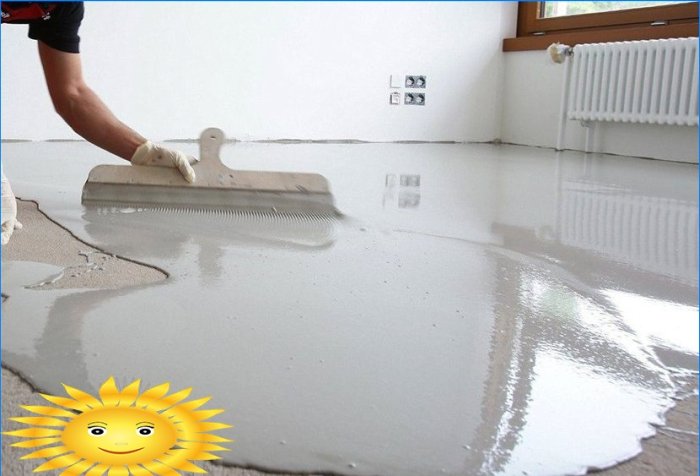
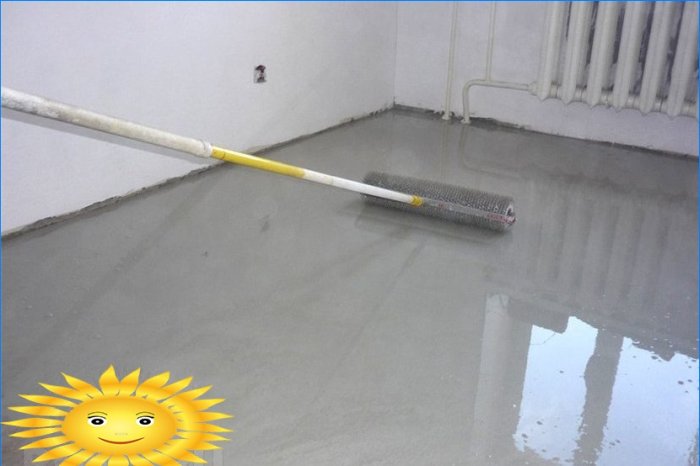
The application of this layer should be approached very responsibly. The room temperature must be above 10 degrees, otherwise there may be problems with the viscosity of the polymer composition. The increased viscosity of the self-leveling compound will negatively affect the quality of adhesion and strength of the floor. The layer of the polymer composition should have a minimum height of half a centimeter. If you need to fill a layer with a higher height, you should use the level.
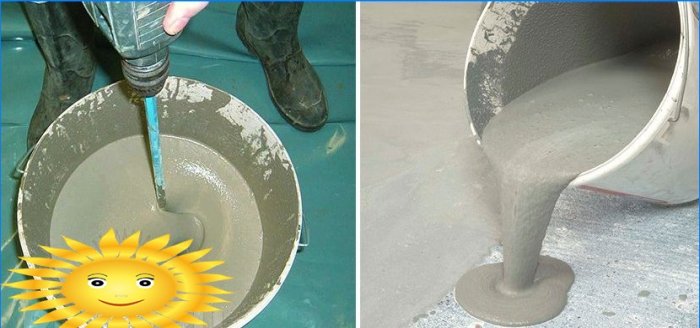
Advice! It is necessary to mix the polymer composition strictly according to the instructions. It is advisable to weigh the components before preparing the mixture..
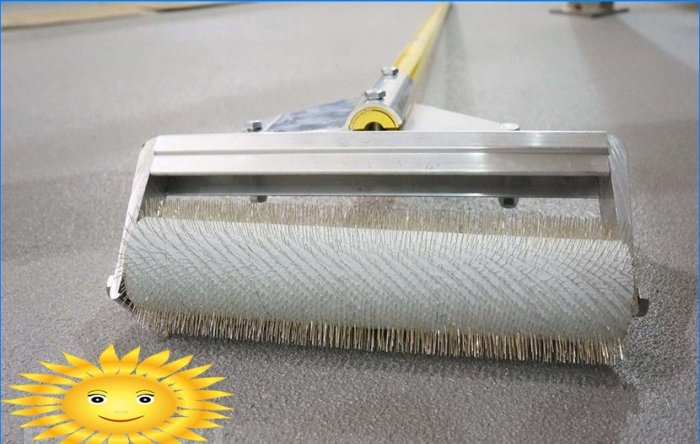
Hand kneading is not suitable for these mixtures. To achieve the ideal consistency and homogenization of the mixture, you need to use a construction mixer or drill with a nozzle for viscous compounds. The self-leveling floor must be prepared immediately before application to the concrete base. Pour the mixture in small portions at a short distance so that the composition can spread and mix. To level the polymer solution is a wide spatula with an even edge. For this work you will need shoes with spikes (wet shoes) or a special pad. When the filling of the room is finished, you need to walk over the surface with a needle roller to remove all air bubbles. The base coat dries in about a week. Only after complete drying can you start decorating the future floor..
Pasting a three-dimensional pattern
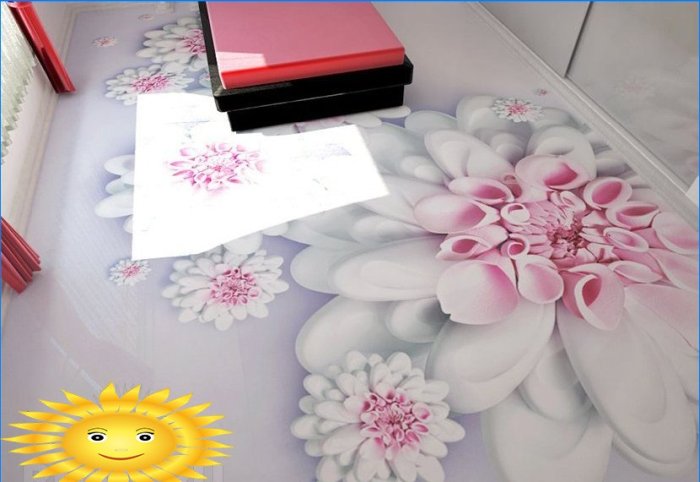
The drawing is the main component of the 3D floor. Thanks to the colorfulness and a huge number of colors, a floor with any interesting pattern will attract the attention of guests. You can decorate a floor covering based on a polymer composition in different ways..
Painting with acrylic paint. Few people manage to create a unique design with their own efforts. If you have artistic talent, then feel free to stock up on acrylic paints and brushes of different sizes. Create your masterpiece! Remember that after applying the finishing layer, nothing can be fixed, so be responsible for the creative process.
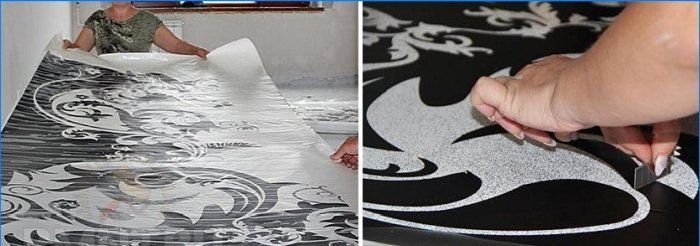
Applying a preprinted image requires less effort but is more expensive. The first step is to find a nice high resolution image. When you come to the printing house, inform that you need to print on vinyl or matte satin. Resolution must be at least 1440 dpi. Printing on sticky vinyl will greatly simplify the task of creating a 3D floor. It is necessary to glue the film well, avoiding air ingress. You can glue the image printed on satin if you apply a finishing polymer layer to the base coat.
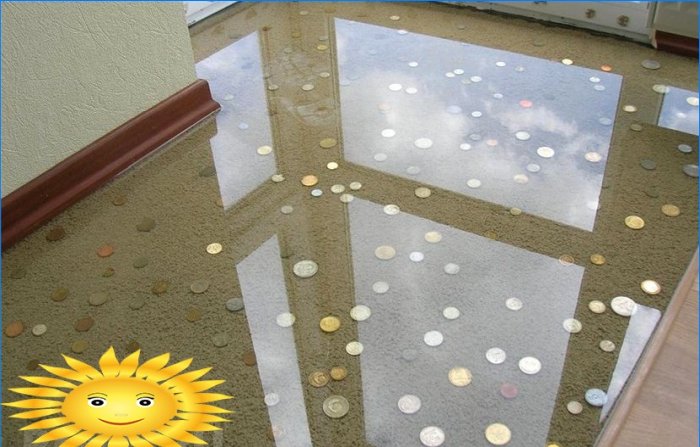
Decorating with various small things: coins, shells – whatever you like. The only, but very important point is the need to fill all the voids on these objects with plaster.
The choice of a decorative layer most often depends on financial capabilities and artistic preferences. When the layer with the image is ready, you need to fix it and apply a finishing transparent layer of polymer and protective varnish.
Topcoat and protective varnish application
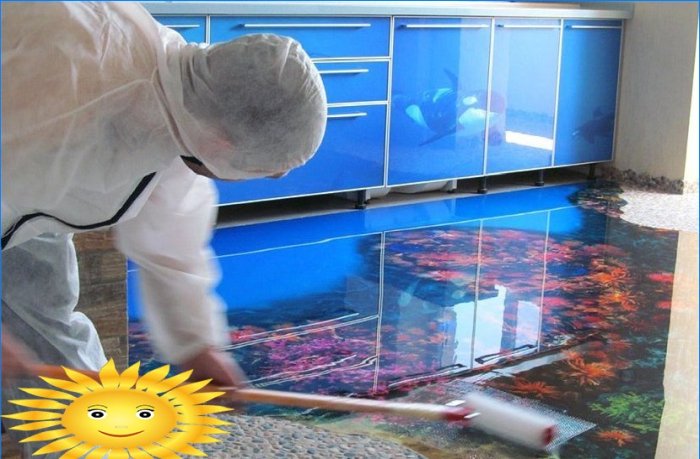
The finishing layer must be at least 3 millimeters thick. The average consumption of polymer per square meter will be 4 kilograms of the mixture. The preparation of the composition is the same as for the base one. It is important that the mixture is homogeneous. Apply a layer similar to the base layer of the self-leveling floor. Use a needle roller to work the floor until the mixture thickens. After that, you need to cover the surface with plastic wrap. When the finish coat is dry, you can cover it with a protective varnish..
Calculation of the cost of materials
The price of one square meter includes the price of all components for creating the floor. One of the expensive items when calculating the price of a cover is the decorative image. A 3D-coated floor costs from 5,000 to 6,500 rubles, depending on the materials chosen. A floor with a regular pattern will cost less – from 4000 to 4500 rubles.
When you create such a flooring yourself, you do not need to spend money on workers, so the cost of one square meter is reduced to 2500-3000 rubles. The savings are significant.
Of course, 3D flooring is quite expensive, but it is great for a bathroom or toilet, kitchen. Self-leveling floor perfectly resists moisture and is easy to clean with detergents.

Are there any specific steps or techniques one should follow in order to successfully create self-leveling 3D floors manually? I’m really interested in trying it out myself, so any guidance or tips would be greatly appreciated. Thanks!