The range of adhesives in specialized stores is very wide, but how to choose the right one? In fact, choosing an adhesive is not as difficult a task as it might seem at first glance. The most important thing is to know the composition of the tiles for which the glue is being selected. If it is clay, then the glue is appropriate. Porcelain stoneware – a special mixture for laying, etc..
The conditions for the further operation of the tile are also important. Outside, humid rooms, various heating – for all this there are special adhesives, which must be used.
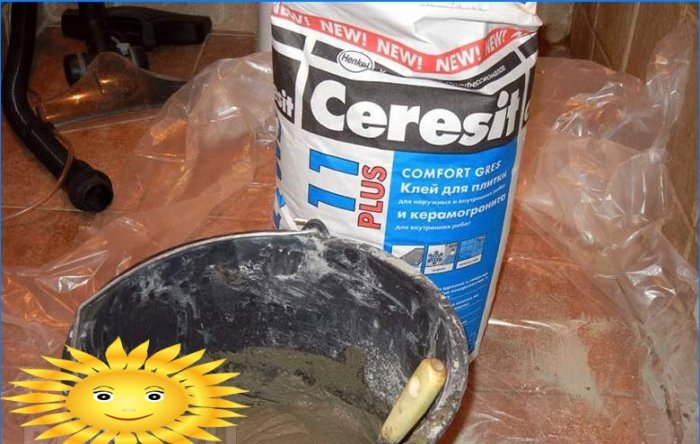
Consider, for example, such a popular dry mix manufacturer as Henkel. This company produces adhesives of various brands that are suitable for different types of tile installation:
- Ceresit CM10 – suitable for ordinary clay-based tiles.
- Ceresit CM11 is a glue for reinforced fixing.
- Ceresit CM14 – distinguished by its elasticity.
- Ceresit CM12 – used for laying stoneware and large slabs.
- Ceresit CM16 – for laying tiles on problematic substrates (for example, warm floors).
- Ceresit CM115 – well suited for laying mosaics.
I will say a few words about the consumption of adhesives. Naturally, the surface for the tiles should be perfectly flat. Accordingly, the consumption of glue will be minimal, about 1 bag (25 kg) for 4-5 m2.
But it is not uncommon for cases when the thickness of the glue has to be eliminated in the plaster or screed. This is where material consumption can increase significantly. 25 kilograms may not be enough for a square meter.
The dry mix is known to be diluted with water and mixed with a construction mixer. This avoids lumps and makes it easier to prepare the glue. And do not forget to let the solution “close”, that is, stand for about 5 minutes. Then it should be thoroughly mixed again and that’s it – it’s ready for use..

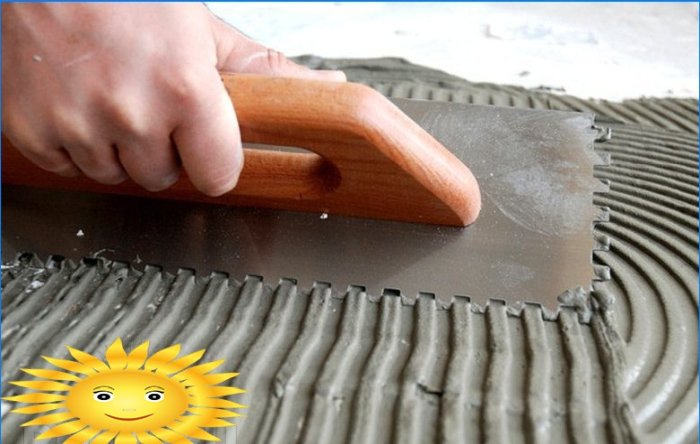
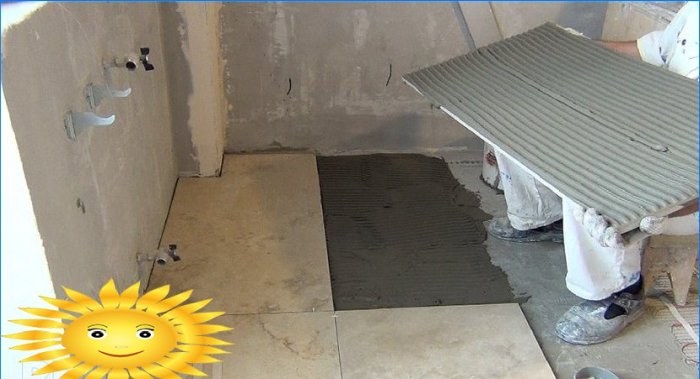
Of course, many have heard that tile glue is applied to the surface with a special notched trowel (comb), but not everyone knows where, how and how much to apply it..
Previously, tiles, as you know, were laid on cement-sand mortar, bitumen, bustilate, etc. But this method was very laborious and did not justify itself in many respects. For example, when replacing tiles, and changing the coating is not so rare, we face the problem of dismantling.
If the tile is laid on a mortar, then removing it is problematic. You have to use a special tool and put a lot of effort. And besides, the walls after dismantling work have to be plastered again.
Bitumen and bustilate are generally a separate topic. To remove these compositions, you need to try a lot..
So, the adhesive composition was invented primarily in order to make it easier to remove the old tile, without damaging the bearing surface.
There are three main ways to apply tile adhesive:
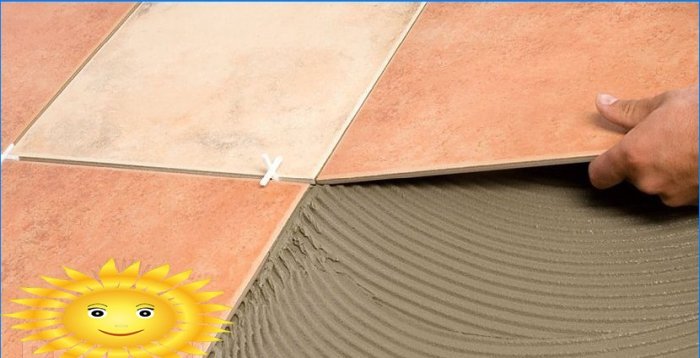
- applying a comb on the tile itself
- bearing surface application
- application on both surfaces simultaneously
What happens when the adhesive is spread over the surface? By running a notched trowel along the supporting plane and applying a layer of adhesive, we simply rub the adhesive into the micropores of the material. After drying, such a connection becomes very strong. But when we press the glue to the surface, then this effect is not achieved..
Hence the conclusion. In the first case (the distribution of glue on the tile), when dismantling, the tile, together with the dried glue, will easily lag behind the load-bearing walls, and we can easily change our interior to a more modern one, without much labor costs.
The second case is the application of an adhesive composition to the bearing surface. Rather suitable for those who want to keep old material intact after dismantling. Indeed, after removing the tiles, all the glue will remain on the wall or floor, and the material itself will be clean and suitable for laying elsewhere..
And the third is application on both surfaces. This method is used for the most durable installation of ceramic tiles. For example, floors in garages or areas with high traffic.
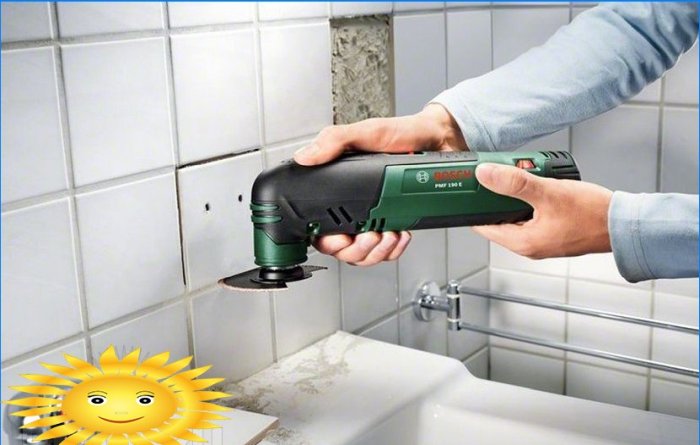
Removing old adhesive from a wall or floor can sometimes take a lot of effort. Manually, if the volume is also large, it is practically impossible to do it. Therefore, I recommend using a special tool such as a grinding technique. Of course there will be a lot of dust, but the surface will also remain flat and smooth.
Sometimes you have to clean off the dried glue from the surface of the tile itself. Moreover, an important condition is not to damage the material itself. And here the angle grinder comes to our aid and, of course, accuracy.
As a reader of this text, I have some questions regarding the application of adhesives for tiling. What are the key factors that a tiling specialist should be knowledgeable about when it comes to using adhesives? Are there specific types of adhesives recommended for different types of tiles? What are the best practices for preparing surfaces prior to applying adhesive? Are there any important safety precautions to consider when working with adhesives? Thank you for your help and guidance on this matter!